
DIY Danish Folded Fabric Star Ornaments
WonderFil Specialty Threads
Today we have a simple and fun handmade craft tutorial for you to make before we fully approach the Christmas decorating season. Using only fabric and some decorative thread you can create these unique Danish inspired folded star ornaments to put on display, or as a handmade gift for those you love.
If you’d like to watch through thr tutorial for an easy to follow step by step, you can watch our youtube video here:
1. Everything you’ll need
· Four pieces of fabric at 8cm by 30cm, or 12 inches by 3 ¼ inches.
· 12 wt GlaMore Thread for decorative stitches
· 80wt DecoBob thread for your Bobbin
To start, you’ll need to cut out four coordinating pieces of fabric and cut them into 8cm by 30cm strips, or 12 inch by 3 ¼ inches. Do you need to stock up on some nice fabrics to create your danish star ornament? You can find fabrics at your local fabric store, or you can shop online from:
Robert Kaufman: https://www.robertkaufman.com/fabrics/show_all/
Sue Spargo: https://www.suespargo.com/store.php?cat=27
Alison Glass: https://alisonglass.com/product-category/shop-materials/fabric-bundles/
… just to name a few!

2. Start making your star
Once you have finished cutting the fabric into strips, the next step will be to iron each strip in half.

Then, fold the edges into the centre and press it again

Repeat for the rest of the fabric strips.

To add a bit of sparkle to the ornament, we’ll be using GlaMore, which is our 12wt rayon thread that has a strand of metallic in it. It’s perfect for adding some shimmer to the Christmas tree.
You can find GlaMore threads in our online shop, or at a shop near you here: https://shopwonderfil.ca/product-category/glamore

In the bobbin we’re going to use a fine 80wt cottonized polyester thread, DecoBob. Because we have such a thick top thread, this will greatly reduce tension issues and help the seam lay flatter.
You can find DecoBob in our online shop, or at a shop near you here: https://shopwonderfil.ca/product-category/decobob
You can choose any decorative stitch on your machine for the next part, or keep it simple with a straight stitch. When you’ve decided on your stitch, sew a straight line down each long edge of your fabric strips.

3. Weaving your star
For our next step, we will be weaving the strips together to form the main structure of the star. Take one strip and fold it a little less than halfway down, so that one end of the strip is about 3 centimeters, or an inch longer than the other.

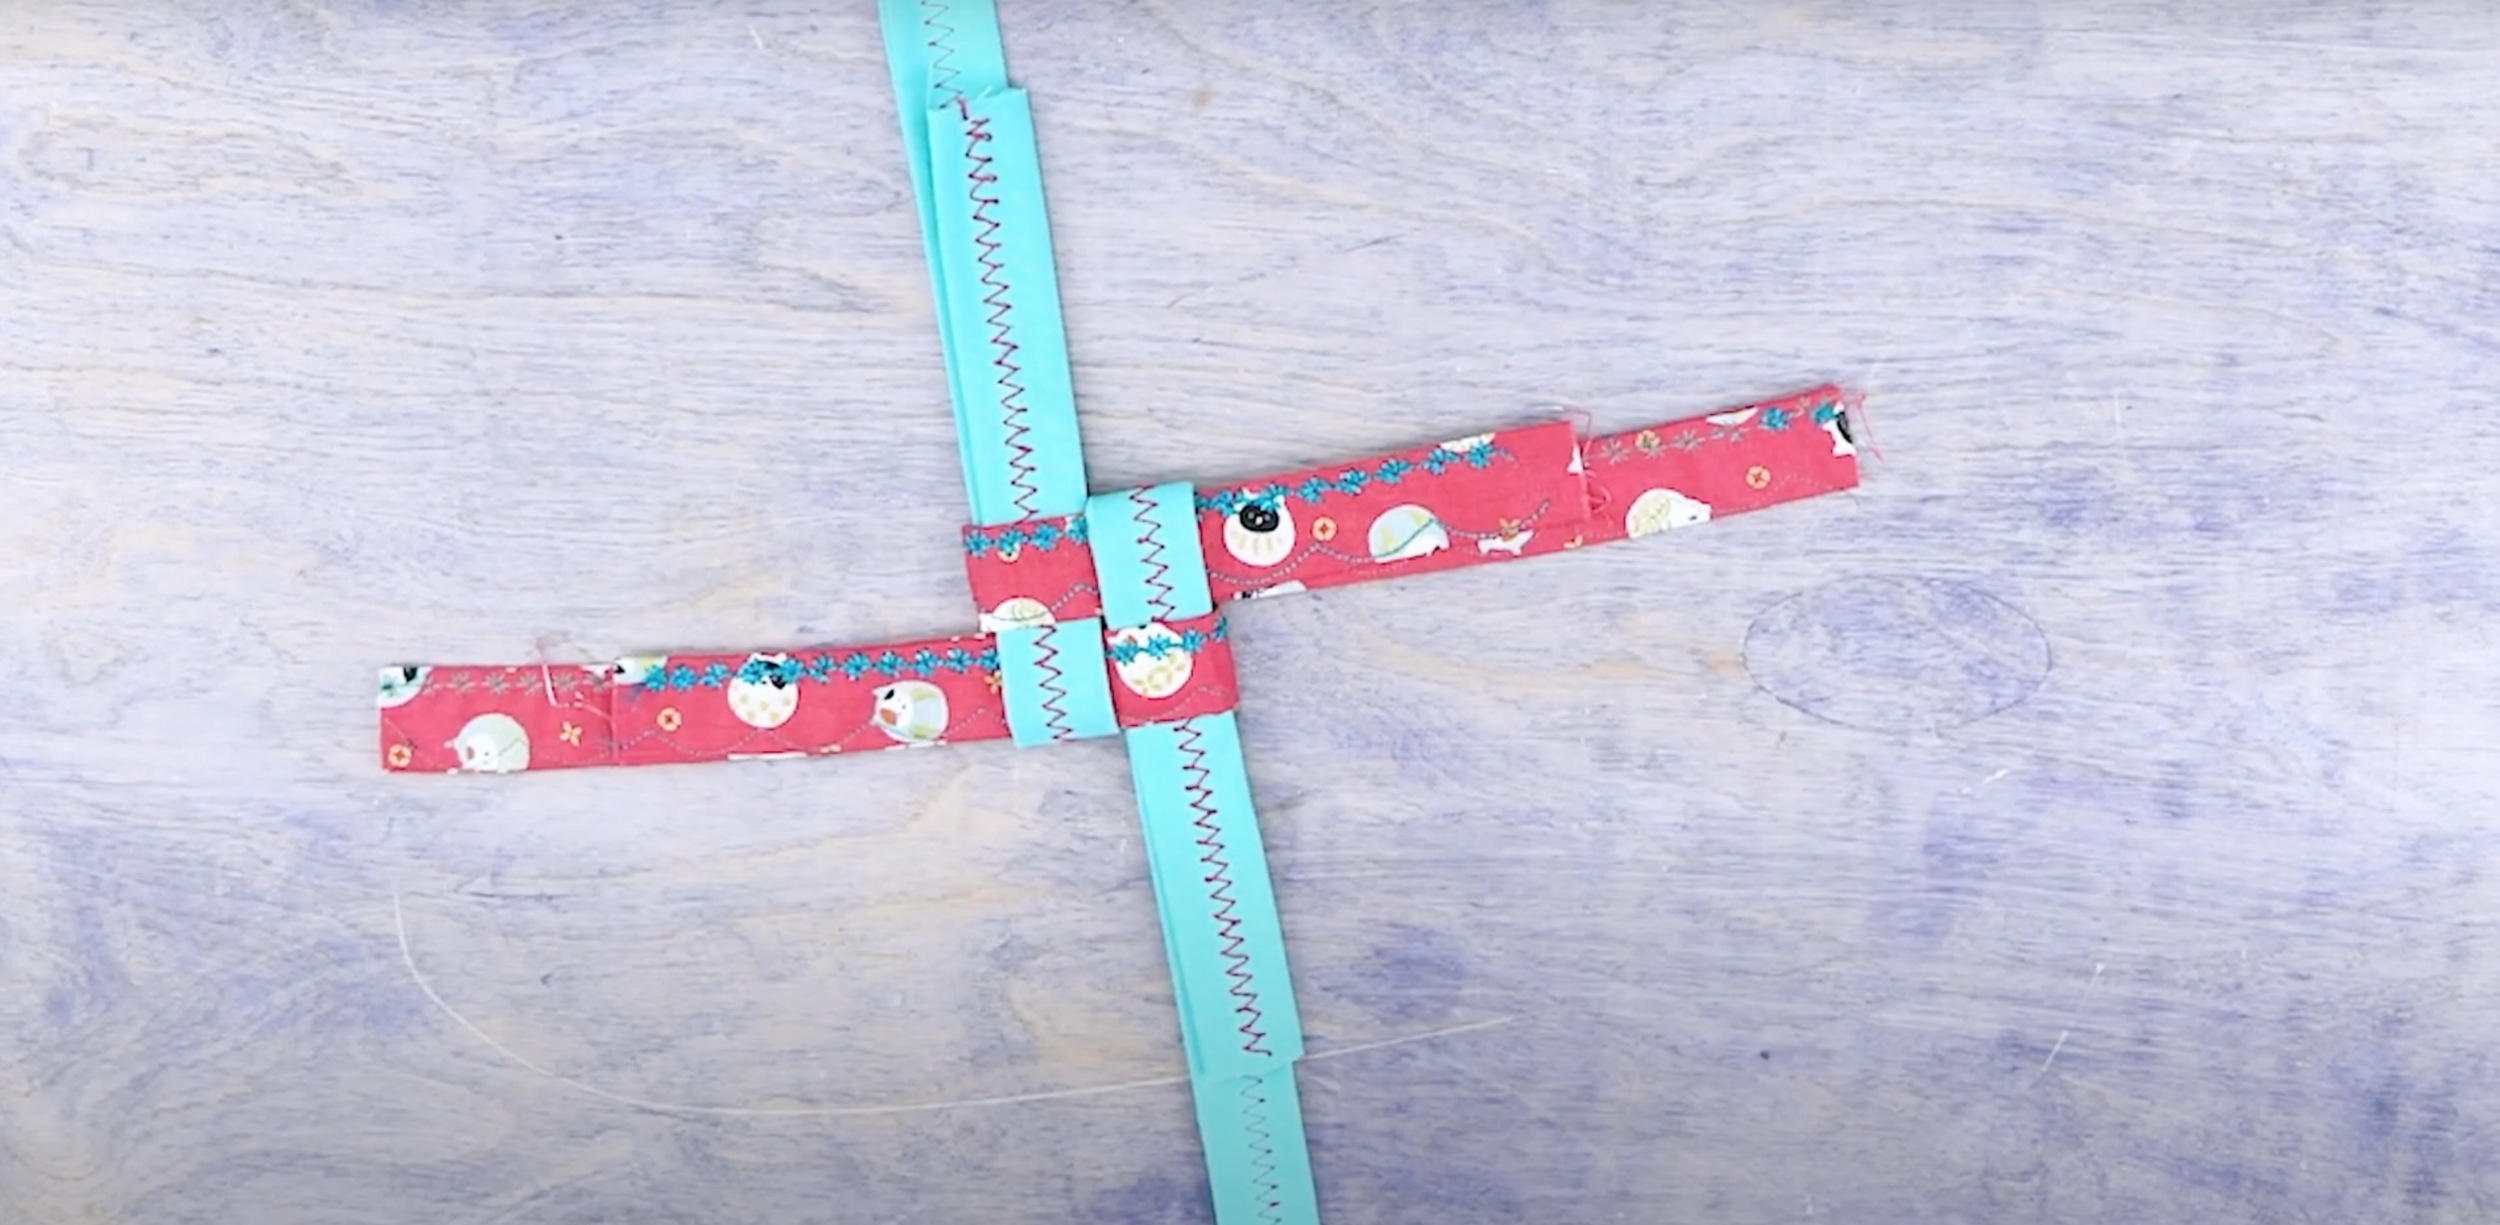
Take the folded strip, short side facing up, and fold another strip on top of the previous strip with the short end facing up.

Tuck the next strip parallel the the first strip of fabric, under the second strip, and fold the short tail over the second strip with the tails facing the opposite direction.

With the fourth strip, tuck it under the third strip, parallel to the second strip with the tails facing up. Tuck both the long and short tail under into the one inch gap to secure the body of the star.

Pull the strips snug together to form a square.
Make sure to pull them snug so that the finished star won’t loosen once it’s finished.
Flip the star over and take the long ends of the strips and fold them over themselves working clockwise around the circle.

Pull the final strip of fabric through the loop you made with the first one.

Make sure you pull them snug or your ornament will be loose when it’s finished. Turn the star back over giving everything a final tug to make sure it’s secure.
To create the triangular points, take the short end of each strip and fold it away from the centre to make a triangular form

Fold it in half again.

Fold in half again with the fold going down the centre from the tip of the triangle.

You can trim some of the excess strip off but leave some room to tuck it into the pocket created by the previously folded strips of fabric to give your ornament a clean finish.

When you’re done, give your star a quick press on both sides and steam with an iron to keep all the folds flat and in place.

4. Preparing to decorate!
If you want to hang your star, cut about 4 and a half inches, or about 11cm, of thread and tie a knot with the two loose tails. Thread the doubled up thread through a hand sewing needle and pull the needle through the top middle part of your star.

Don’t pull the thread all the way through, just unthread the needle and just loop the thread back through itself to make a hanger.

If you position the knot behind the ornament, it won’t be noticeable.

Ta-dah! You’ve completed making your Danish Folded Fabric Star Ornament. This ornament is a cute and fun craft with your own personal touch.
If you’d like to create some more Danish and Scandanavian décor for your home this holiday to create some hygge, a Danish and Norwegian word for a mood of coziness and comfortability, wellness and contentment, in your home, you can check out these other projects!
Sew your own triangle garland: https://www.thewillowmarket.com/a-diy-tutorial-how-to-make-homemade-triangle-bunting/
Or some wonderfully hand embroidered gift tags: https://flamingotoes.com/bead-embroidery-felt-gift-tags/
Tag your photo on Instagram or Facebook using the hastag #wonderfil so you can show us your finished stars. You can find these threads and more in a shop near you, or on our online shop by visiting www.shopwonderfil.ca. You can also sign up for our free newsletter to receive more educational sewing tips, tutorials, and free patterns. Register by clicking here! We’ll see you again next time!