DIY Danish Heart Basket Ornaments
Maura Kang
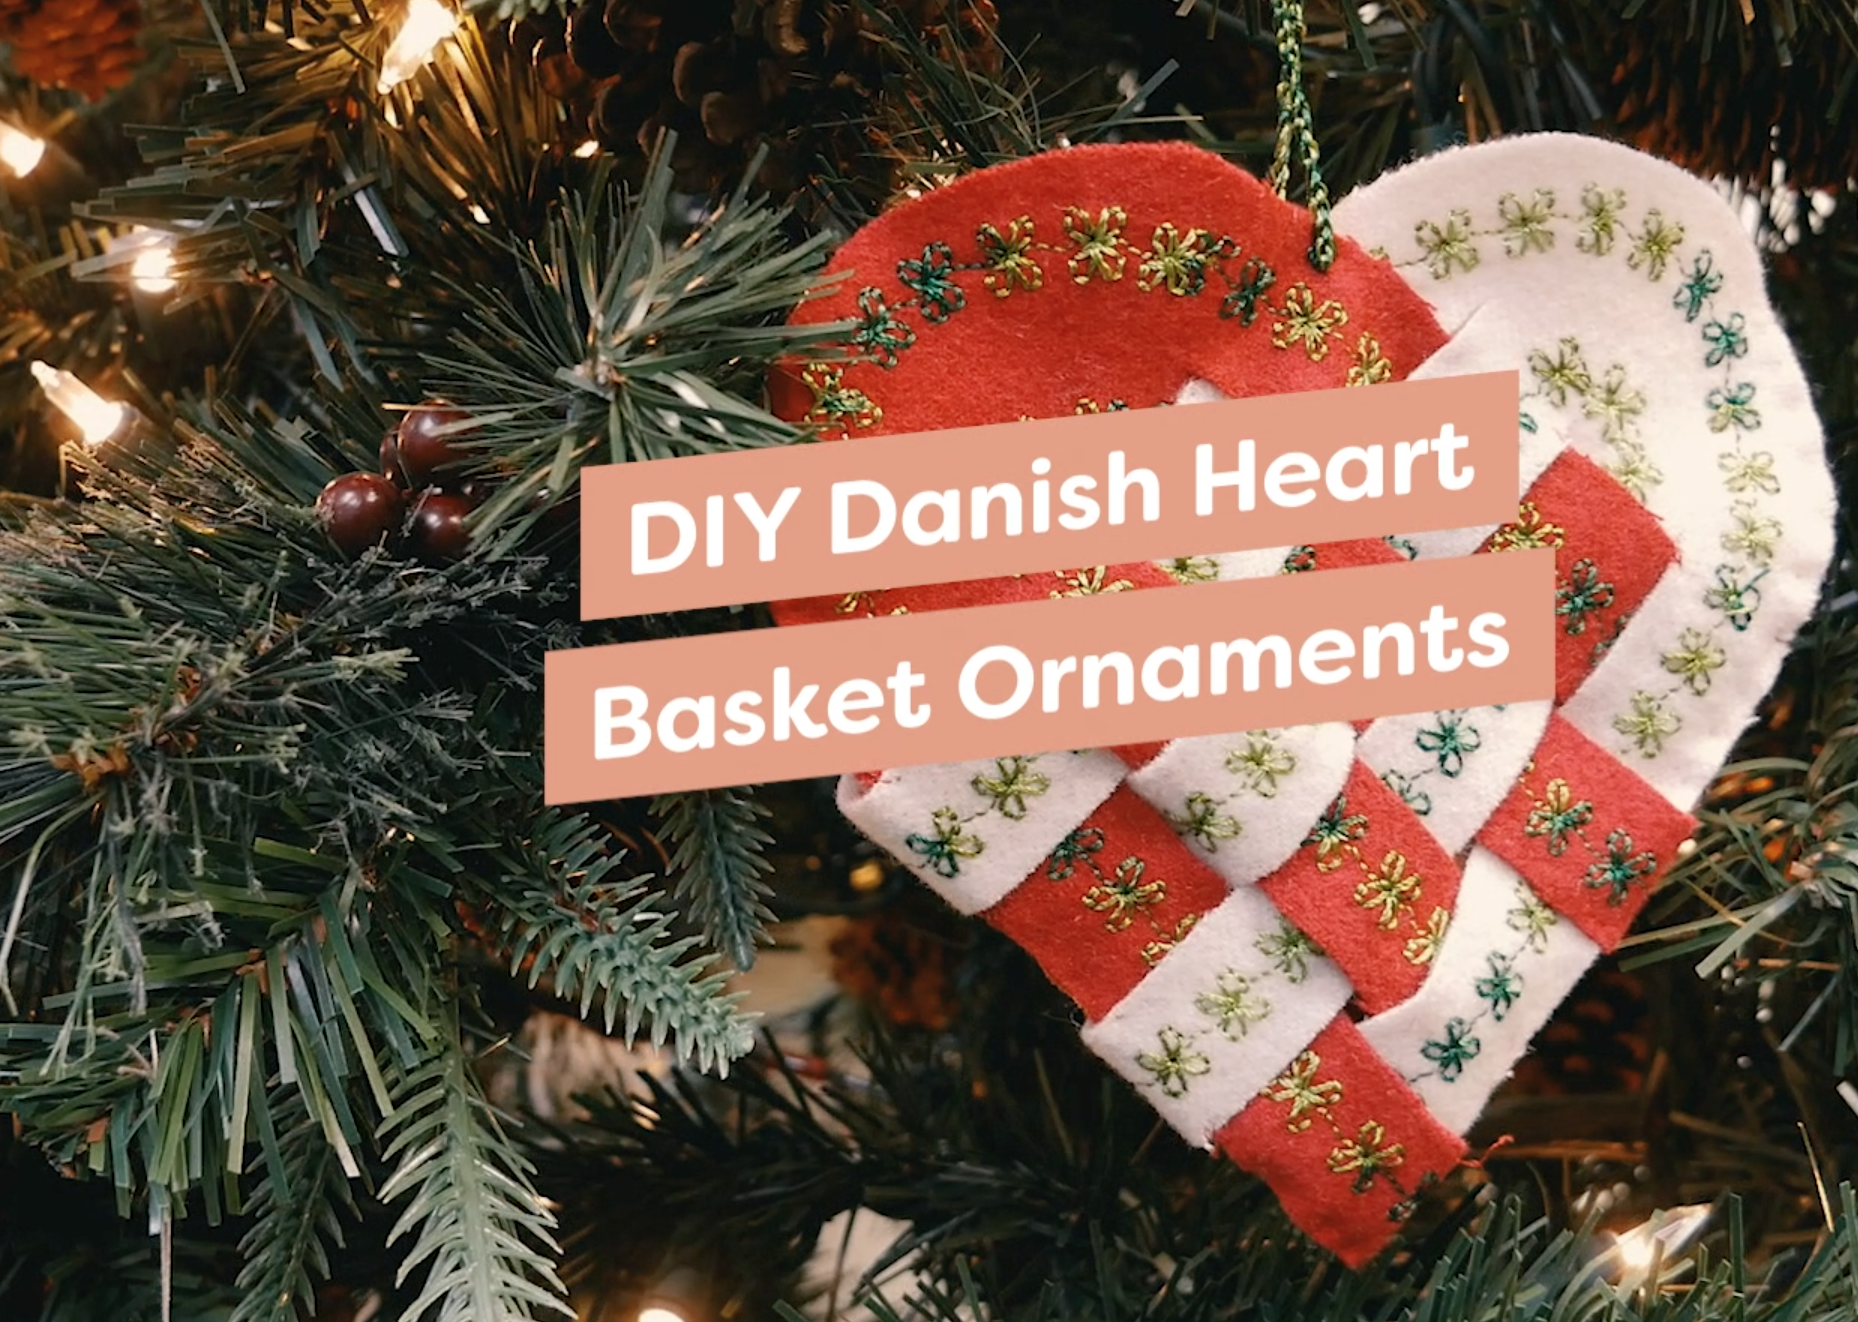
Danish heart ornaments are one of the easiest Christmas ornaments to make yourself. So easy, in fact, that you can get the whole family together to make them! They are traditionally made with red and white paper, however for a version that will last for the years to come, consider making yours out of wool or felt. We’ll be adding simple decorative stitches available in most standard home sewing machines to turn these ornaments into a beautiful handmade craft.
If you’d like an easier way to follow along step by step, you can watch along with our YouTube video!
Before you begin, download and print the free pattern right here: https://bit.ly/2K5odWy
Now you’ll want to choose your material. While you can use a simple craft felt from your local craft and hobby store, consider choosing a wool fabric to elevate your ornaments into something you can keep using for years to come. We’ll be using this hand dyed virgin Australian merino wool from Sue Spargo. It’s a luxuriously felted choice for when you want to add a bit of class to your project.

You can find any colour you’d like of the Sue Spargo Australian merino wool in a shop near you or online here: https://shopwonderfil.ca/product-category/merino-wool-fabric-sue-spargo
Following the pattern, you’ll want to cut out two contrasting pieces of fabric following the pattern. Traditionally these hearts are made with white and red colours, but you can choose any colour you like! Don’t forget to cut the pattern against the fold.

You’ll end up with two pieces that will look like this. The red fabric we’re using is LN42 – Holly Berry, and the white is LN50 – Parchment.

To make this ornament a little extra special, we’re going to add some decorative stitches to it! To make the stitches stand out a little more, we’re choosing this glossy 12wt rayon thread called Accent™.

You can find Accent in a shop near you, or online here: https://shopwonderfil.ca/product-category/accent/
Because it’s a little thicker, we’ll want to balance that out in the bobbin with an 80wt thread called DecoBob™, otherwise we might run into tension problems.

You can find DecoBob Pre-wound Bobbins in a shop near you, or online here: https://shopwonderfil.ca/bobbins
Thread the machine and take a look at the built-in decorative stitches that come with your sewing machine. Choose something simple and not too dense to accommodate the thicker thread.
If you’re loving the look of this Danish decoration and can’t seem to find the perfect decorative stitch pattern, why not add some beautiful hand stitched patterns to yours! We’ve found some free Scandinavian embroidery patterns here: https://www.thesprucecrafts.com/8-scandinavian-embroidery-patterns-to-try-5081843

You’ll want to stitch two circles around your wool pieces. Once around the outer edge, following the curves on each end and across the outer strips, and once more around the inside strips.

We recommend starting and stopping where one of the strips and the half-moon shape connect as there will be a guaranteed folded layer in this place, which will help hide any stitches that don’t match up perfectly.
Now that our strips have been cut out and given a bit of holiday flare with decorative stitches, you can now weave your ornament together! We’re going to go through this step by step to make weaving your Danish heart together super easy!

The goal is to make a checkered pattern. We’ve labeled each strip to make it easier to follow along. Start your first weave by slipping strip A and weaving it between the layers of strip 1.

The goal is to make a checkered pattern. We’ve labeled each strip to make it easier to follow along. Start your first weave by slipping strip A and weaving it between the layers of strip 1.

Next slide strip A in between the layers of strip 3.

Next slide strip A in between the layers of strip 3.

Then take strip 4 and slip it between the layers of strip A.

Now you’ve completed your first row of weaving! Slide strip A snugly against the top, and continue on this weaving pattern alternating what pieces are going through each, for example the next weave pattern will be: slip strip 1 between the layers of strip B, then strip B goes between the layers of strip 2. Then strip 3 goes between the layers of strip B, and strip B goes between the layers of strip 4.

When you’re finished your weave, you can use the 80wt DecoBob™ we used in our bobbin to hand stitch the corners of the heart where the half moon and strip connect to help hold them together better.

The fine thread is perfect for hiding in the fabric where it won’t be seen.

Finally, you’ll want to attach a cord to hang your ornament from. Consider weaving together a few strands of Accent™ thread to turn it into a thicker cord.

You can knot each end together and hand stitch them in the inside corners of the half moon shape to turn it into a perfect little basket.

This beautiful little keepsake is perfect for holding candies, potpourri, a photograph, or even a small card. Fill it with goodies again and again every year! It’s also the perfect decoration to bring that cozy feeling to your Christmas tree this year. If you’d like to add some more Danish inspired décor to your tree this year, you can check out our Danish folded fabric star tutorial here: https://shopwonderfil.ca/diy-danish-star-decoration/

If you’d like to do a test run with paper before you get work on your Sue Spargo merino wool fabric, you can follow along to this awesome tutorial that we found: http://www.sweetdistance.com/traveltips/how-to-make-danish-braided-christmas-heart-decorations
We hope you can enjoy making these easy decorations yourself! If you make these charming decorations you can tag us on Instagram using the hashtag #wonderfil, and we might just share it to inspire others! You can find these threads and more in a shop near you, or on our online shop by visiting www.shopwonderfil.ca. You can also sign up for our free newsletter to receive more educational sewing tips, tutorials, and free patterns. Register by clicking here! We’ll see you again next time!