DIY Face Mask By Hand With Filter Pocket & Fitted Nose Crimp
Maura Kang

Don’t have a sewing machine at home? No problem, you can still make your own face masks by sewing them by hand using our pattern that includes an optional nose crimp (for a better fit to your face) and filter pocket. The best part is, it can all be completed with items you likely have around your house already! If you’d like to check out our alternative tutorial on sewing this face mask using a sewing machine, click here.
Download the written instructions and pattern PDF here: https://bit.ly/2UTT1fN
Materials needed:
• Top fabric in 100% cotton -
For Adult: 9” x 8” (22.9cm x 20.3cm)
For Kids: 8.5” x 8” (21.6cm x 20.3cm)
• Lining fabric in 100% cotton -
For Adult: 7” x 7.5” (17.8cm x 19cm)
For Kids: 6.5” x 7.5” (16.5cm x 19cm)
• (option 1) Elastic cord - Note that we found the round elastic more comfortable to wear over a longer period of time, but a flat elastic cord will still function if that’s what you have.
• (option 2) If you do not have any elastic cord at home, you can sew your own ties by cutting 2 of 12” x 1” strips of fabric, folding it in half twice lengthwise, and sewing down the center to secure them.
• Sewing thread - We used Designer™ 40wt polyester for the top thread as it is strong and flexible, and DecoBob™ 80wt cottonized polyester in the bobbin. Cotton sewing thread will also work just fine.
• (optional) Aluminum can or paper clip for the nose crimp
* Note that 100% cotton is recommended to sew your masks from as it offers both breathability while still doing an okay job filtering particles.
Filter:
• Cut to 6.5“ x 2.5” (16.5cm x 6.4cm). If you have access to a non-woven polypropylene fabric (used in the manufacturing of face masks), this would make the best filter to place in this pattern’s filter pocket and would be disposed of after use. However if you do not, you can use another piece of 100% cotton fabric as we did in this video. You can either dispose of it after use or wash it as described below.
Washing your face mask:
• It is recommended that your reusable face mask is washed in your home washing machine with the water settings on hot using regular washing detergent. It should then be completely dried in the dryer on high heat. Wash your face mask after each use.
Direction:
We’ve got two sizes for both adults and kids so you can make masks to help keep your whole family safe! Begin by cutting out your front and lining fabric pieces according to the size you need from the PDF pattern downloadable at the top. Demonstrated below is the adult size.


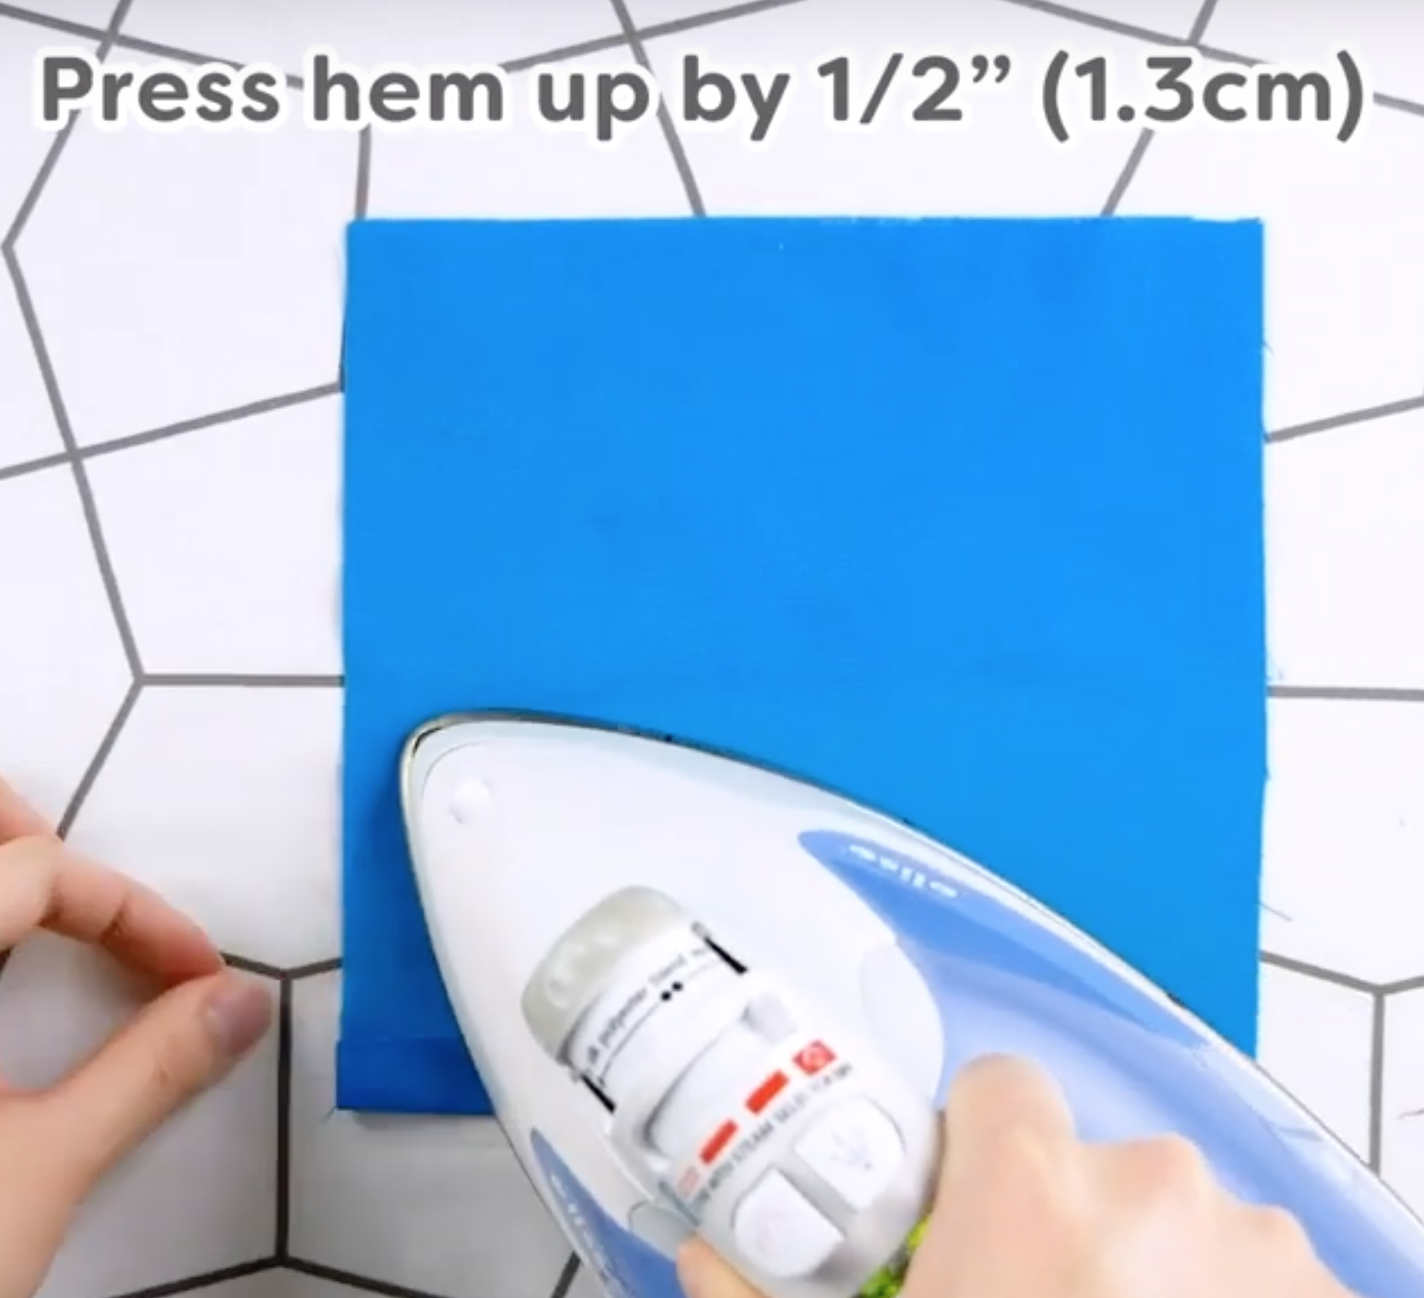
Press the hem up on both the main and lining pieces by ½” (1.3cm) along one of the long sides.

Then stitch across the hems on the main and lining pieces using a backstitch to secure them.

Place your lining and main fabrics right sides together, centered on the long edge opposite the hems. Pin together, then backstitch along this edge to secure them.


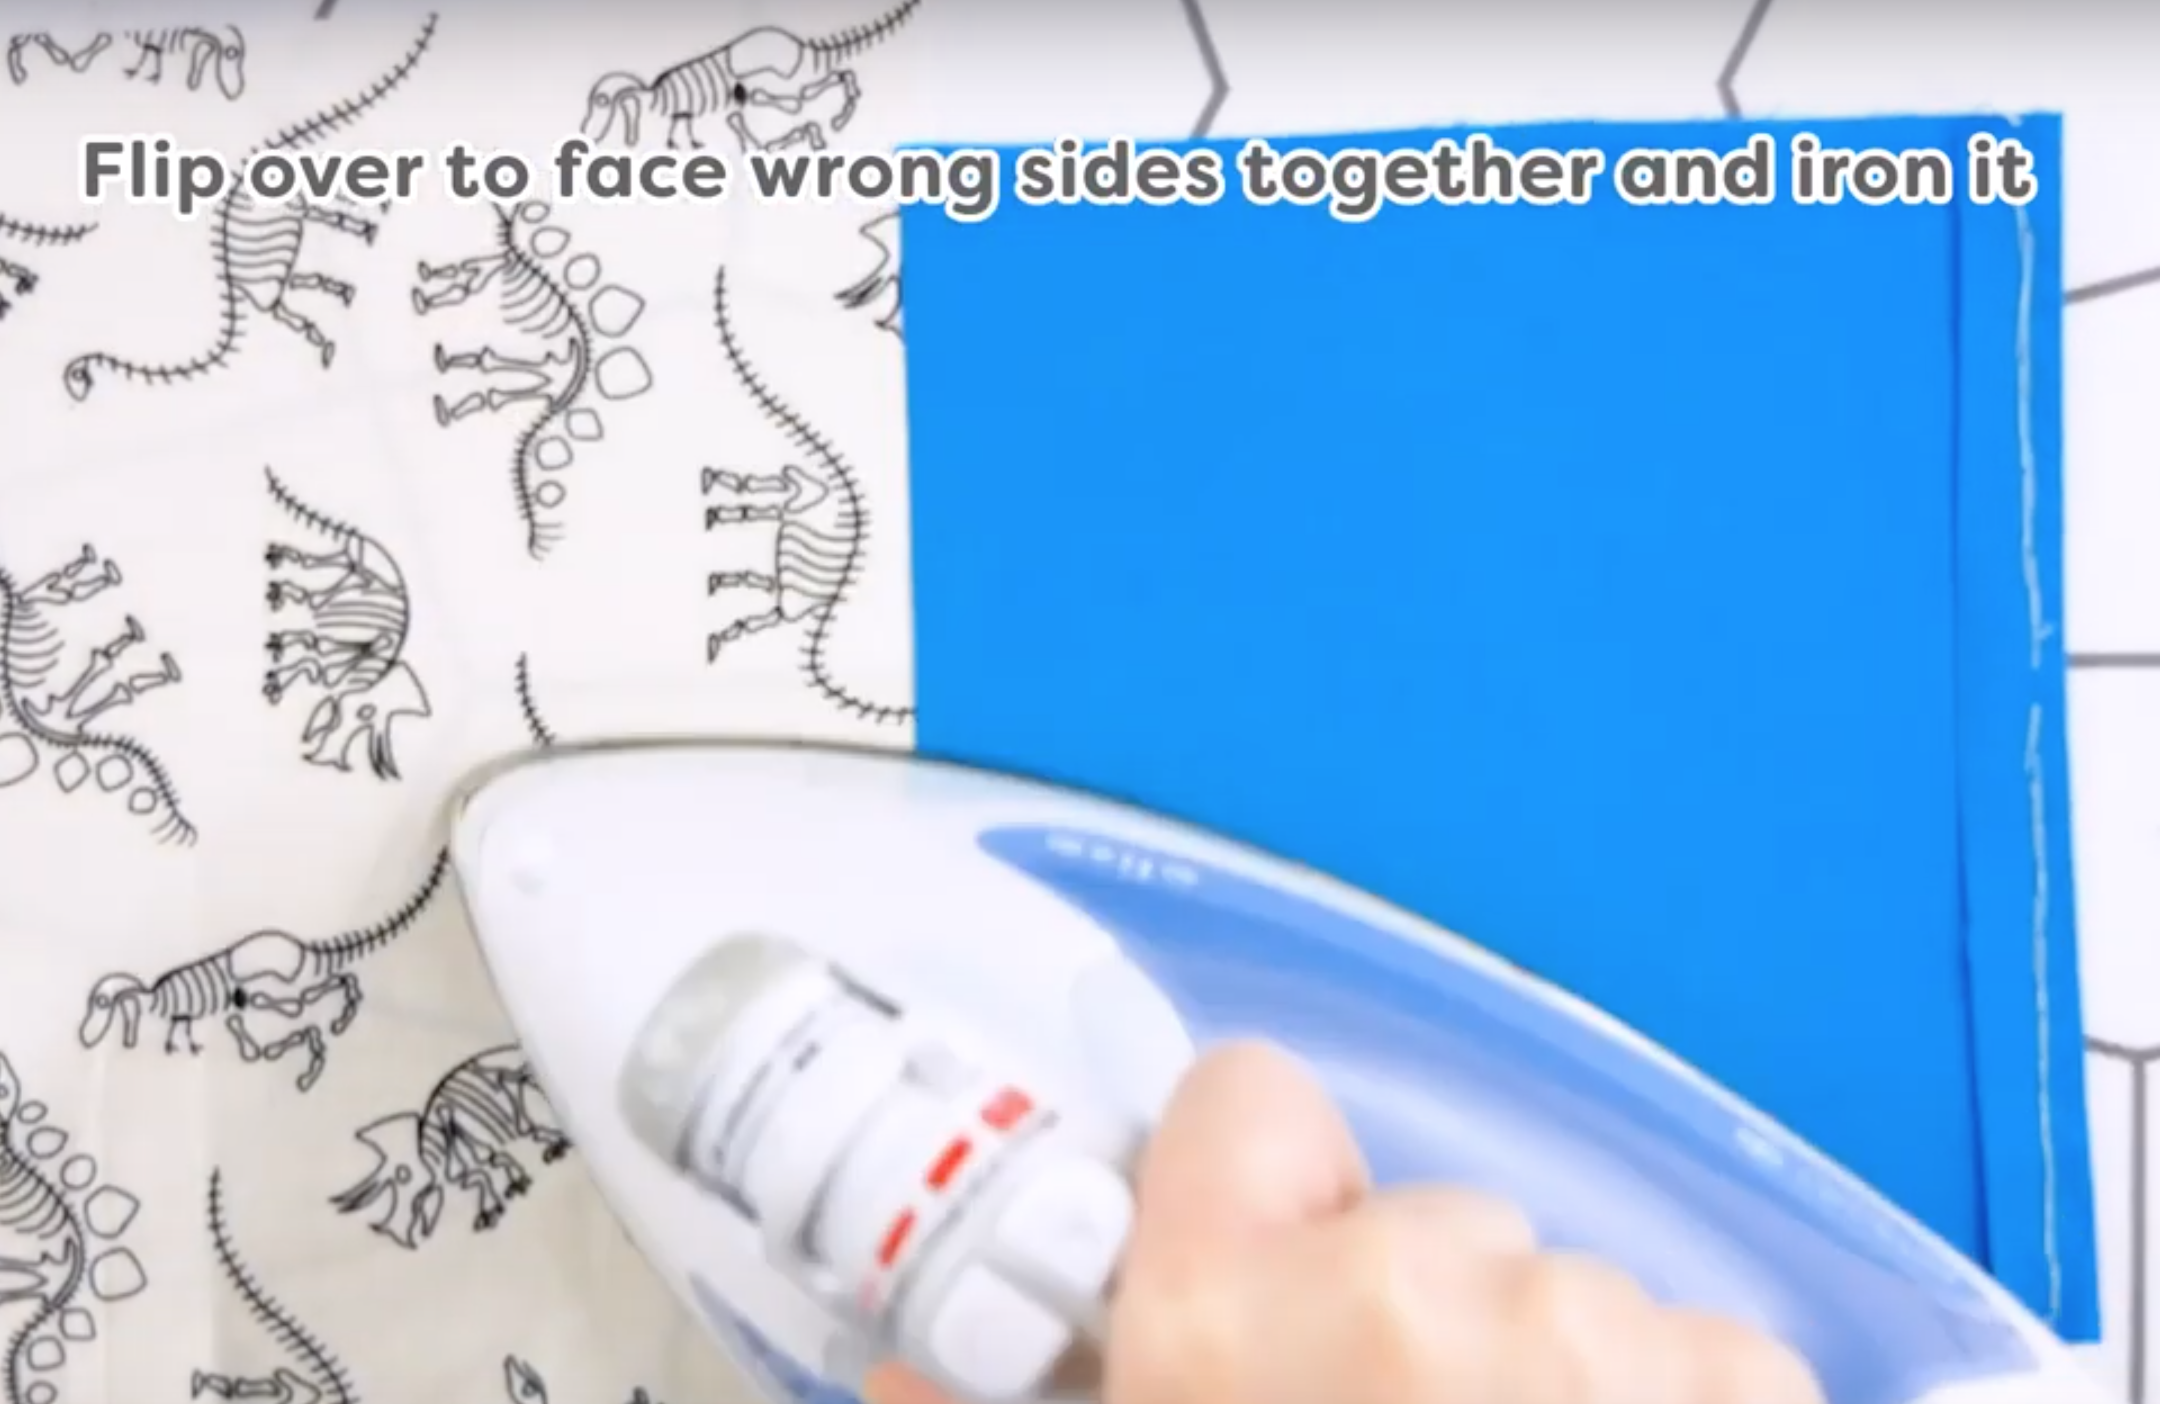
Flip the fabric pieces over so they are now facing the wrong sides together and press the seam so it lays flat.

If you wish you add a nose crimp for a better fit, you can cut a 4” x 0.5” (10cm x 1.3cm) strip out of an aluminum can, or use a cut piece of paper clip of pipe cleaner. Watch our video located above beginning at 1:50 to see how to safely cut open an aluminum can.

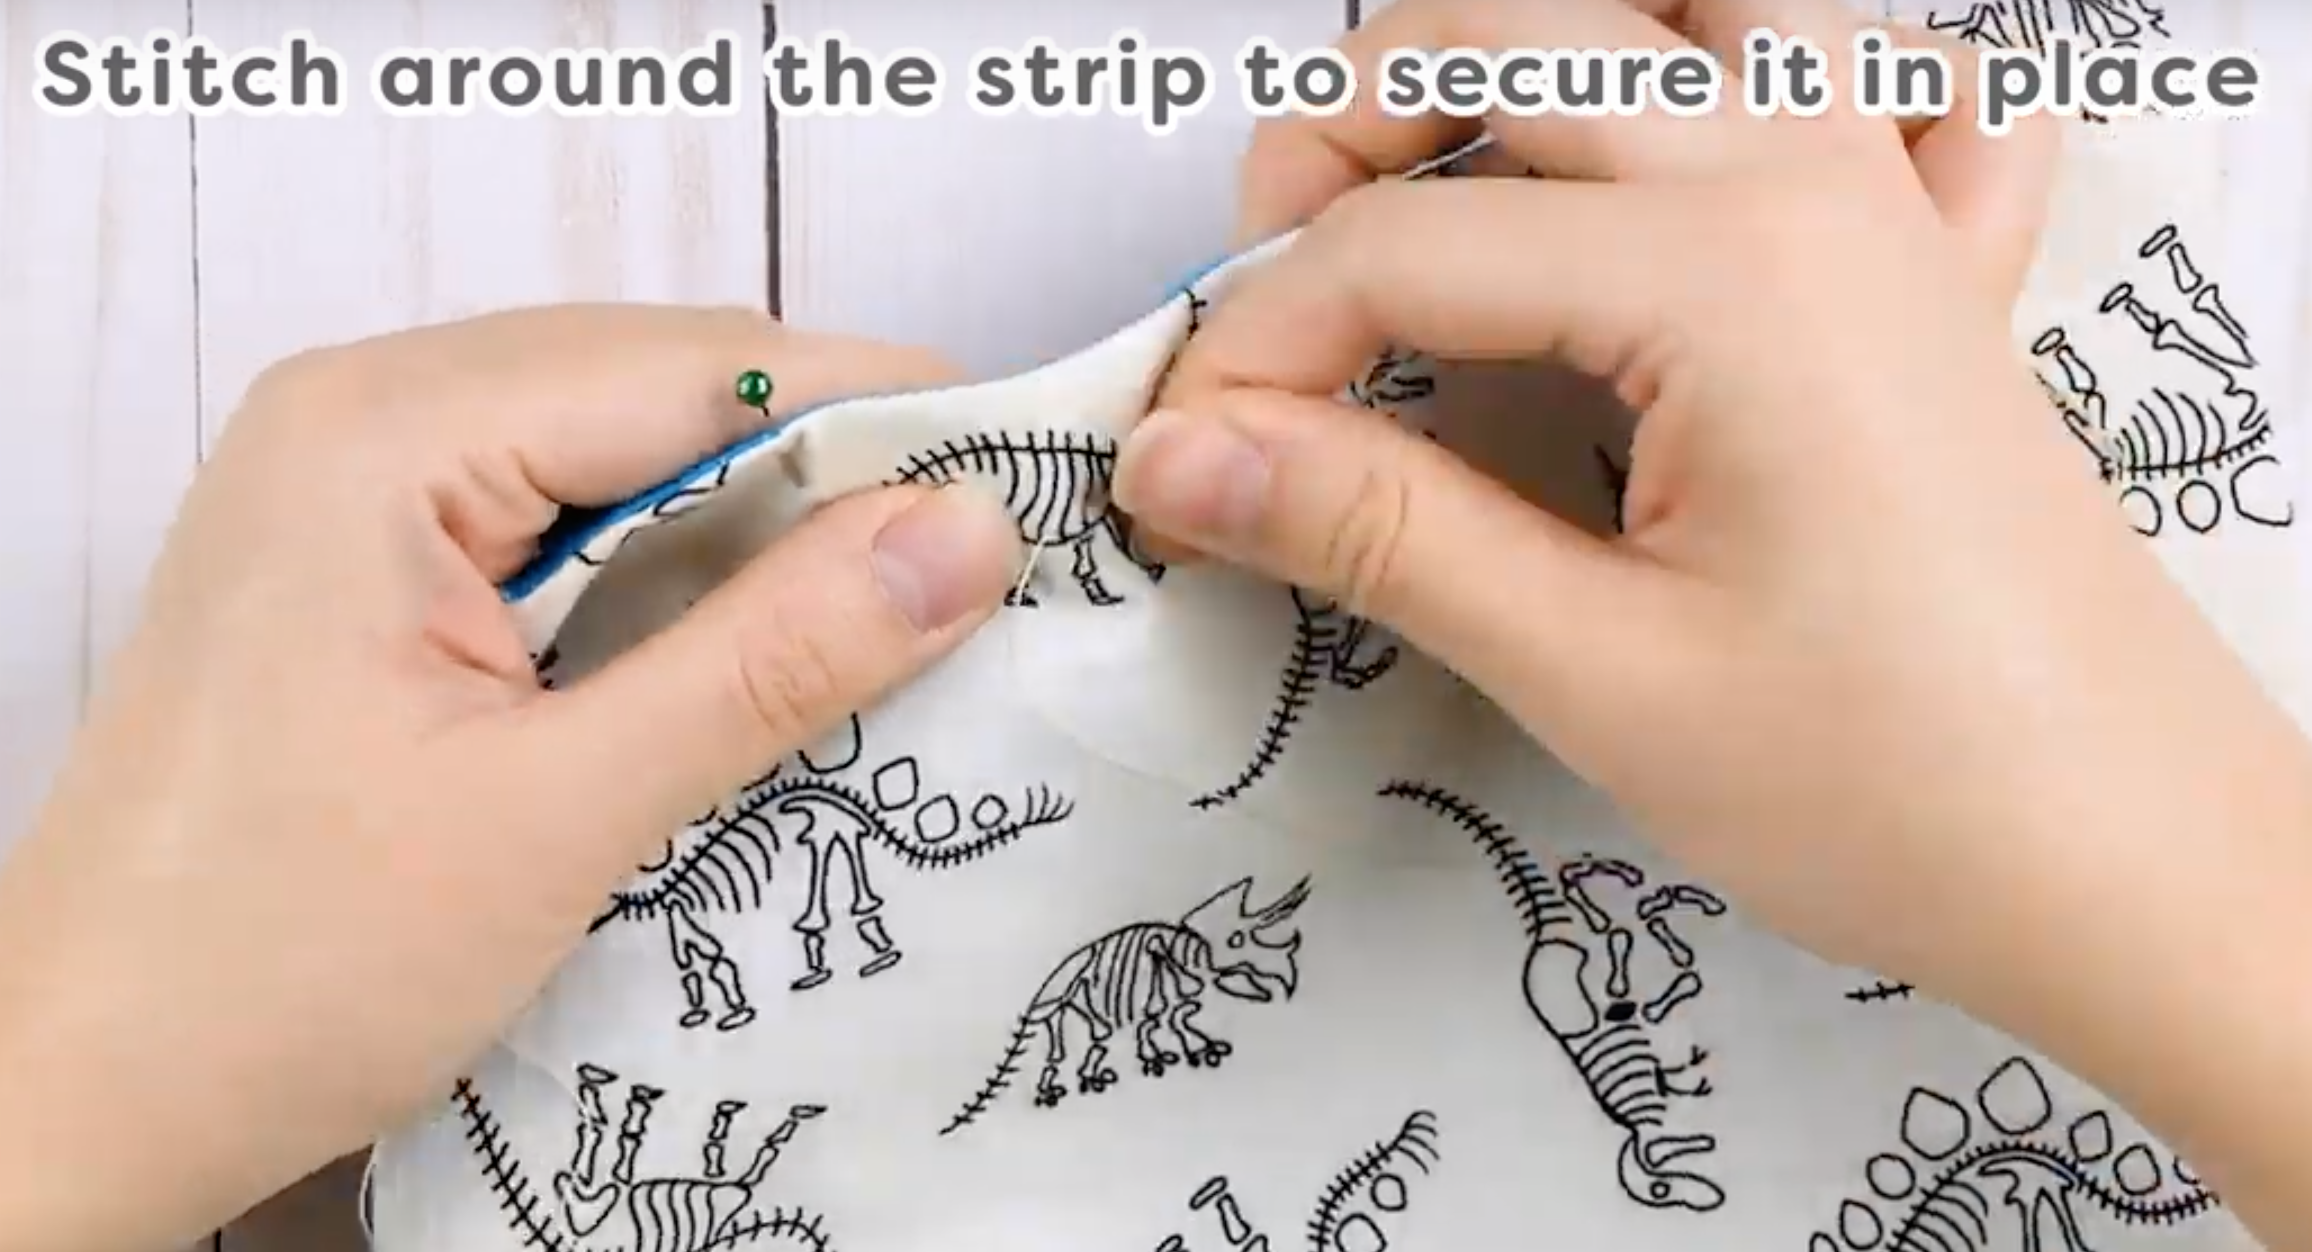
Place the nose crimp between the main and lining fabric, centered along the connecting seam. Then fold the fabric back over and pin around the strip to create a small pocket for it. You can use the placement of these pins to act as a guide for where you should backstitch around the nose crimp strip.


Once your nose crimp is secured in place, fold ½” (1.3cm) from the bottom of the main fabric and press it in place.

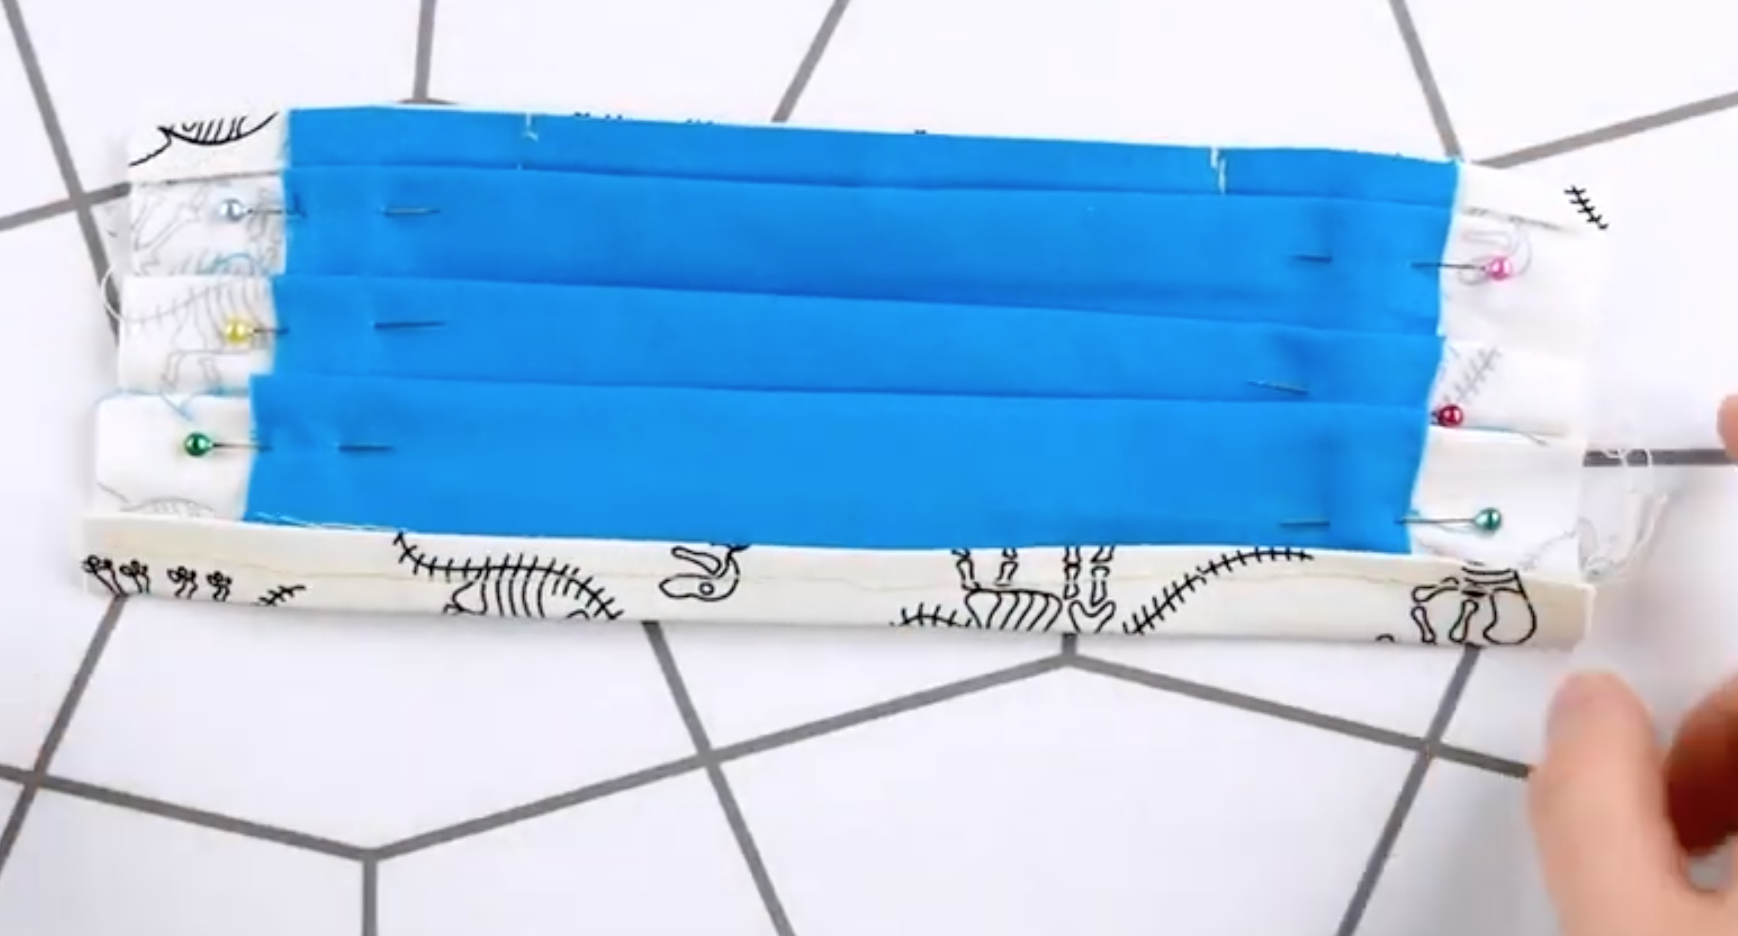
Flip your mask over to the right side and create 3 pleats by folding down from the top. Press the pleats into place.


Pin your pleats into place along the backside. You can now begin backstitching it all down on each end.

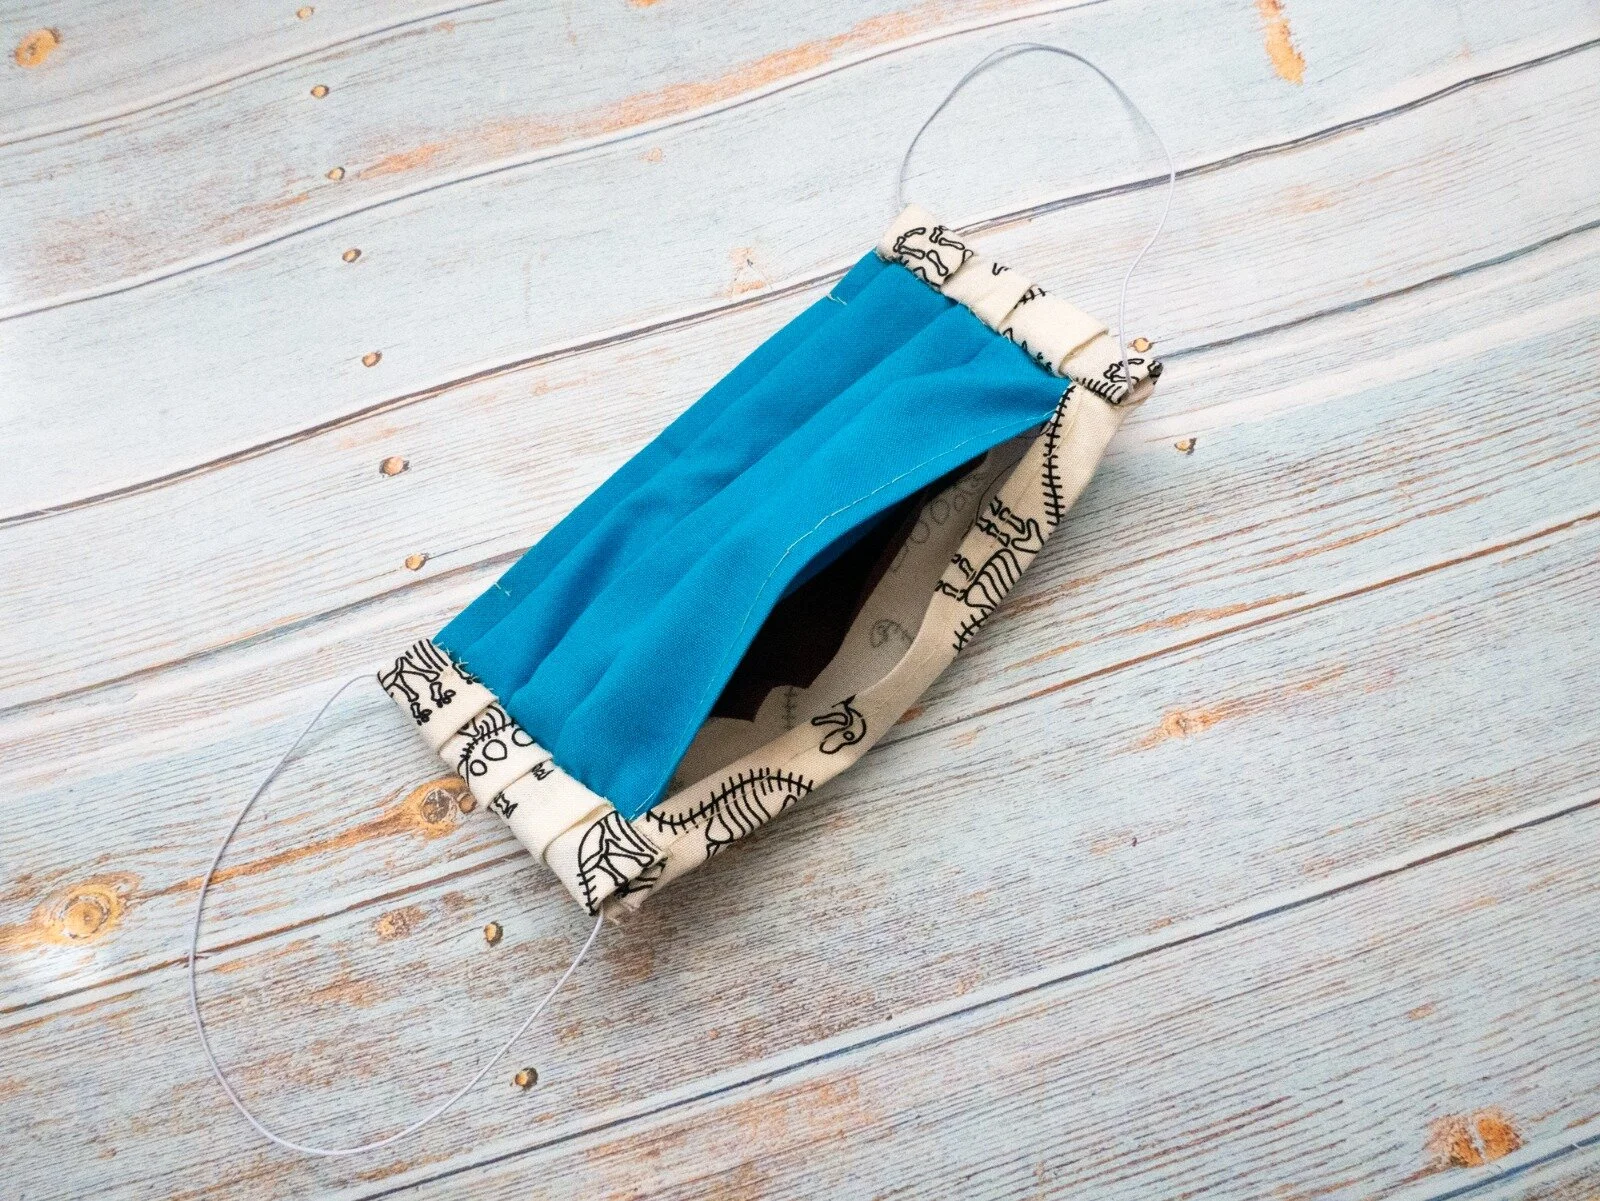
The bottom of your mask will have an opening for the filter to be placed!

Fold one of the ends over by ½” (1.3cm) and press. Then fold it over one more time and press it again to hide the raw edges. Pin it to hold it in place and then do the same on the other side.


Using a whip stitch, sew the inside edge to the lining to create a pocket for the elastic/strap to run through. Be careful not to sew through to the other side of the fabric.

Finally, take your elastics or sewn straps and attach a safety pin to the end to help feed it through the pockets you sewed on each end. If you used elastics, you can tie them in a knot and hide the knot inside the pocket. Sewn straps can be tied behind your head as you don the mask.

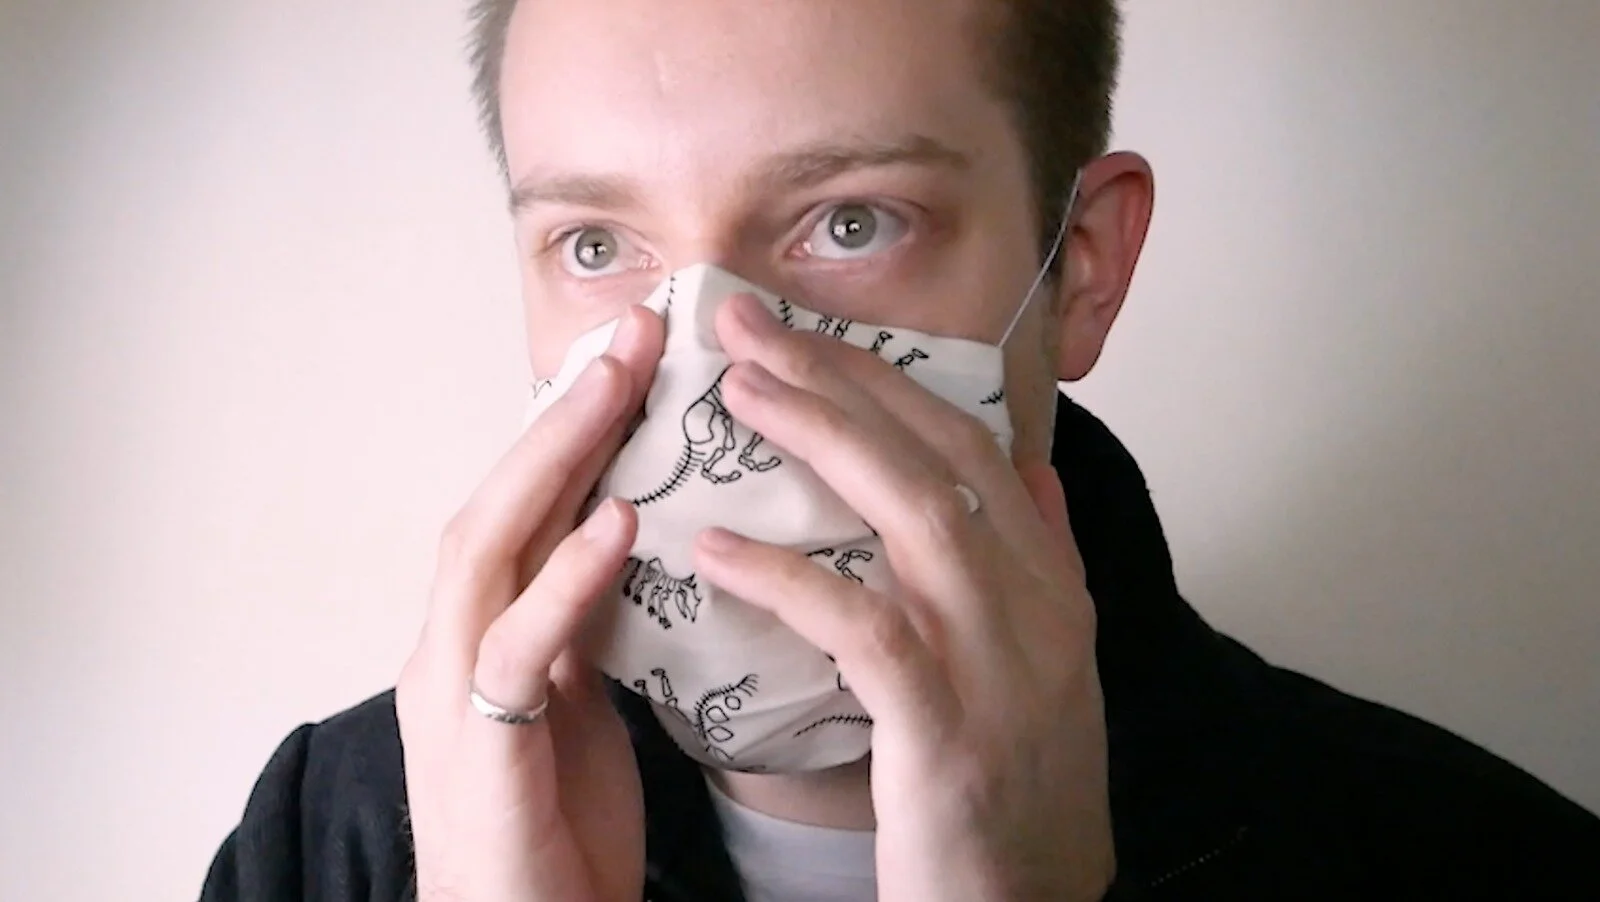
Simply place a filter in the pocket and your face mask is ready to be worn! Don’t forget to press the nose crimp around the contours of your nose for a better, tighter fit.
