
How to Sew a Simple T-Shirt Face Mask
WonderFil Specialty Threads
Are you looking to sew some face masks but are running out of fabric to make them with? As it turns out, 100% cotton t-shirts are a great choice for making face masks out of because they offer decent breathability with a high droplet blocking efficiency when made with two layers of fabric. This is a great time to clean out your closet and upcycle your old t-shirts into something new and useful! You can follow along with our video tutorial here!
Or you can download our free pattern to follow along with! You can download the free pattern by clicking here: https://bit.ly/3m3xSLz
1. Choosing your t-shirt fabric
Before you begin, take a look at the variety of 100% cotton t-shirts you own. Even if they are all 100% cotton, you’ll still find there is some variation between thicknesses, texture, and stretch in the fabric. Choose a shirt whose material isn’t too thick or you will have trouble with breathability. You’ll also want to avoid shirts covered with a large logo or image that has a layer printed over top the material as it will affect the breathability and flexibility of the fabric when worn.
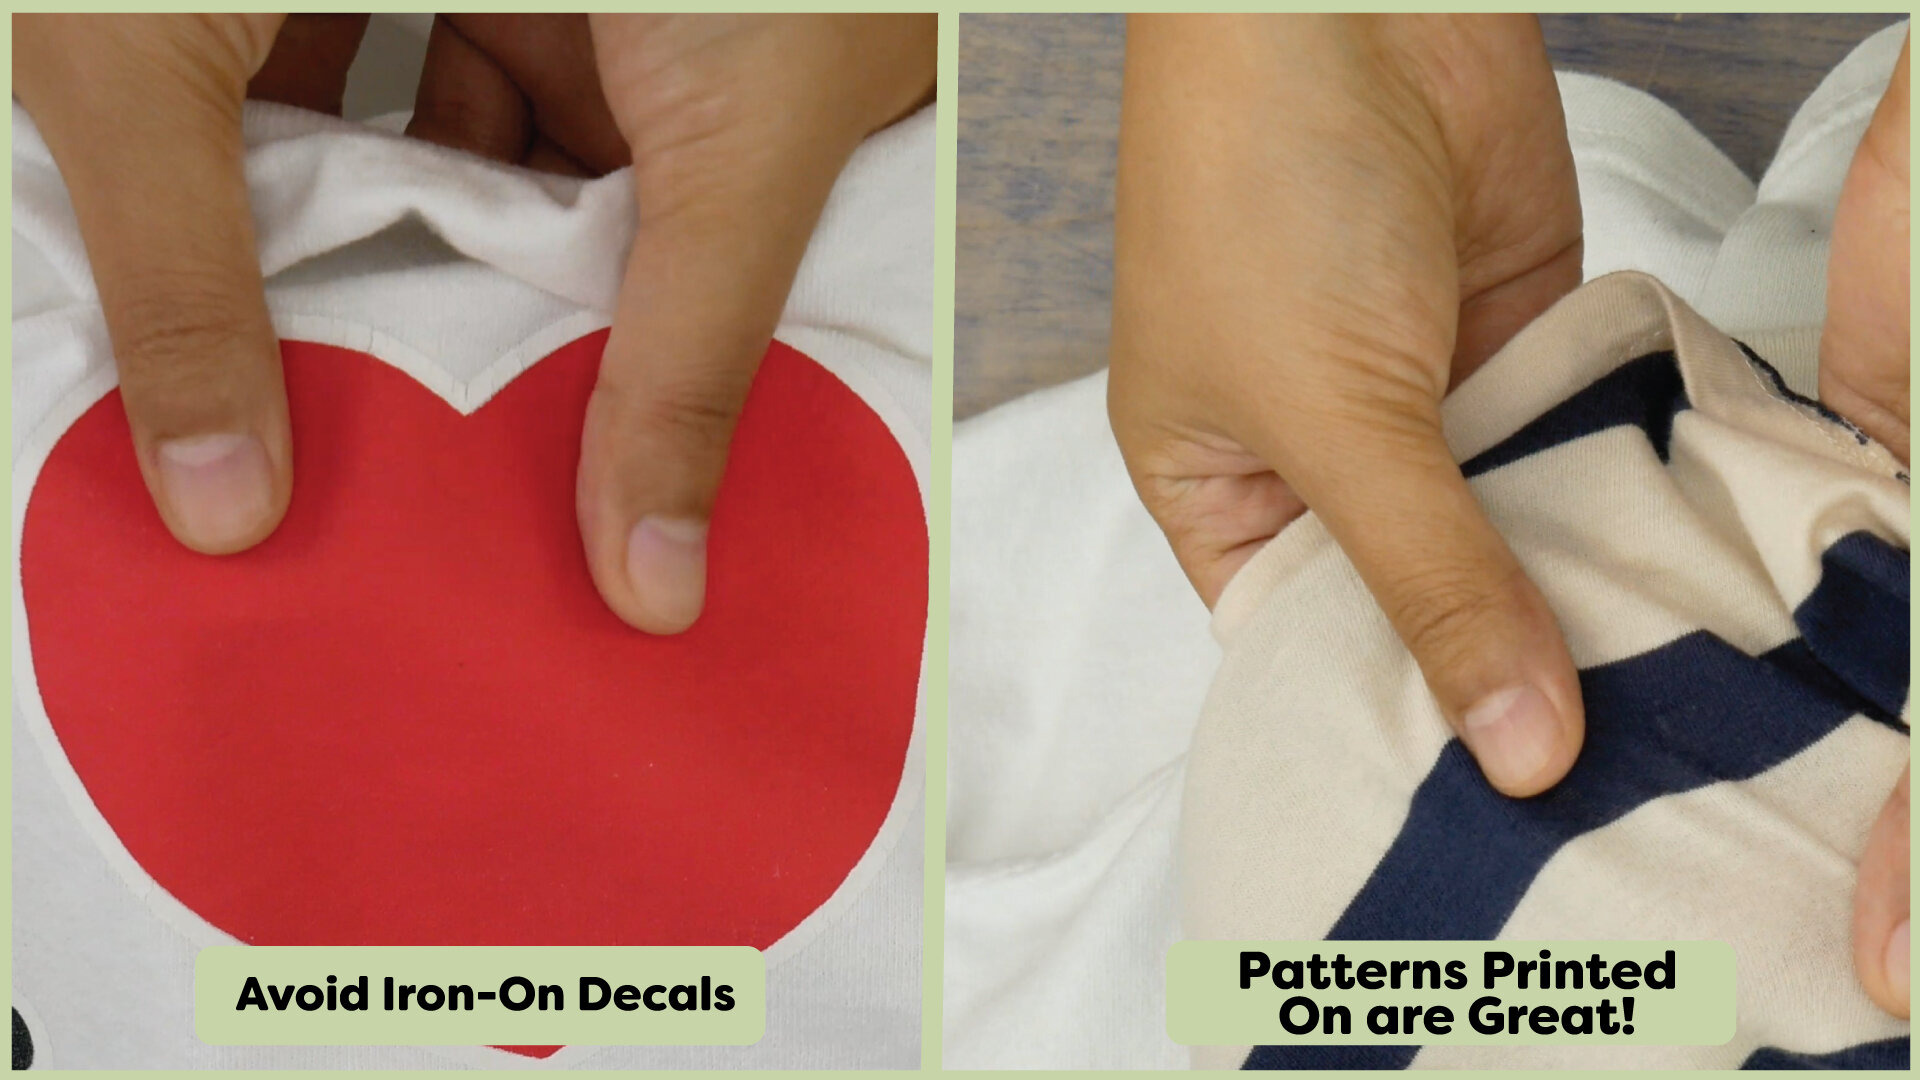
Fabric that is printed with a pattern as part of the fabric itself is fine.
2. Transform your t-shirt
With a pair of scissors, cut away along both sides of the shirt and across the underarm of the sleeve. This will allow you to open up your shirt to separate the layers.

Lay the fabric flat and cut out your front and back fabric layers.

If the fabric rolls a little on the edges, don’t worry as it won’t affect the finished mask. If this makes it harder for you to sew, you can press the fabric so that it doesn’t curl.

For a standard adult size, the front fabric will be 9” x 8” in size. The back fabric will be 7” by 7.5” in size. If you are sewing a mask for a child, decrease the width by half an inch, so the front fabric will be 8.5” x 8” and the back fabric will be 6.5” x 7.5”. If you are sewing a mask for someone with a larger head, you can add half an inch to the standard adult size, so your front fabric will be 9.5” x 8” and the back fabric will be 7.5” x 7.5”.

Find the right side of your fabric pieces, or the front facing side. Place them right sides together along the wide edges of the fabric and ensure your smaller back fabric is centered evenly. Use sewing clips or pins to hold them in place.

Sew with a 1/4” seam allowance from the edge of the fabric. Don’t forget to backstitch at the beginning and end to keep your stitching from unravelling.

Turn the pieces over so that the fabric is now sitting wrong sides together and give the seam a press to hold it down flat. The raw edge of your seam is now hidden inside the mask.

3. Adding a Nose Crimp
At this point, you have the option of adding a nose crimp to your mask to give it a tighter seal if you prefer one. If you want to continue without adding a nose crimp, scroll down the blog until step 4!
Our favourite nose crimp material is the generic bag twist ties you can find at your grocery store’s produce or bulk section. You’ll need one made with plastic and not paper, or the paper will fall apart inside the mask when you wash it.

If you’d like to purchase some of these twist ties, you can head over to this link to grab some! https://amzn.to/3m92Odw
Other options are pipe cleaners, an unfolded paper clip, or even an aluminum can trimmed down to size.
Ensure your chosen nose crimp is no larger than about 4.5” wide by 3.4” tall, or 11cm by 2cm. Center the nose crimp between the two layers of fabric snugly against the sewn seam. A sewing clip can help hold it in place so it doesn’t shift.

Mark a very short distance away from the edges of the nose crimp using a piece of fabric chalk, water soluble fabric marker, or disappearing fabric marker so you know where to start and stop sewing.

Making sure to backstitch, sew down from the edge of the fabric and stop with the needle in the down position below the crimp. Pivot at a 90 degree angle and continue sewing to the other end of the nose crimp. Pivot again with the needle down and sew the last line of stitching with a backstitch to create a pocket for your nose crimp.
4. The last few Stitches!
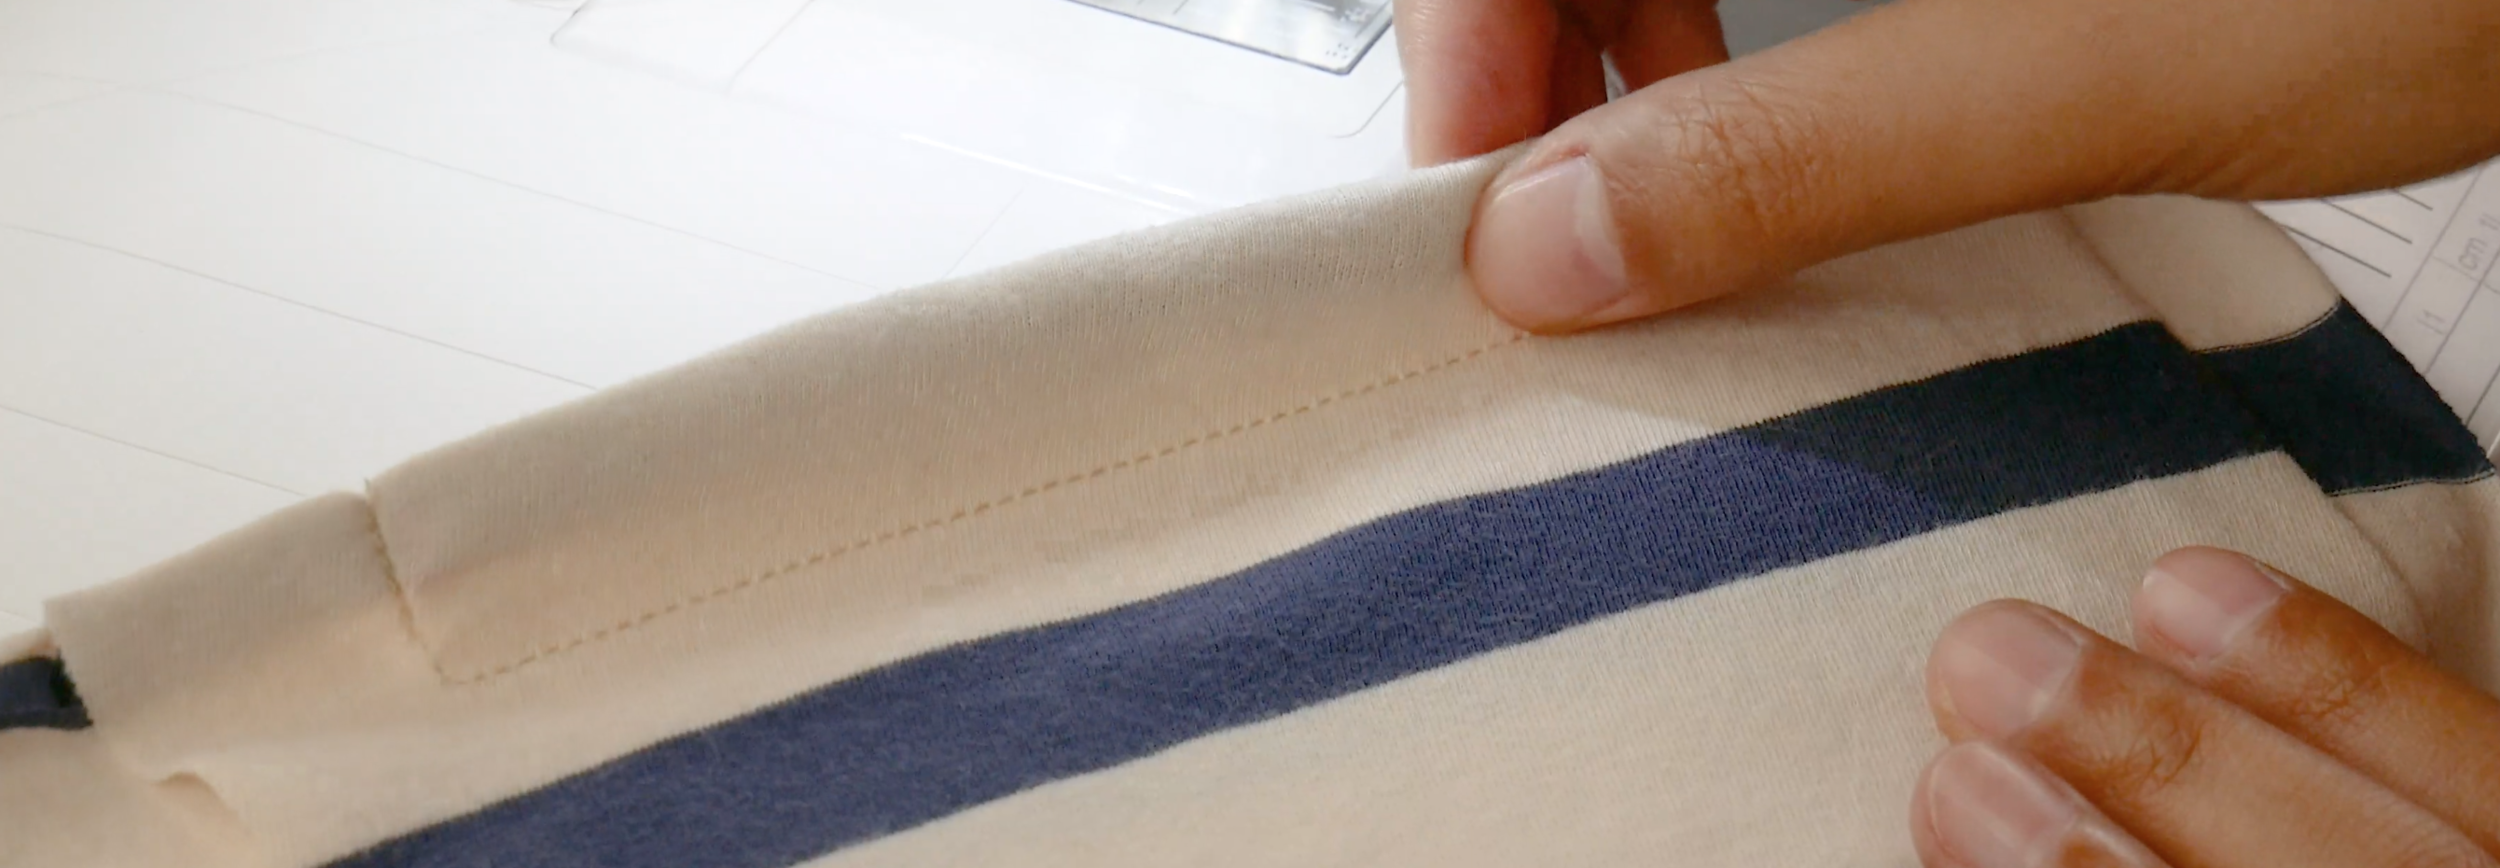
Roll up the raw edges of the bottom of your mask by half an inch or about 1cm two times, pressing with a hot iron in between to hold it in place.

This will hide the raw edge of the fabric. Sew a straight line of stitching down this folded edge to hold it in place.

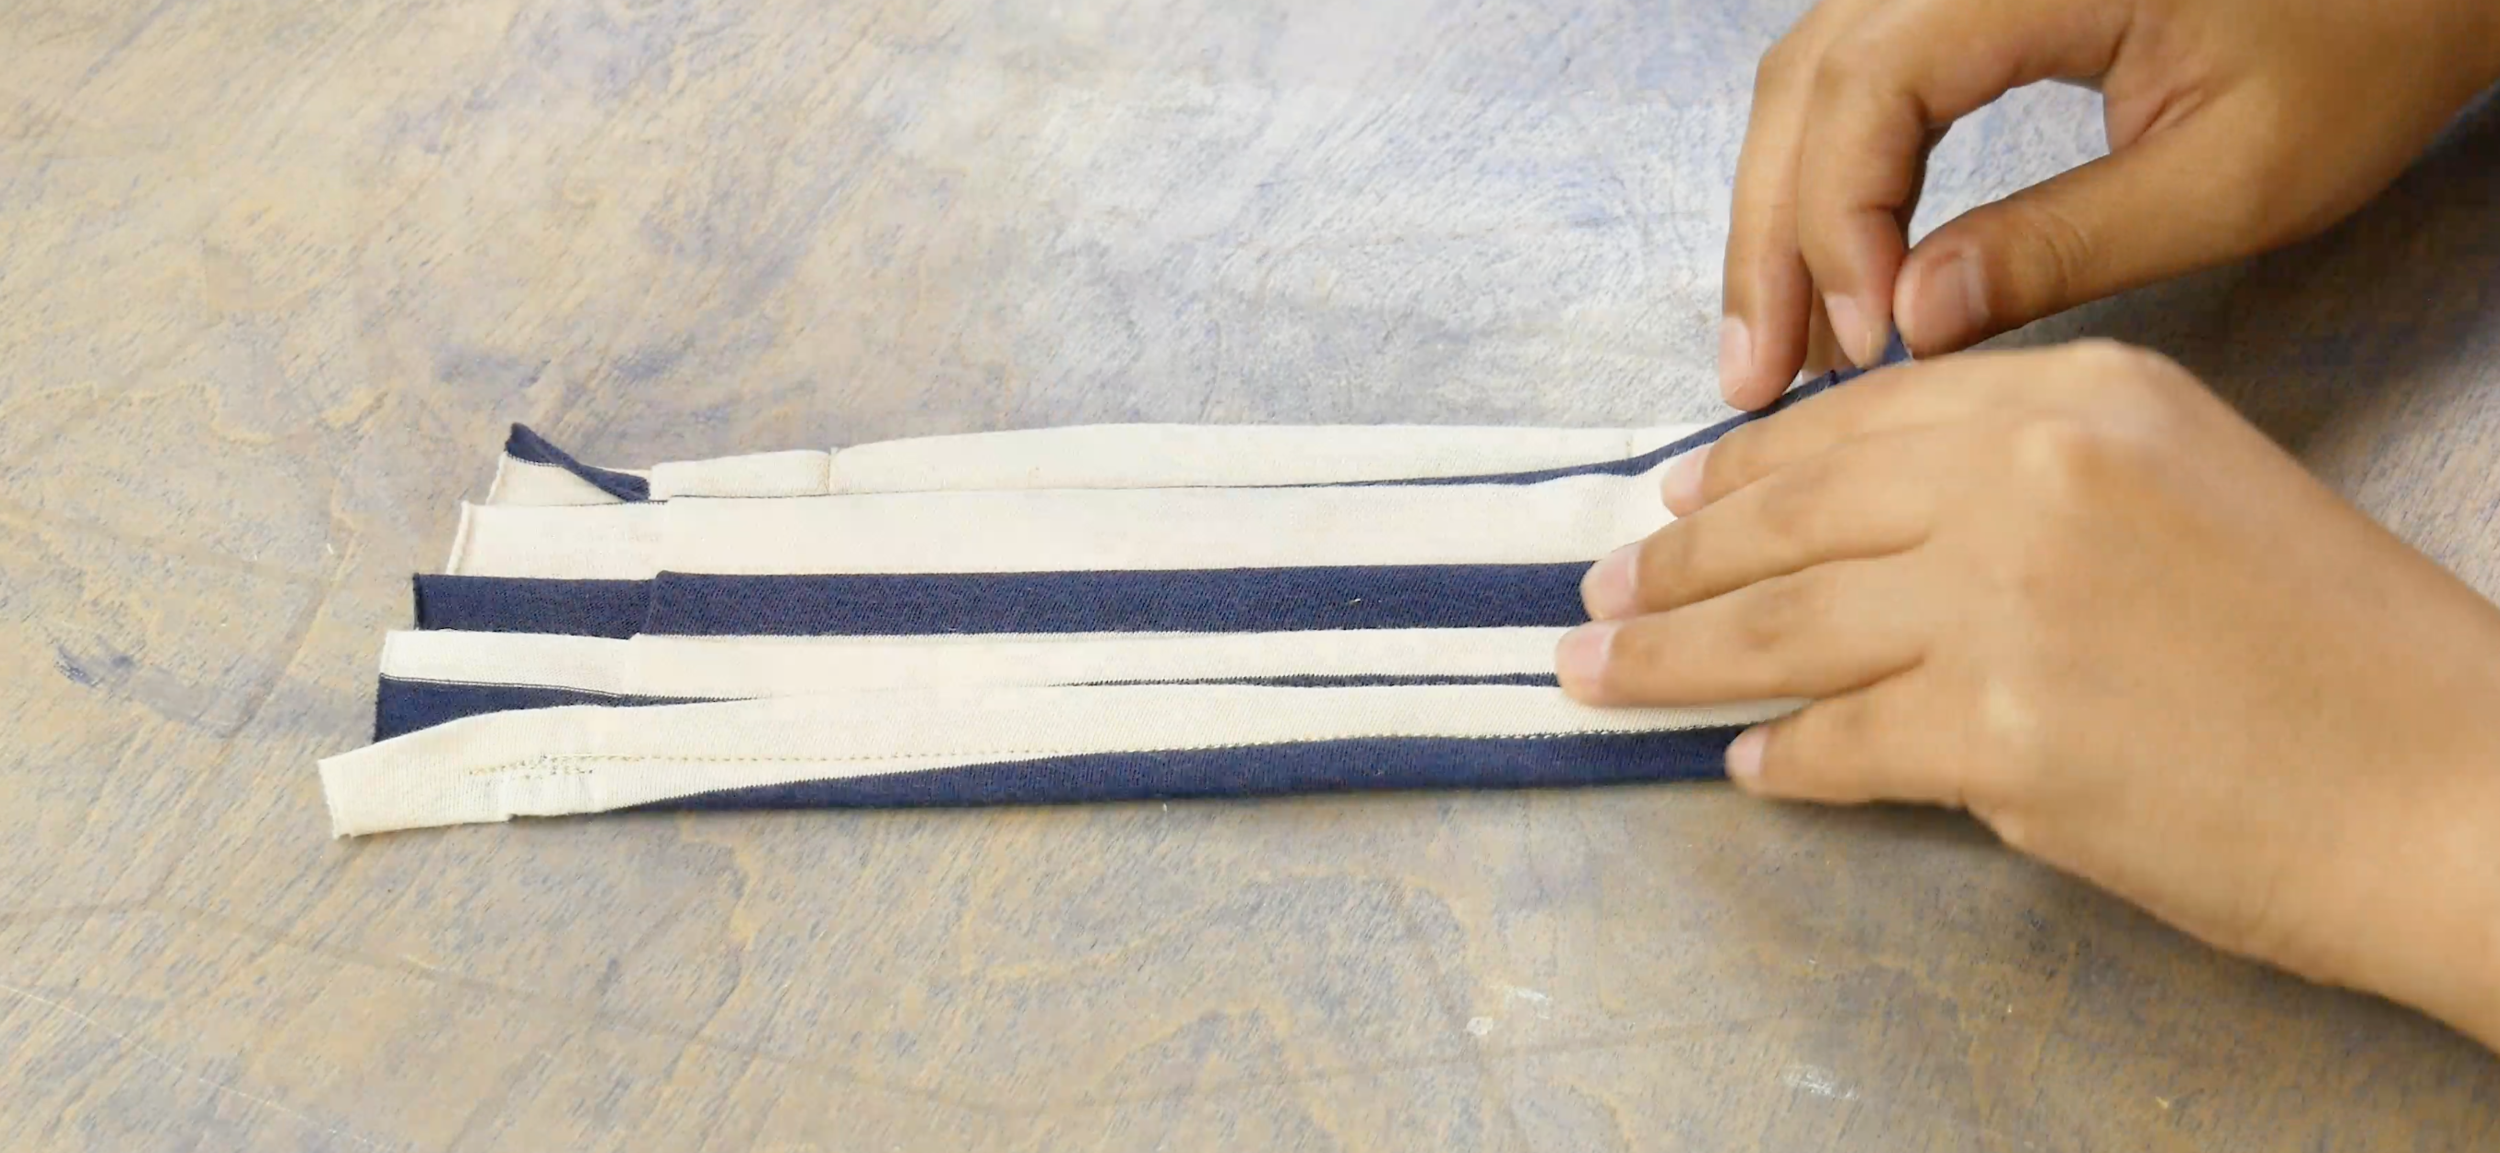
Flip the fabric over to the right side and fold 3 pleats all the way down the fabric. Press them into place with a hot iron.
Fold over each edge of the pleated mask by about half an inch or 1.3cm two times to hide the raw edge.

Press between each fold to help hold the fabric down flat. You can use sewing clips or pins to hold the fabric in place so it doesn’t unravel while you sew. Sew as close as you can to the inner edge to create a hole for your elastics or straps to go through. Don’t forget to backstitch at the beginning and end as there will be more pressure put on this seam as it’s holding down more layers of fabric.

5. Finishing Touches
The final step is to put the elastic ties or straps through the holes. We will be using these pre-cut elastic cords designed especially for a long and comfortable wear. These elastics are available for purchase online, and you can find the link to shop for them here: https://shopwonderfil.ca/product/elastic-cord-for-face-masks. Currently, 20% of the sales from every face mask elastic cord pack will be donated to Direct Relief, an organization offering targeted assistance for people confronted with disasters. Currently they are working to provide protective equipment and critical medication in response to COVID-19.

If you don’t have access to elastics, you can make your own out of the same t-shirt fabric. Simply cut two 12” x 1” pieces, or 30.5 x 2.5cm. Fold the pieces in half twice until you have one long strip about a quarter inch or half a centimeter tall. Sew all the way down to hold it in place, backstitching on both ends.

You can pull the straps through the holes with a few tricks. You can use a safety pin pinned to the elastic or strap, and run it through the pocket to the other side. You can also use an unbent paper clip with the last loop left unbent and tie the elastic or strap to the hook to pull it through.

Gently pull it through while massaging the fabric to get it through to the other side.

Tie the elastic or strap into a knot and hide the knot by pulling it into holes.

Your mask is now ready to wear! If you used elastics, you can loop them behind your ears. If you made your own straps, they can be tied behind your head.
6. Cleaning an caring for your mask
Clean your mask by washing it after each wear in a washing machine with detergent like you would with your regular clothes. If you have trouble with mask elastics cutting painfully into your ears, we have another tutorial on sewing your own face mask ear guards that’s easy enough for beginner sewers to follow along with.
For face mask elastics designed for a more comfortable wear, don’t forget to check out the following link to purchase them online in your country: https://shopwonderfil.ca/product/elastic-cord-for-face-masks
We hope this tutorial helps you repurpose your t-shirts into something new and useful! Did you find this blog helpful? You can also sign up for our free newsletter to receive more educational sewing tips, tutorials, and free patterns. Register by clicking here! We’ll see you again next time!