
Sew a Couched Christmas Stocking | Free Pattern
WonderFil Specialty Threads
Are you looking for something unique to hang on your mantle this year? These couched stockings are quick and simple to make and can be whipped up in time for Christmas. All you have to do is choose some sparkly threads in your favourite colours, or those of the person you’re making it for. Before you can get started, you’ll need to cut out your fabric pieces. Download and print the free pattern of your chosen size, available here: https://bit.ly/37MsfwD or, you can make your own pattern!
You can watch along while we make our stocking in our YouTube video:
1. Getting set up
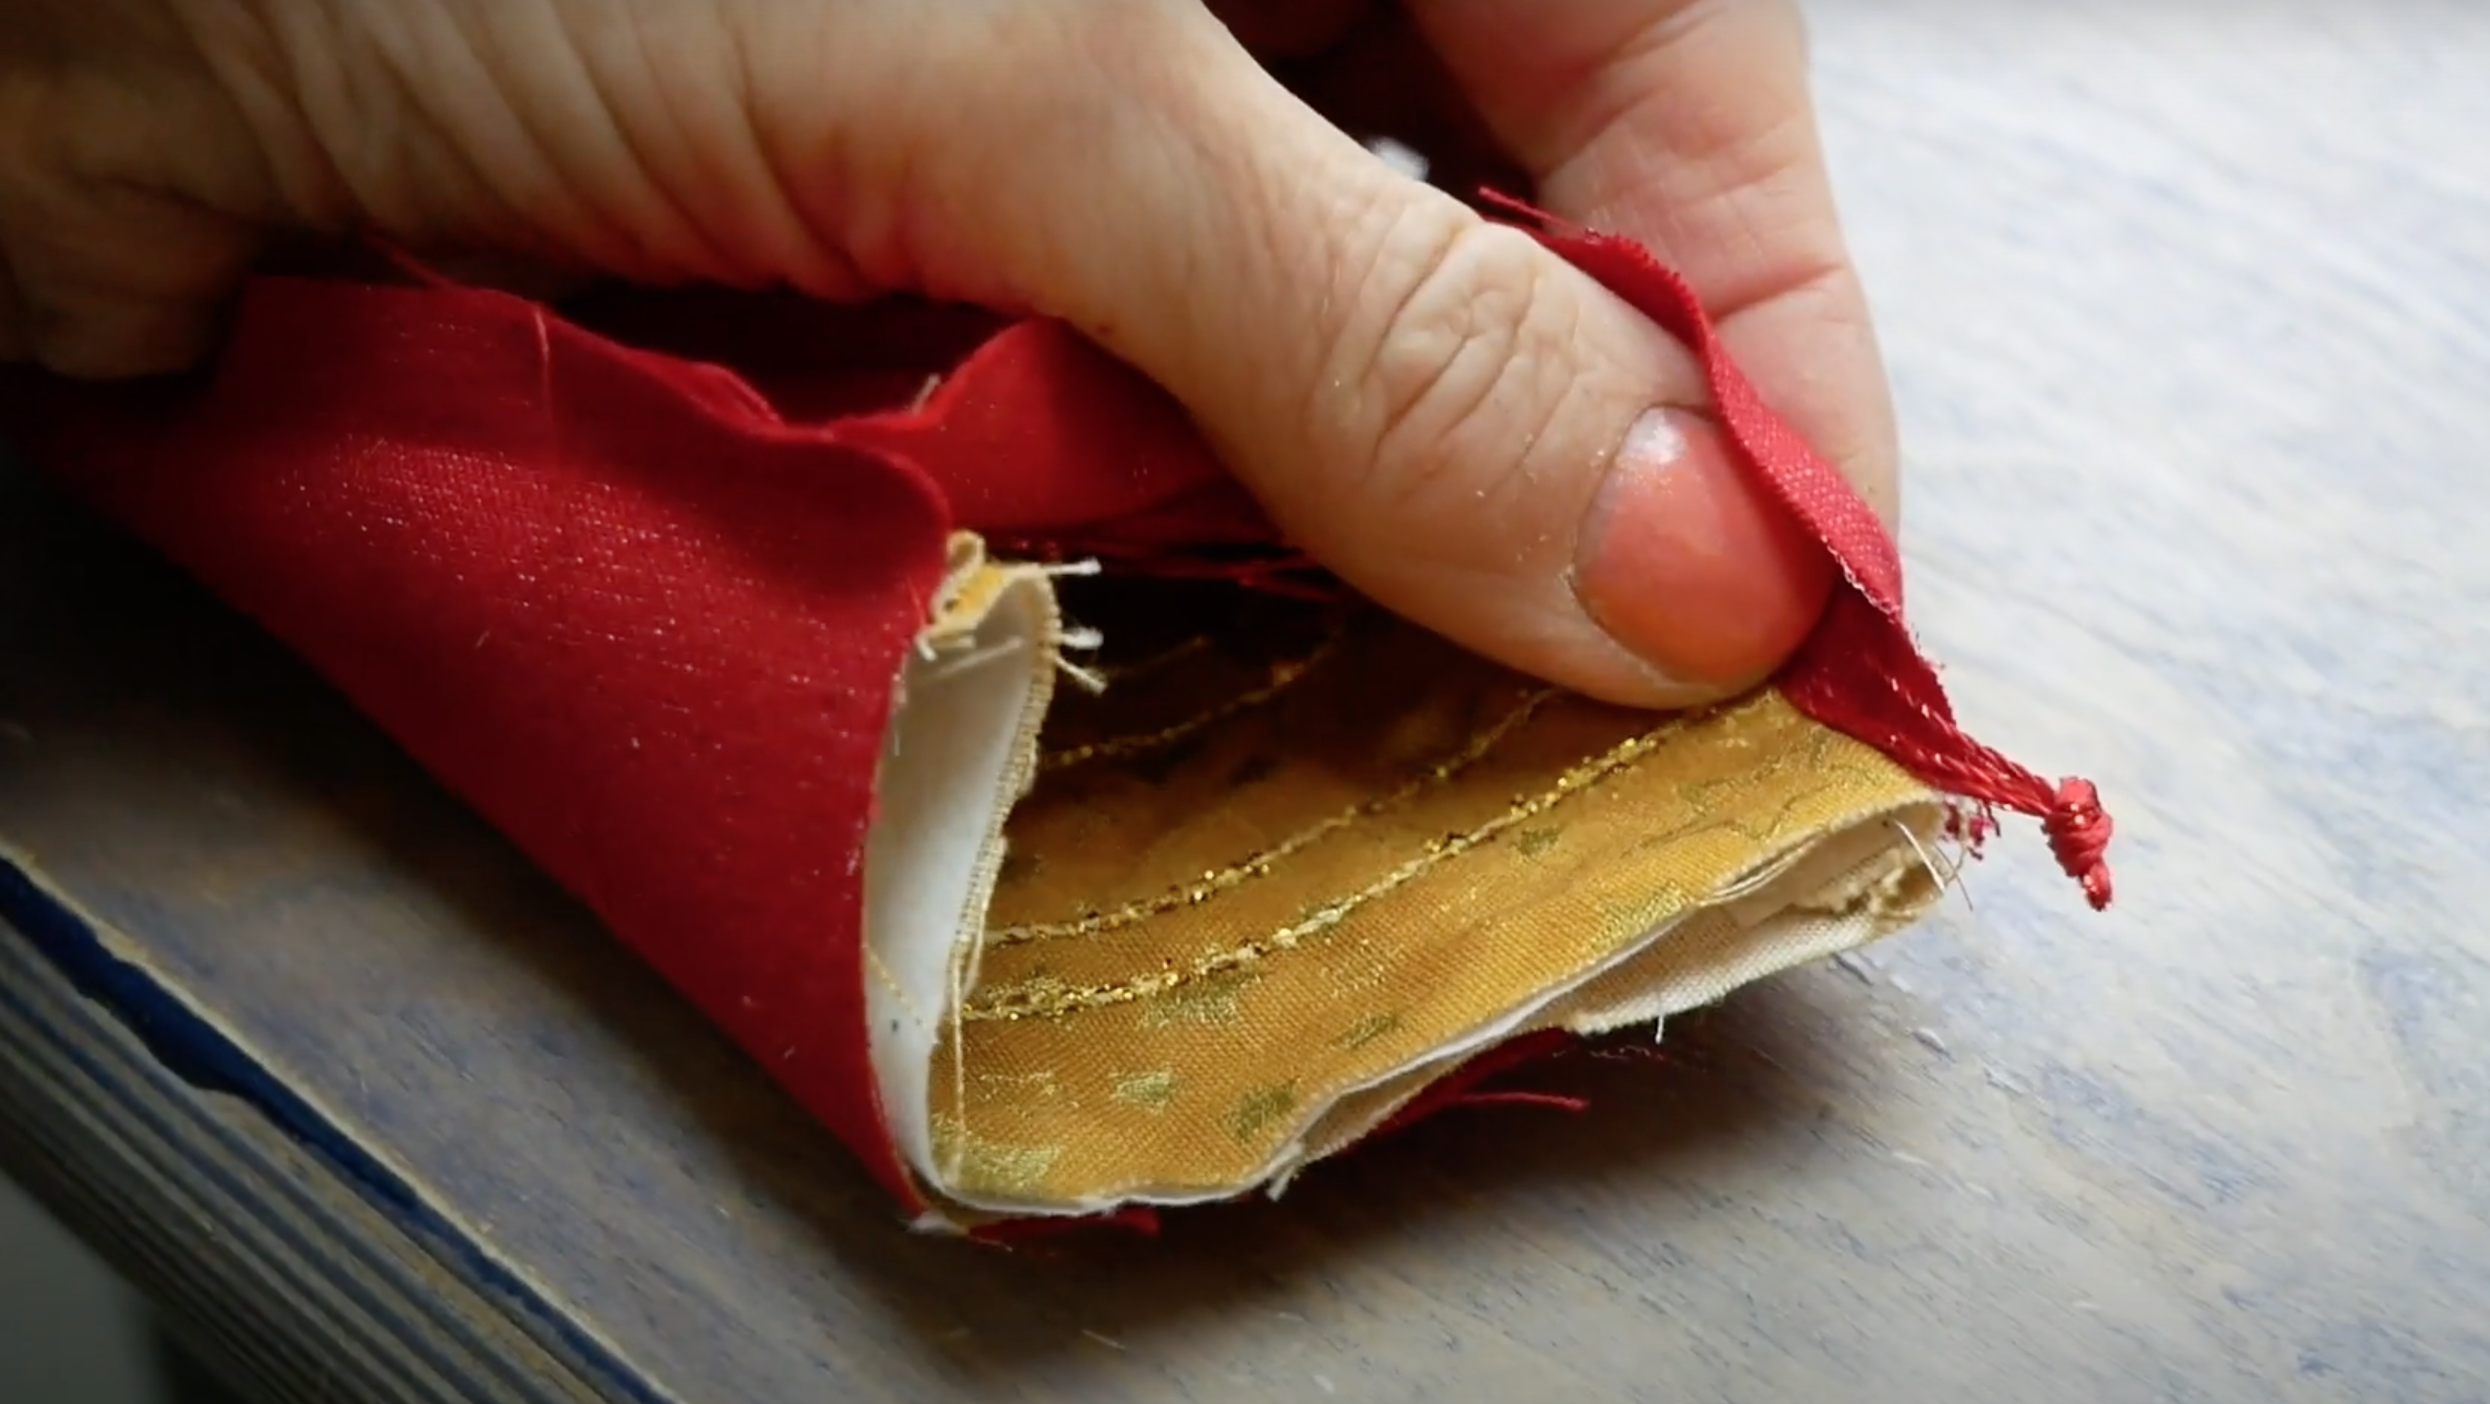
Cut out two pieces of the outer fabric for your stocking fabric, two of a lining fabric, and one of a stabilizer. The size will depend on how large or small you’ve decided to make your pattern.

Press and fuse the stabilizer to the wrong side of your stocking front.

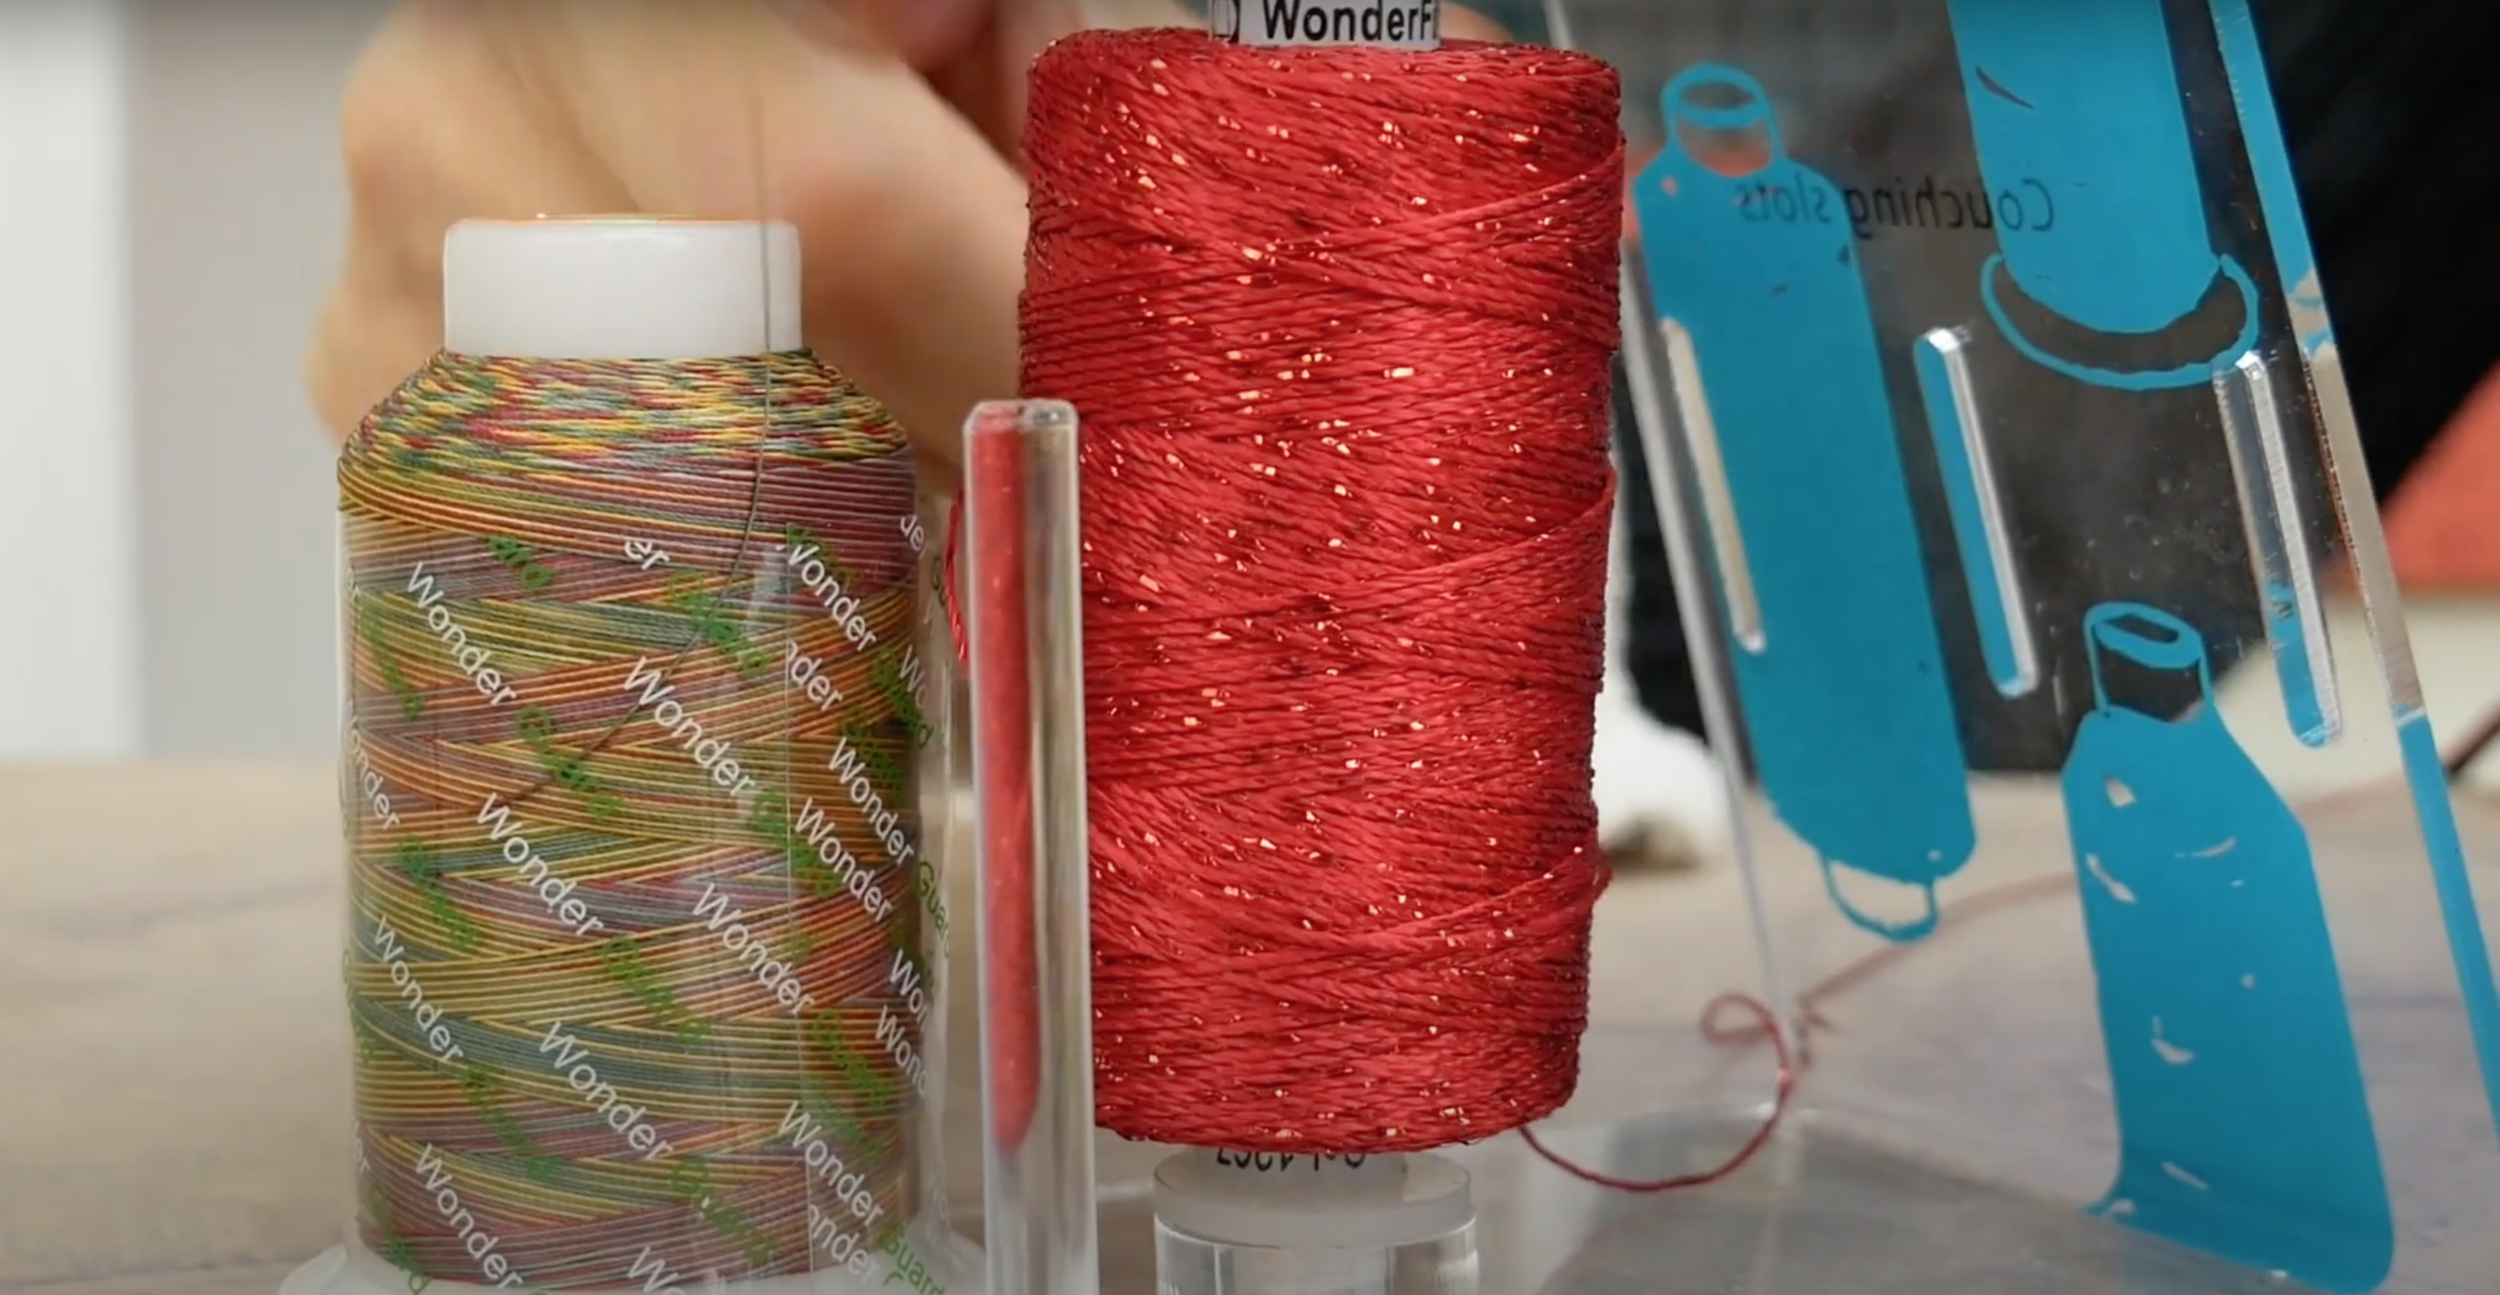
We’ve selected an assortment of thick 8wt threads to couch with. An 8wt thread cannot fit comfortably through the eye of your needle, but stand out beautifully when couched onto any surface. Here are some of our recommendations for 8wt threads you can use! These threads are perfect for adding a beautiful sparkle and shine to your stocking this holiday season. When the Christmas lights are on, they’ll add a beautiful reflective cheer to your room.
Starry Night Dazzle, 8wt rayon with 1 strand of metallic: https://shopwonderfil.com/product-category/sndazzle/
Razzle, 8wt 100% rayon: https://shopwonderfil.com/product-category/razzle/
Dazzle, 8wt rayon with 1 strand of metallic: https://shopwonderfil.com/product-category/dazzle/
Consider the top thread that will be stitching down your thicker 8wt threads. If you don’t want the top thread to show at all, we recommend using this 100wt top thread called InvisaFil. This is a strong cottonized polyester that’s super strong, so you’ll only see the thicker couched threads.

You can find InvisaFil online here: https://shopwonderfil.ca/product-category/invisafil
On the other hand, you can also play with adding a colourful variegated top thread. This thread is called Silco. It’s a 100% lint free cotton that comes in several variegated and solid colour options. Adding a variegated thread is a great way to add other pops of colours and change the look of your couching.

Before starting thread your machine with the top thread of your choice. Because Silco is lint free, it’s a much more slippery thread. We recommend placing a wonder guard around the spool to prevent the thread from pooling while you sew.
You can find the Wonder Guard online here: https://shopwonderfil.ca/product/wonder-guard-thread-guard

In the bobbin, we’ll be using an 80wt cottonized polyester thread called DecoBob. Similarly to InvisaFil mentioned above, this thread is fine but strong, and won’t add any bulk to your fabric.
You can find DecoBob online here: https://shopwonderfil.ca/product-category/decobob

Our favourite way to organize couching threads is to place them on a thread tamer. This multi-purpose tool can hold up to three couching threads, keeping them nice and tidy so they aren’t rolling around on your sewing table.
If you don’t have a thread tamer, you can also place your threads in a tall sided bowl next to the machine.

If you have a couching foot for your machine, it will help a lot to keep your threads running straight however if you don’t, you can still couch your threads without one. You may just need to couch fewer threads at the same time. We’ll be demonstrating without a couching foot.

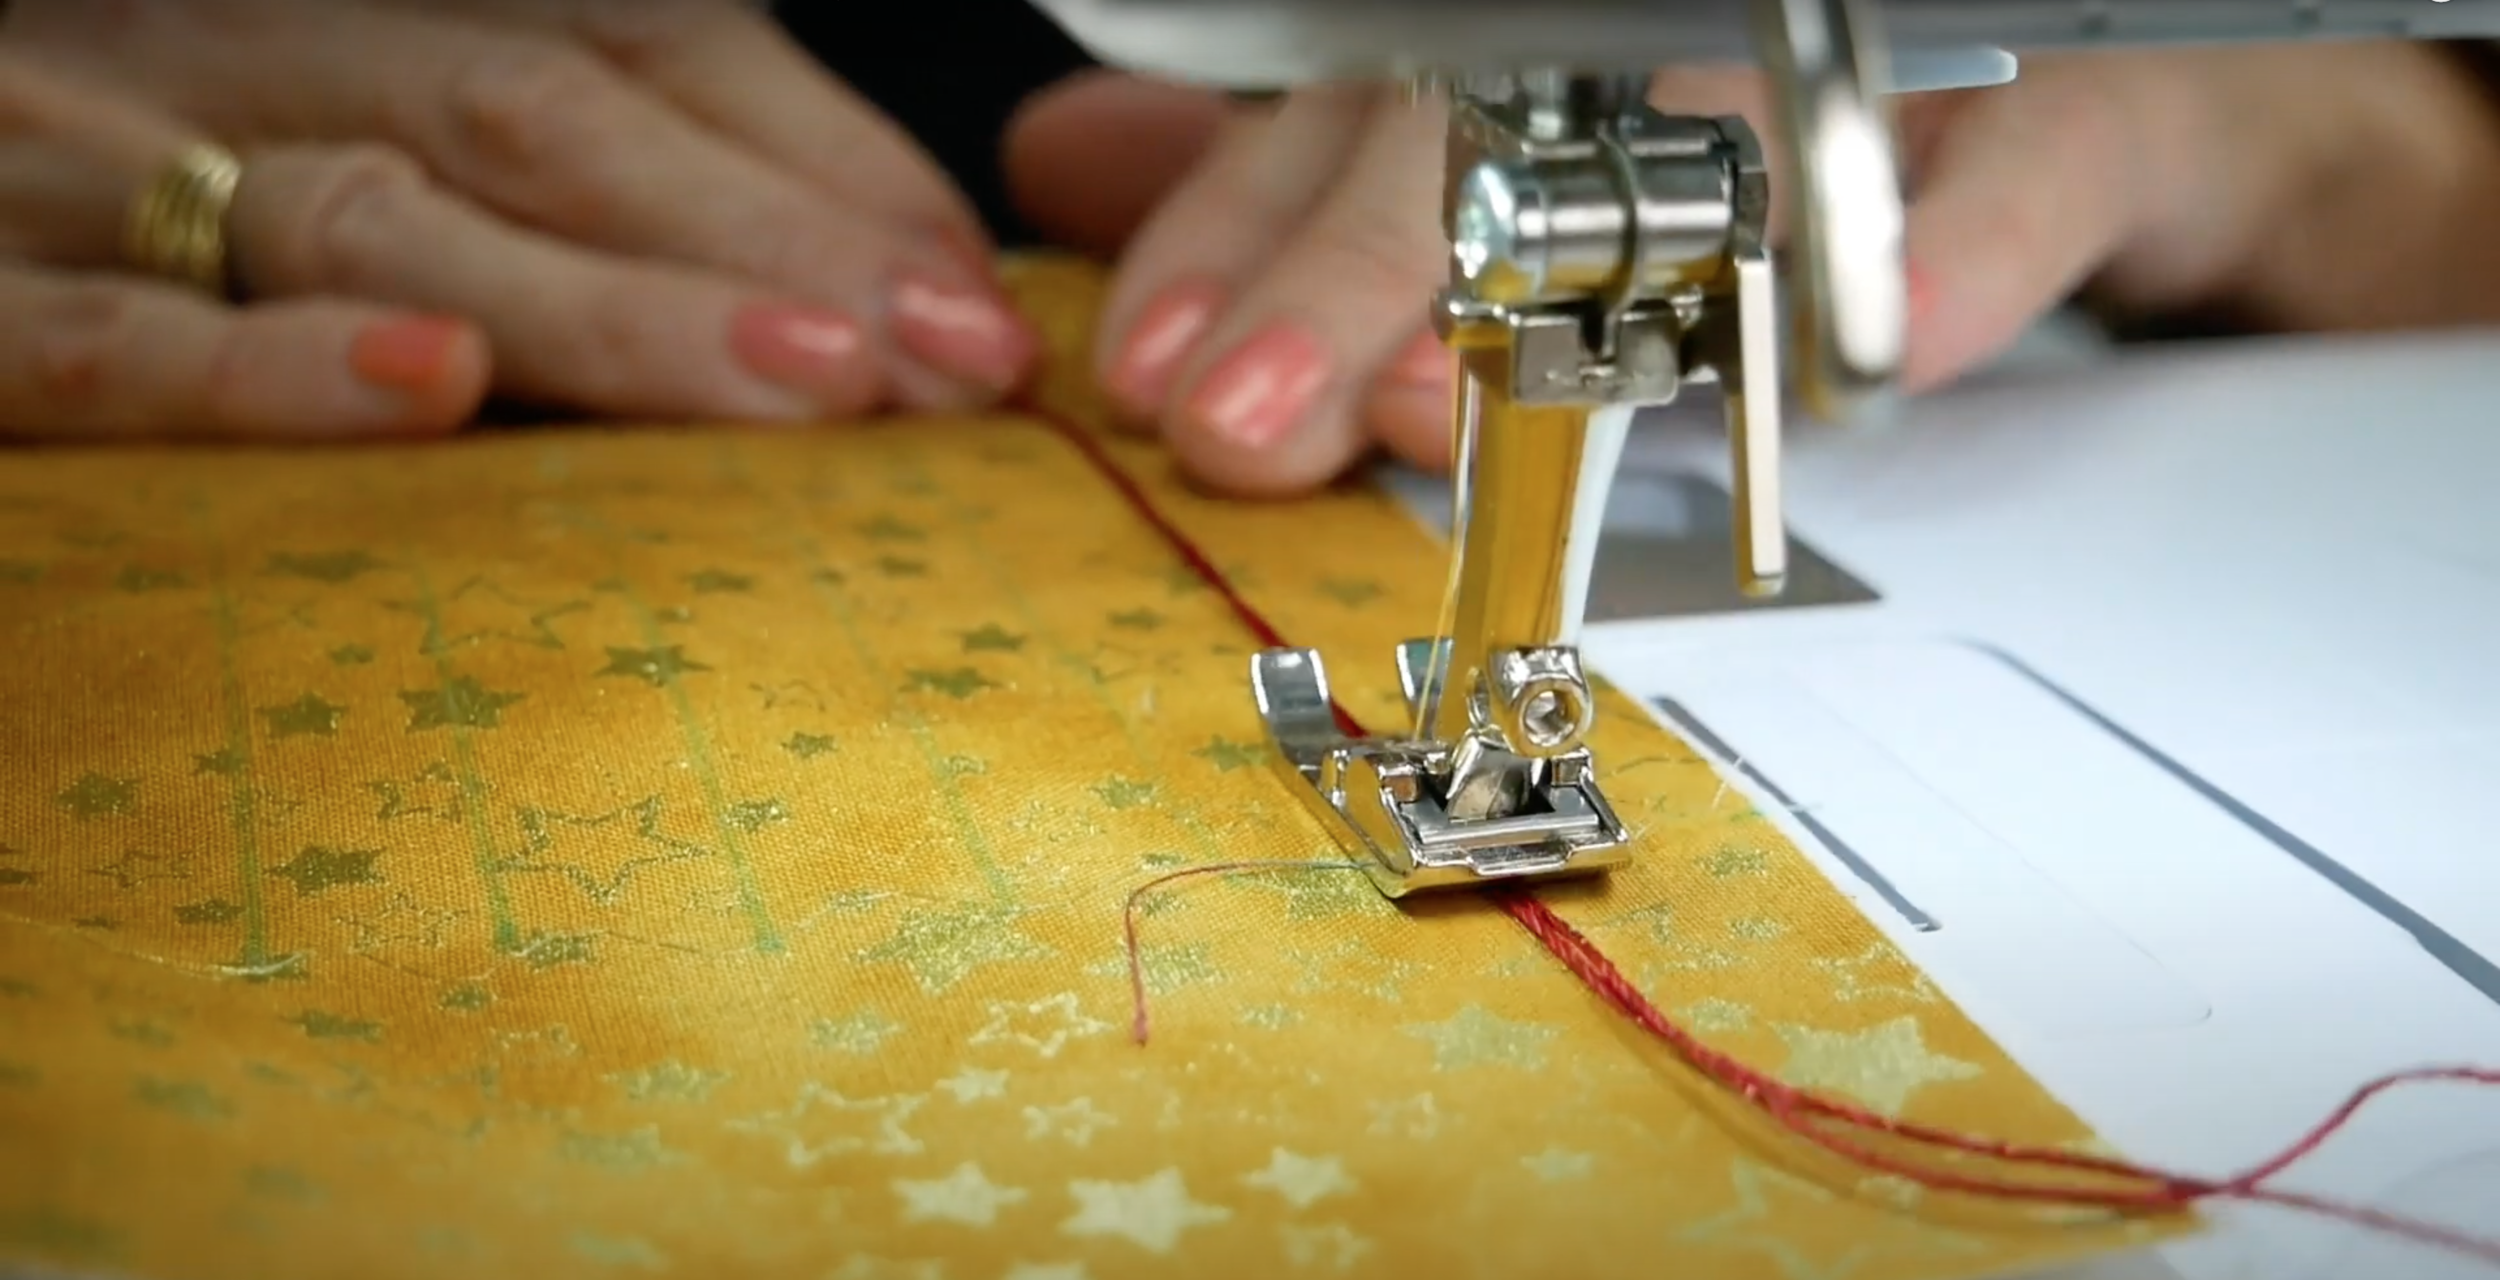
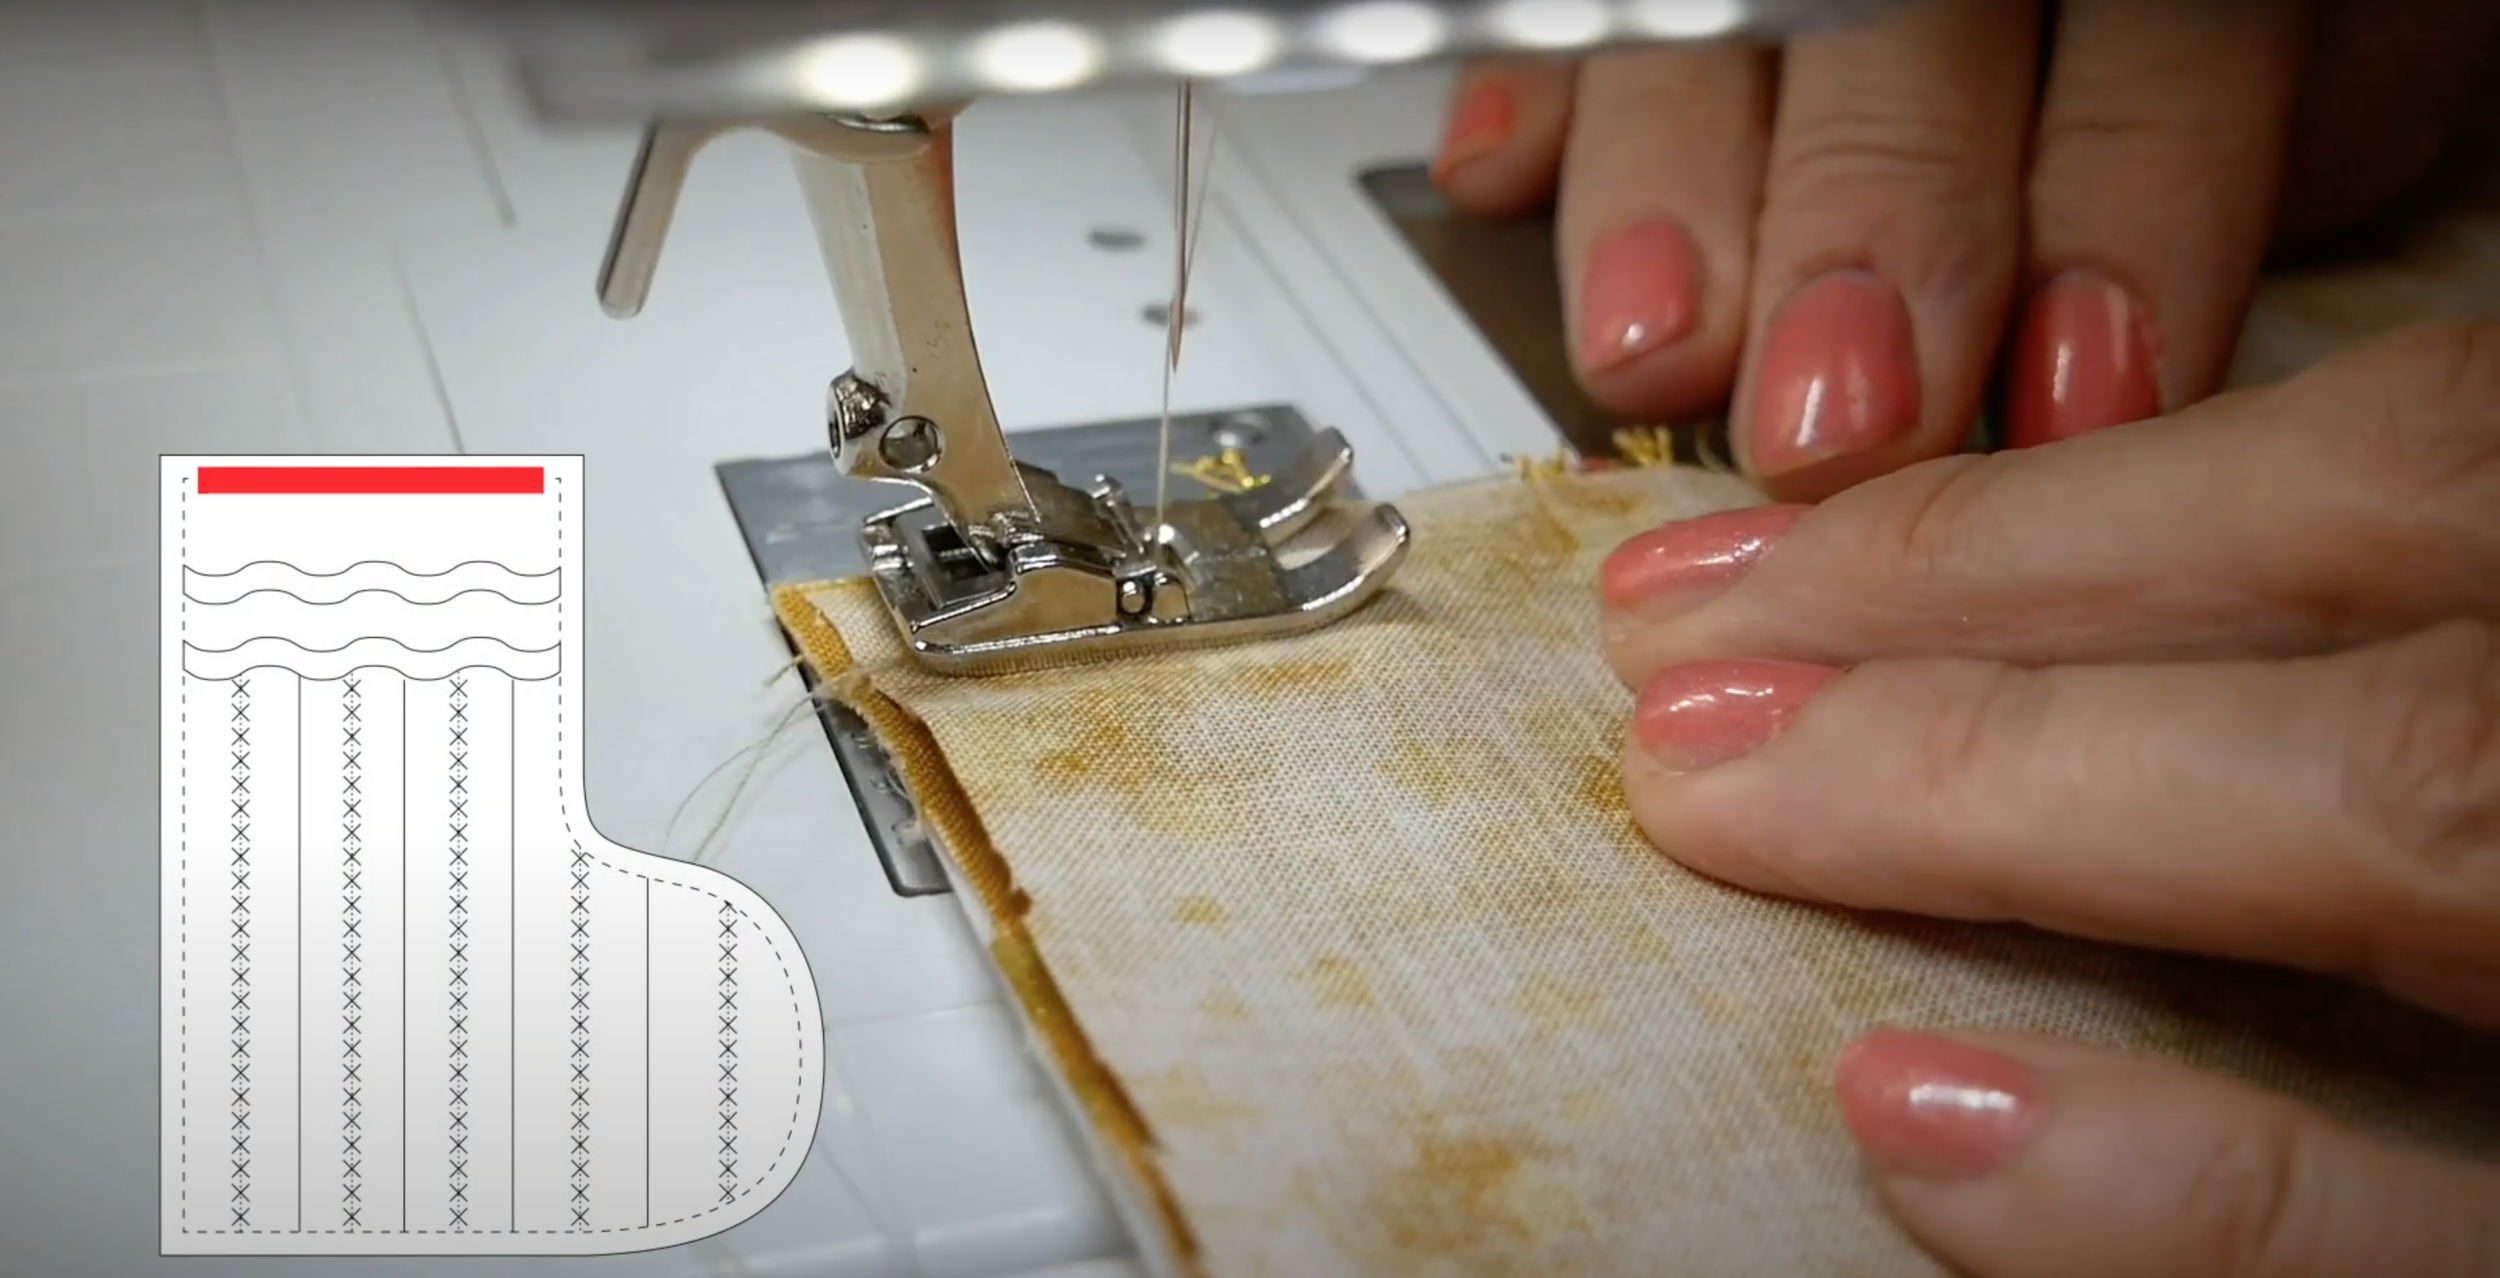
Because we have designed the stocking with a boarder, we’re going to put InvisaFil in our machine, and stitch a curved line as a guide for where to start my other couching lines. You can do the same to the other piece of your outer fabric or leave it blank.

Select the zig zag stich on your machine and increase the stitch length just a bit so that it falls just outside the outer edges of the threads you’re couching down.

Using your fingers, keep the thread running straight, as you stitch from the top of the stocking to the bottom. Continue to do this until the surface of your stocking is filled.
To finish off the couched thread, simply thread it though a hand needle and bury the thread at the back, or wrong side of the fabric.

Place the outer embellished fabric, and the second piece of outer fabric right sides together. Using a 1/4” seam allowance, stitch around the stocking leaving the top open.
2. Constructing your Stocking
We recommend using a construction thread called Designer, a 40wt all purpose polyester thread. It’s sturdy enough so that you can pack your stocking until it’s bursting at the seams, without actually bursting any seams.
You can find Designer online here: https://shopwonderfil.ca/product-category/designer
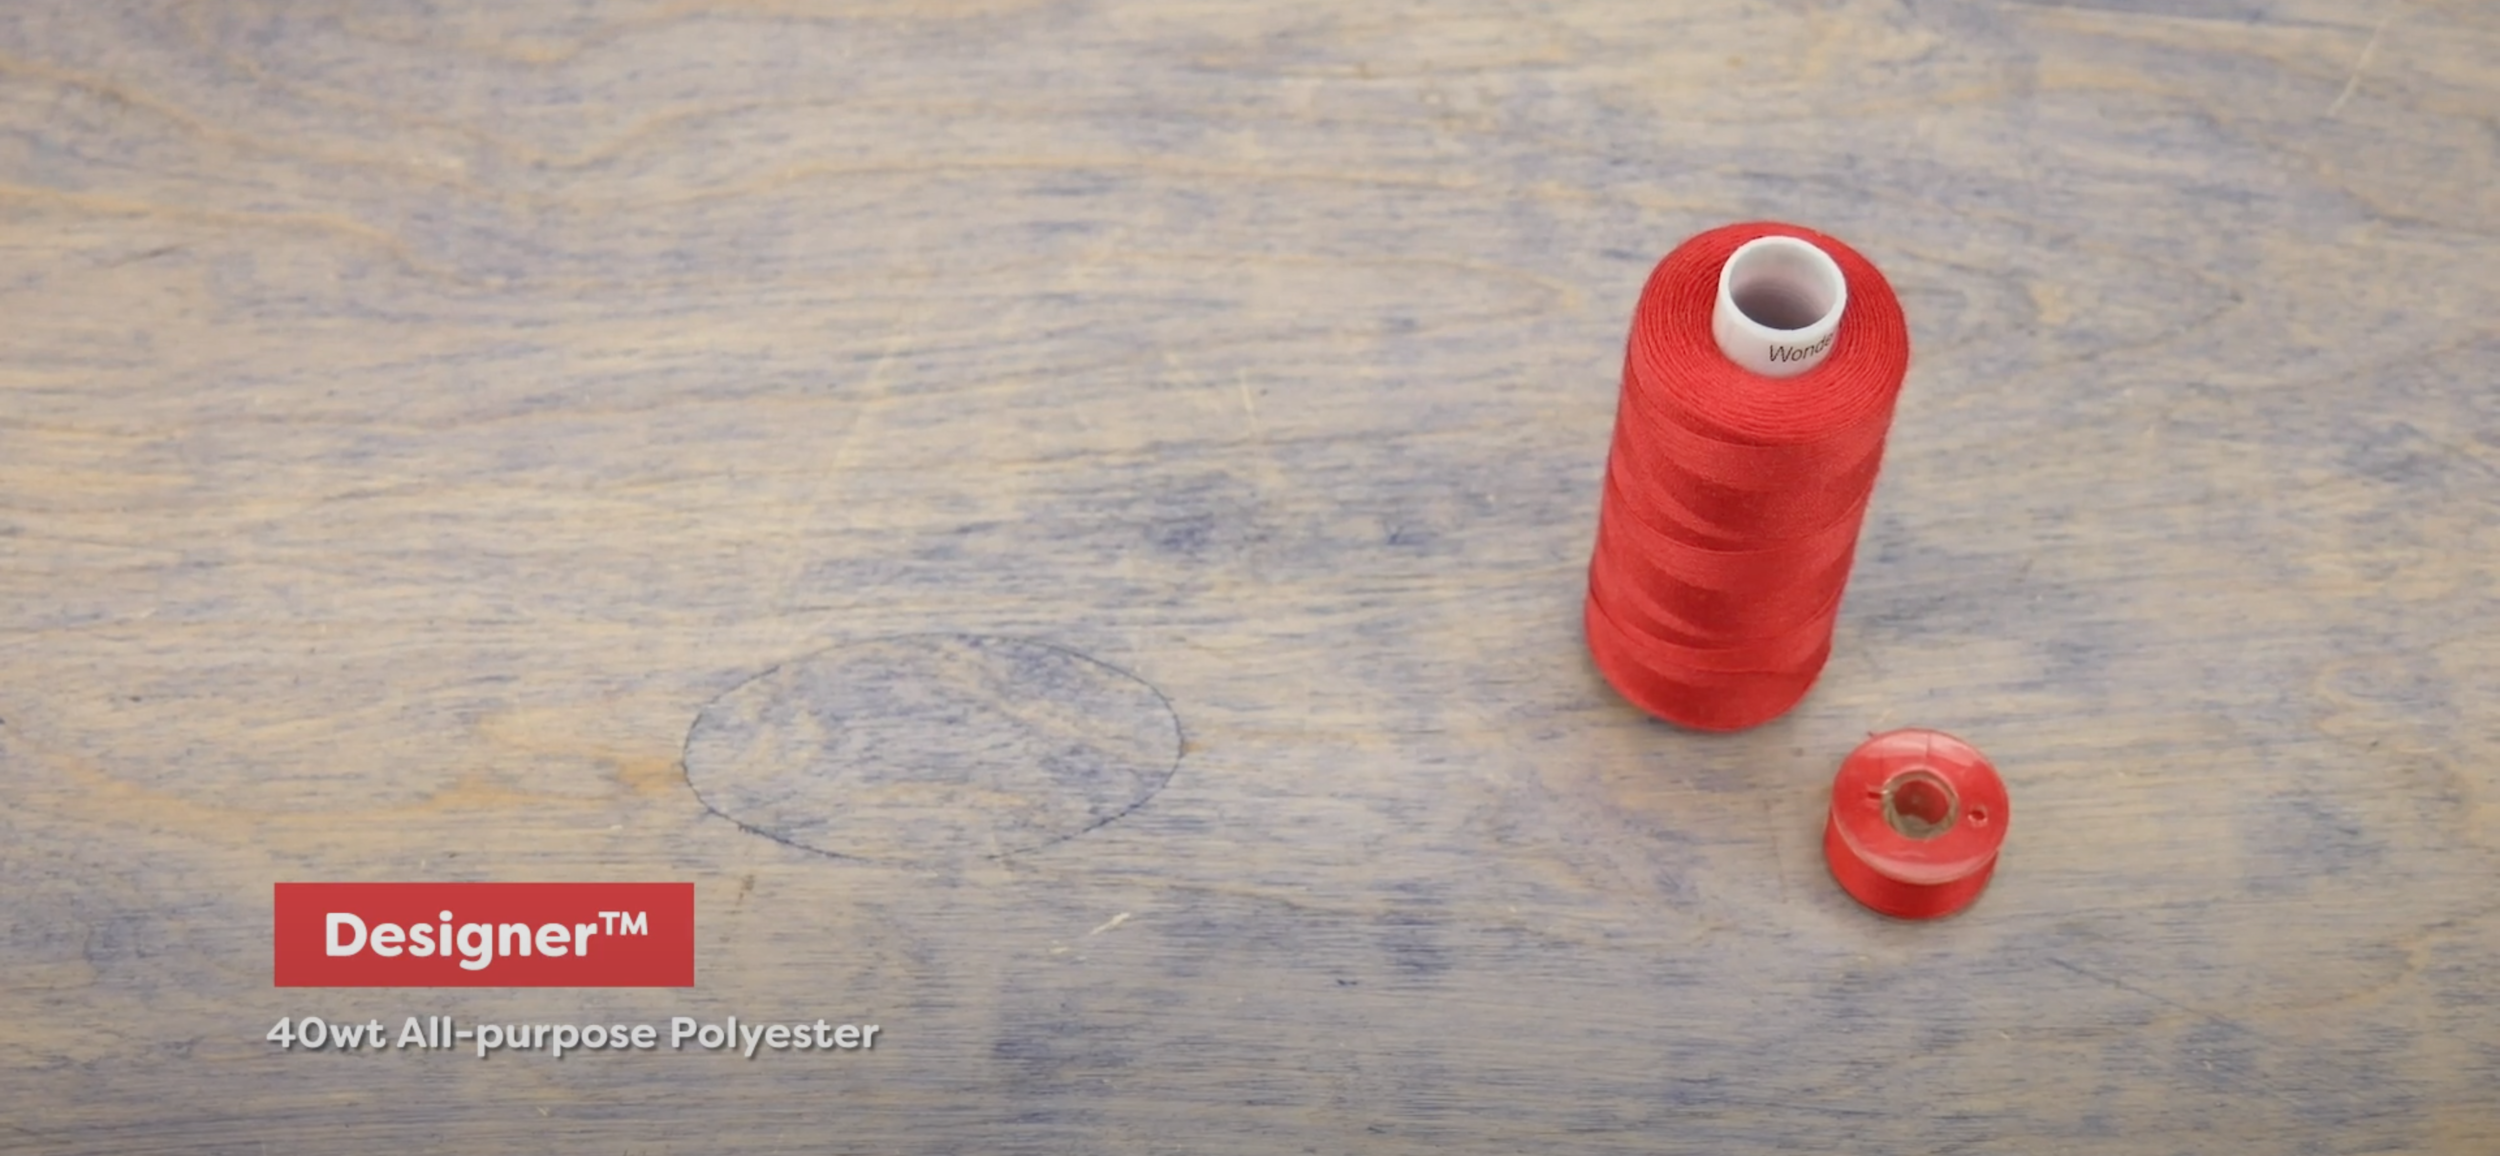
As a bobbin thread, again we recommend using DecoBob.
Trim the corners of your stocking and snip the curves.

Turn your stocking right side out and press. Repeat this process with the two stocking lining pieces, this time leaving a 3” opening at the bottom for turning.

Leave this piece wrong side facing out.

Slide the stocking lining over the outer fabric, right sides together. Take a double strand of dazzle, fold in half, and make a firm knot.

Place the knotted Dazzle in between the lining and outer fabric with the loop facing down into the stocking, and the knot outside of the stocking.
Match the top edges and stitch together all along the top on the inside of the outer fabric as to ensure that you don’t stitch your stocking shut.

Pull the outer fabric through the hole left at the bottom of the lining fabric so that they are both facing right sides out.

You can now stitch the hole at the bottom of the lining fabric closed.

Push the stocking lining into the outer fabric and press the edges. Now you have a beautifully lined and embellished stocking with a hanging loop at the back.


If you’d like to make your own stockings in some different shapes we’ve found some great DIY patterns for different stocking shapes! https://www.diynetwork.com/how-to/make-and-decorate/entertaining/diy-christmas-stocking-patterns-in-a-bunch-of-styles-pictures
If you need some cheerful fabrics to create your stockings with, you can shop the fabric collections from Sue Spargo: https://www.suespargo.com/store.php?cat=27
If you’ll be making your own couched stocking, don’t forget to use the hashtag #wonderfil on Instagram and Facebook so we can see your lovely creations. You can find these threads and more in a shop near you, or on our online shop by visiting www.shopwonderfil.com. You can also sign up for our free newsletter to receive more educational sewing tips, tutorials, and free patterns. Register by clicking here! We’ll see you again next time!