Contact Us

Use the form on the right to contact us.

You can edit the text in this area, and change where the contact form on the right submits to, by entering edit mode using the modes on the bottom right. 

2915 19 St NE
Calgary, AB, T2E 7A2

18662506101

WonderFil Specialty Thread Blog

WonderFil brings you the latest news, events, upcoming thread lines and special tips and advice. Follow WonderFil Specialty Threads on our social media: Facebook, Instagram, Twitter, Pinterest, and Youtube.

Filtering by Tag: embroidery

10 Ways to Sew with Heavy 12wt Thread

Maura Kang

Some sewers might be stumped on what to use 12wt thread for, afterall it isn’t your traditional medium sized thread. What a lot of people don’t realize is how beautiful, bold, and versatile this thicker thread can be, and what kind of effects you can create with it. We’ll also take a closer look at the different types of 12wt thread you can find and when you might want to choose one over the other.

1.png

1. Thread Painting

12wt threads are a fantastic choice for thread painting for a few reasons. Because the thread is thicker, you can actually cover more area with less thread, making it a lot more efficient to thread paint with a 12wt thread. In addition, you’ll also find that the thread sits a little higher from the fabric. This gives a bolder textural effect to your project than using a medium weight thread would.

2. Cross Stitch

These threads are thick enough for cross stitching projects, especially when you want to use a fabric or fibre with a finer weave. In this project, we used Spagetti™ and Fruitti™ 12wt cotton threads, which pull smoothly through the fabric due to their ultra low lint finish.

3. Machine Embroidery

40wt threads are the standard when it comes to machine embroidery, but you can create a new look by using 12wt thread in your embroidery machine. If you have a larger design, or a design that isn’t too intricate, a 12wt thread will show the pattern much more boldly without needing to double stitch the same lines. Your pattern will also show off better due to the thicker thread.

4. Hand Embroidery

If you love doing hand embroidery and sometimes split the strands of embroidery thread to make a finer thread, we would caution you against this. Splitting the strands of a thicker thread can weaken the thread while also giving it a lintier look. Instead of doing this, try using a 12wt thread which is comparable in size to an 8wt thread that’s been split in two. This way you won’t damage the thread, and you’ll keep your stitches looking clean and beautiful.

5. Decorative Stitching

The decorative stitches built into most sewing machines are perfect for utilizing 12wt threads for fun, stand-out stitches. They’re perfect for decorating any project, whether it’s a stocking for your family, adding a small decorative line of stitching to a piece of clothing, or embellishing any quilt or table runner. A 12wt thread will give every decorative stitch a little more emphasis than a regular medium weight thread would.

6. Needle Punch

Needle punching is a tool that can be used to create incredible textural effects, and it works best with thicker threads like 12wt. Depending on how you use the tool, you can make either dense loops or weave back and forth to fill in a space. This is a fantastic way to add a unique look to any project.

7. Big Stitch Hand Quilting

12wt is one of the best threads to use for big stitch hand quilting because the thick thread really stands out against the fabric. You’ll also find it easier to handle a 12wt thread versus a medium weight thread as it is less delicate and sits better in a wide running stitch.

8. Machine Quilting & Longarm Quilting

If you’re not afraid of bold stitches that love to show off, a 12wt thread is the perfect choice when used for quilting. 12wt is actually the thickest thread you can put through the eye of a machine needle, so you can guarantee a quilted look where the thread adds another dimension of texture and colour.

9. Red Work

Red work is a form of American embroidery that traditionally uses red thread and basic stitches to decorate household items. It can be completed with a simple backstitch following a traced pattern to create motifs that can decorate anything from dishcloths to quilts to cushion covers. A 12wt thread stands out beautifully against white fabric, making it ideal for outlining patterns.

10. Sashiko

Sashiko is a Japanese embroidery technique that uses a simple running stitch to create beautiful geometric patterns or imagery. Traditionally they use white thread on an indigo dyed fabric, but these days, you can use any colours you like. Sashiko can be done by hand using a running stitch and a long hand embroidery or sashiko needle. However, you can also purchase a sashiko machine which replicates the look of a hand stitch.

Tell us in the comments where you’ve used 12wt threads, or where you would like to try them in a project! You can find a list of stores that carry WonderFil threads on www.shopwonderfil.com/shop-local/. You can also sign up to receive weekly sewing tips, free patterns, and tutorials in our newsletter. Register by clicking here! You can unsubscribe at any time by clicking the unsubscribe button on the footer of every email you receive.

Introducing Razzle™ & Dazzle™: 8wt Rayon & Rayon + Metallic Threads

Maura Kang

These juicy 8wt threads know how to show off boldly. Razzle™ 100% rayon and Dazzle™ rayon with metallic threads can be used for a variety of hand techniques, in serger loopers, and even in domestic sewing machines with specific techniques. They can add a totally new dimension to your projects that can’t be achieved with any other kind of thread. Let’s take a closer look at what makes Razzle™ and Dazzle™ threads so unique.
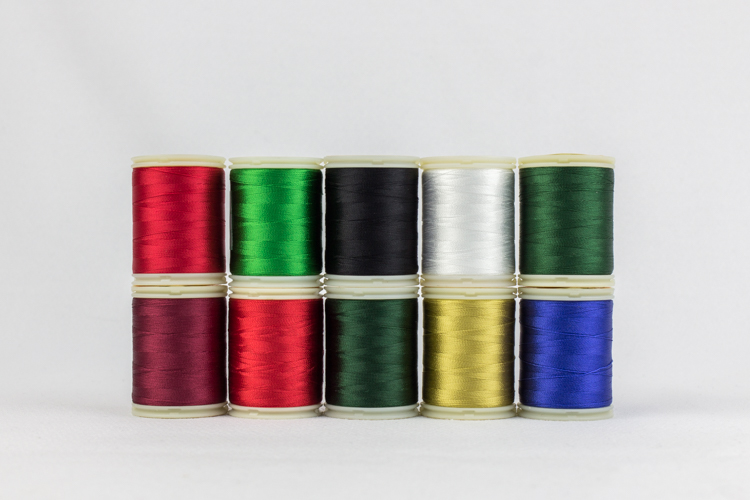
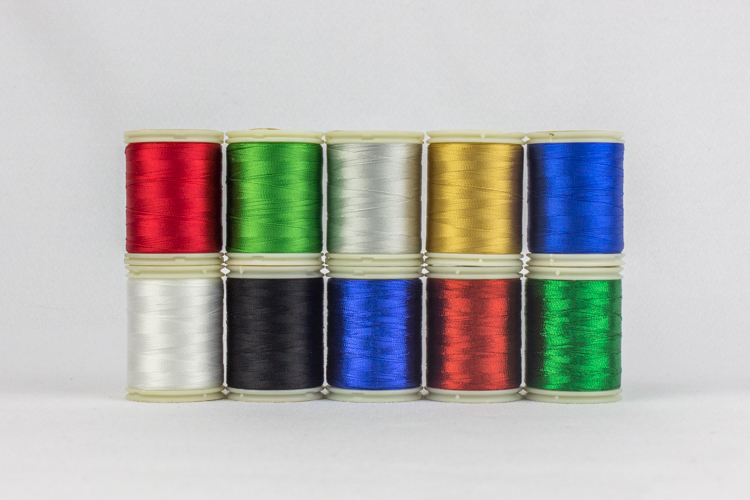
Razzle is an 8wt 100% rayon thread with a gorgeous and soft lustre, while Dazzle is an 8wt rayon with one strand of metallic running through it for when you just need a wink of sparkle.
1.png
2.png

When you think 8wt threads, one of the first uses that comes to mind is hand embroidery. Razzle and Dazzle are popular choices because unlike other 8wt rayon threads on the market, they have a tight twist that resists unravelling, making it ideal for pulling it through all kinds of fibres and fabrics. You can stitch confidently for beautiful and perfect hand embroidered embellishments.

3.png

Consider Razzle and Dazzle for other hand techniques like sashiko, big stitch hand quilting, visible mending, crochet, crafts, and tassels.

But these threads aren’t just limited to hand sewing. You can use these threads on the upper and lower loopers of your serger to create fantastic decorative edging on any project. Because these threads are made with rayon, they’ll leave a soft, silky, and shiny edging that is perfect for quickly finishing small quilts, panels, clothing, or any piece you want. We even made a tutorial to show you how to set up your serger and do this for yourself, which you can check out by clicking here.

4.png

While 8wt threads are too large to fit through the eye of your machine needle, that doesn’t mean you can’t use them on your sewing machine. Razzle and Dazzle make for an incredible couching thread that stands out from the fabric to create a gorgeous, touchable surface texture. You can also wind them on your bobbin to do bobbin work, which is a technique where you sew upside down to get away with sewing with these heavy 8wt threads in your machine. These techniques are perfect for adding that little extra bling and texture to any project.

5.png

Razzle comes in 46 solid colors in the WonderFil line, and 54 solid and variegated colors in the Sue Spargo collection. And Dazzle is offered in 34 colors in the WonderFil line, 36 colors in the Sue Spargo collection, and 35 unique twisted colors in the Starry Night Hollow collection by Kim Rado. These gorgeous threads are enough for anyone to fall in love with. 

Inspired to sew with Razzle and Dazzle? Shop the Sue Spargo collection at www.suespargo.com, or find all of these colors in one of your local stores at www.shopwonderfil.com/shop-local.

Metallic Embroidered Tie Tutorial (Free Embroidery Pattern Included!)

Maura Kang

If you’re looking for that perfect gift for the father, husband, or friend in your life, this personalized embroidered tie will make a statement in any board room. We’ve even included 3 free digitized embroidery designs for you to download! All you need to do is choose your thread colours and add initials.

We have included 3 totally free digitized designs for you to download: a game controller, a fish and a bug. You can choose which you’d like to download and in what file type by clicking here. We are showing the finished product with a personalized monogram, but we leave these for you to add, so you can have the right initials.

1.png

We have chosen to use a purchased black tie as the backdrop for our embroidery. You can choose any color, but a solid color will show off the design better. To fit the included designs, the tie must be at least 2 inches wide at the point where you want your design to sit.

2.png

We have decided to stitch out the design in WonderFil’s metallic thread, Spotlite. Spotlite is a 40 wt metallic with a rayon core. Since rayon has no stretch, the core won’t stretch as a polyester or nylon core might. That stretching can cause the metallic wrap to separate, which causes the shredding and breaking that sometimes happens with metallic threads. Since the rayon core in Spotlite doesn’t stretch, that is less likely to happen, so you will have trouble free embroidery stitches, and a soft finish to the design.

3.png

We will be pairing the Spotlite with our 80wt DecoBob in the bobbin. Even very dense stitching stays soft when you have a fine bobbin thread and the evenly wound prewound bobbins will also ensure that you have no tension issues as you stitch out your design. As always, we will be using a Thread Tamer and a WonderGuard to tame the curl in the metallic thread, and a large eye 90/14 topstitch needle. As you will be using a sticky stabilizer to stabilize the tie, you can also use a universal super nonstick needle as another option. See our video on stitching trouble free with metallic thread without the headache to learn our tricks on sewing with metallic thread.

To begin, we will hoop this sticky stabilizer, paper side up, in the hoop. We are going to lightly score the paper around the edge of the hoop with a pin, and from corner to corner, so we can easily pull the paper away. Mark the center so you can easily place your tie on the right spot.

4.png

Decide where you want the center of your design to sit on the tie and mark the spot with some tailor’s chalk. With a stitch ripper, open up the back of the tie for at least 6”, so your tie can sit flat and open on the stabilizer. Using your hoop grid, place the tie centered on the hoop and smooth and press it in place so it sits flat and even.

5.png
6.png

Download the digitized design you prefer, in the format appropriate for your embroidery machine. If you choose, add the text or monogram from your machine’s text to the design before proceeding. Thread your machine with Spotlite in the first color, with a Decobob prewound bobbin in the bottom. Stitch out the design, changing colors as indicated. We have included the color numbers of Spotlite we used for our designs.

7.png

When your stitchout is complete, remove the stabilizer from the hoop and trim away on the underside of the tie. Trim all the threads, then using a hand needle and DecoBob, hand stitch the back of the tie closed again.

8.png

And there you have it. The man in your life will be proud to wear this fun, customized tie, and it is sure to be a conversation starter!

9.png

Inspired to sew with WonderFil threads? Head on over to shopwonderfil.com for a list of stores and retailers you can purchase from. You can also sign up for our free newsletter to receive more educational sewing tips, tutorials, and free patterns. Register by clicking here! We’ll see you again next time!

How to Set up Your Embroidery Machine for the Best Results

Maura Kang

Machine embroidery can be addictive because it’s so easy to sew gifts, personalize your home, and make your plain clothes into something totally unique. An embroidery machine is an expensive but worthwhile investment. We’re sharing a few of our best tips to make sure your embroidery designs look better, sew easier, and ensure you get the most out of your embroidery machine.

1. Basting with water soluble thread

You may have heard about water soluble thread, but did you know it could make a huge difference in your machine embroidery? We stitched out this design with two layers of stabilizer on the backside of the fabric. However, because the design has a lot of sharp points, it creates a lot of puckering around it.

Embroidery design without water soluble thread.

Embroidery design without water soluble thread.

To stop this from happening, we’re going to stitch a circle of Rinse ‘n Gone water soluble thread through the fabric and stabilizer before stitching out the design. This holds the layers together much more tightly than the embroidery hoop will and stop the fabric and stabilizer from shifting.

Embroidery design with a ring of Rinse ‘n Gone water soluble thread stitched around the edge of the design.

Embroidery design with a ring of Rinse ‘n Gone water soluble thread stitched around the edge of the design.

Once the design is stitched out, the thread can be scrubbed out with a wet toothbrush if you don’t want to wash the whole embroidery. After a quick press, you can see how flat it looks in comparison to the embroidery design without the water soluble thread.

3.png

2. Using the best bobbin thread

Machine embroidery uses a lot of dense stitching in a small area, meaning your choice of bobbin thread will make a huge difference in how flat your embroidery design sits, as well as how much the bobbin thread will show through. We highly recommend using a finer bobbin thread, such as DecoBob 80wt, because the fine thread doesn’t add any extra bulk to the dense stitching and blends into the fabric better than a 40 or 50wt thread will. In the left part of this embroidery, we used a white 50wt bobbin thread. You can actually see the bobbin thread showing through the design. However below, we switched to a white DecoBob 80wt bobbin thread. Even though the thread is white, it can’t even be seen in the design.

4.png

Simply changing your thread can make a huge difference in the quality of your machine embroidery, but you can still take it one step further. In the left half of this embroidery we used a bobbin self-wound with DecoBob 80wt thread. On the right side, we used a pre-wound DecoBob bobbin. You can actually see how the left side has larger breaks in the embroidery while the right side lays flatter with tighter stitches. These pre-wound bobbins are wound perfectly evenly at the factory. This gives you a consistent machine tension that noticeably affects the quality of your machine embroidery.

5.png

To find out what bobbin size your machine takes, you can consult our Bobbin Guide by clicking here.

3. Apply a Wonder Guard™ for even tension and prevent unravelling

A Wonder Guard is this handy little thread guard that can be used on any spool of thread that requires a vertical feed. To apply it to your spool, wrap it around the spool snuggly but not tightly, with the feed of the thread coming from the top. This is a perfect tool for slippery threads that tend to pool around the base of the spool. It will also even the tension of the thread which will make a huge difference in the quality of your machine embroidery stitches.

6.png

If you’re embroidering with metallic threads that have a curl to it, also known as having a high memory, it will also help pull out those curls out before it even comes off the spool. And as an added bonus, the wonder guard will keep your threads tidy, clean, and even prevents it from drying out when you’re not sewing with it.

4. Using a Thread Tamer for perfect tension.

A Thread Tamer is a multi-purpose thread stand that offers a number of features to give you the best results in your stitching. If you’re sewing with a metallic thread that carries a lot memory, you can weave the thread through the extender slots to help pull out the tangles before the thread even reaches your machine.

7.png

At the same time, it’s tall enough to clear the top of the machine so it doesn’t drag along the side, changing the thread’s tension. It also allows the thread to relax before entering the machine, which is beneficial for finnicky threads or metallic threads. This combination of things will give your machine embroidery better tension, resulting in higher quality stitches.

8.png

Follow these tips for gorgeous, professional looking machine embroidery with any home embroidery machine!

Let us know in the comment section below if you have any machine embroidery tips you always follow, or share with us if these tips are things you’re already doing in your embroidery projects. Inspired to sew? Find WonderFil products in a store near you at shopwonderfil.com/shop-local.

Chevron Embroidered: Pillbox Pincushion

WonderFil Specialty Threads

This month we want to share with you a project that would not only be fun, simple and easy to make, but also useful. For this project we decided to use the WonderFil’s Razzle and Dazzle threads.

The Razzle and Dazzle threads are perfect for hand embroidery, the silky soft 6 ply rayon thread adds a beautiful shine and sparkle to any project. Simple stitching and the usefulness of the pillbox make it the perfect project to try your hand at embroidering. This is a great project that can simply be modified and customize. Have fun with the pattern and design, these pillbox pincushions make the perfect little gift.

With a few simple seams and a little stuffing, you will be moving your pins into their new home before you know it.


Materials

  • Wonderfil Dazzle - 6180, 3130
  • Wonderfil Razzle – RZM03, RZM15
  • Wonderfil Designer -  White - DS426
  • Linen Fabric, 1/4 yd.
  • Fusible Fleece, 1/4 yd
  • Fiberfill stuffing
  • Button

Tools

  • Rotary Cutter
  • Ruler with 60 degree angle markings
  • Fabric Marking tool
  • Soft Sculpting doll needle

Basic Supplies

  • scissors
  • sewing machine
  •  pins
  •  hand sewing needle,
  • iron
  •  pressing surface


Directions

1. Fuse fleece to linen with hot iron. Cut: One - 14 ¼” x 3”, two -  4-3/4″ circles.

2. Using a ruler and the fabric marking tool draw a line along the length side panel at 1 ½”. Add the Chevron design by using 60 degree markings on the ruler. Spacing chevrons ½” apart draw a set of 2 (space them an inch apart), then add a set of 3 chevrons. Repeat pattern with 1 inch between each set.   

3. With the Razzle and Dazzle threads use a stem stitch trace along the marked chevrons in the sets of 3 alternating thread colors. Using a satin stitch sew between the sets of 2. In the same manner repeat this pattern on the remaining markings.

4. With the right sides together, sew the ends of the embroidered strip together to create the ring.

5. Fold the ring in half evenly and place pins on either side. Fold the matching pin mark ends with pins. Find the quarter marks on the circles by folding the circle in half, then proceeded to mark them in the same manner. Repeat to find the other set.

6. Match the quarter marks of the circle and the tumbler ring with right sides together. Proceed to pin it in place and machine-sew using 1/4″ seam allowance. Attach the bottom circle in the same manner, leaving 2″ opening to turn.

7. Turn the right side out. Fill the cushion with fiberfill until firm.

8. Slipstitch the opening and close using Wonderfil designer thread.

9. Position the button on the center of the circle. Sew through the center of the cushion using doll needle. Add the bottom button on opposite sides. Sew back and forth while pulling to make the buttons push into the cushion; secure.

by: Jennifer Davey from Be Still My Crafting Heart

With love and threads,

#WonderFil


Our Favourite Colours Inspired by Winter

WonderFil Specialty Threads

It’s nearly that magical time of year again! Frosty landscapes coated in powdery white, evergreens laden with sparkling icicles, and cozy homes shining with twinkling lights in the dark of night. For those who love winter (and for those who prefer to spend it hibernating under a warm quilt) we have a few favourite thread palettes perfect for finishing those holiday projects.

Snowflakes embroidered with Spotlite

One of our absolutely favourite threads to use during this season is Spotlite™, a 40wt rayon core metallic thread. Metallics are beautiful and reflect the shining theme of the holidays, making it a magnificent choice for winter-themed projects. While we offer Spotlite™ in 40 different colours, a simple way to achieve a gorgeous project is to choose a neutral palette of gold and silver threads and a brightly coloured fabric to embroider over. This allows for a pop of colour in your project without worrying about matching colours.

However if you like your threads to carry the colour in your project, we also offer colour coordinated tubes of Spotlite™ in 9 different colour themed sets, including a Christmas themed set. Spotlite is a gorgeous thread that can be used for embroidery, decorative quilting, built-in decorative stitches, thread painting, and 3D embellishment effects.

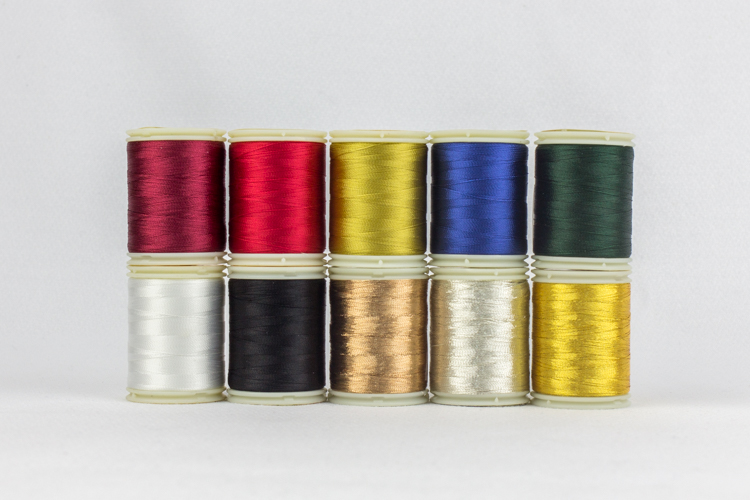
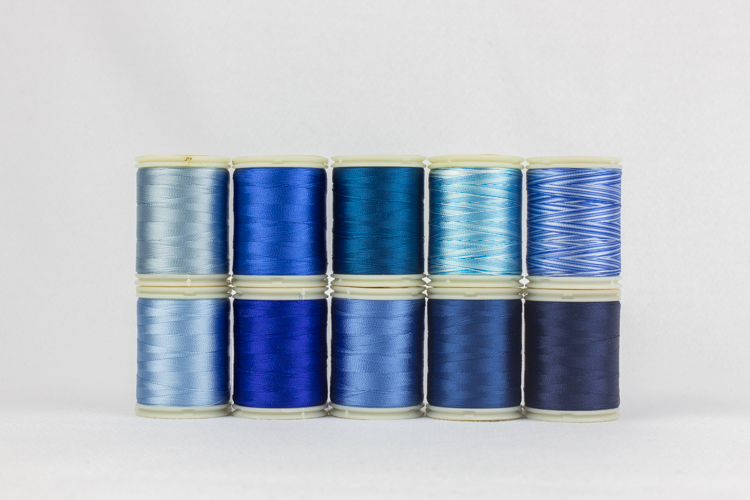
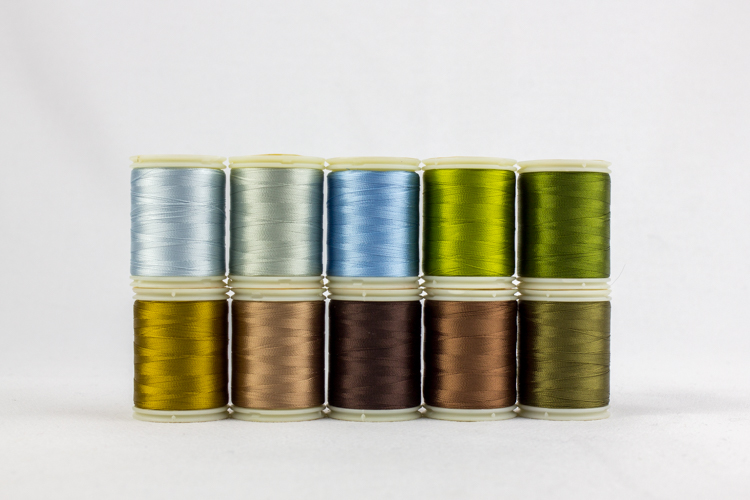
Speaking of themed sets, our 40wt rayon thread, Splendor, is available in packages with colours revolving around special themes. Included are Blue, Landscape, Christmas, Classic Christmas, and Country Christmas. These not only make great sets to easily get started on a project, but also make thoughtful gifts for the sewers and quilters in your life! Splendor is a versatile thread that can be used for machine embroidery, quilting built-in decorative stitches, machine quilting, rough edge appliqué, and even serging.

Warm browns and whites make a good contrasting combination for cute holiday creatures. Since they are already neutral tones, you can add little splashes of bright colours to liven it up without worrying whether or not the colours match!

With Love and Threads,

WonderFil

#wonderfil