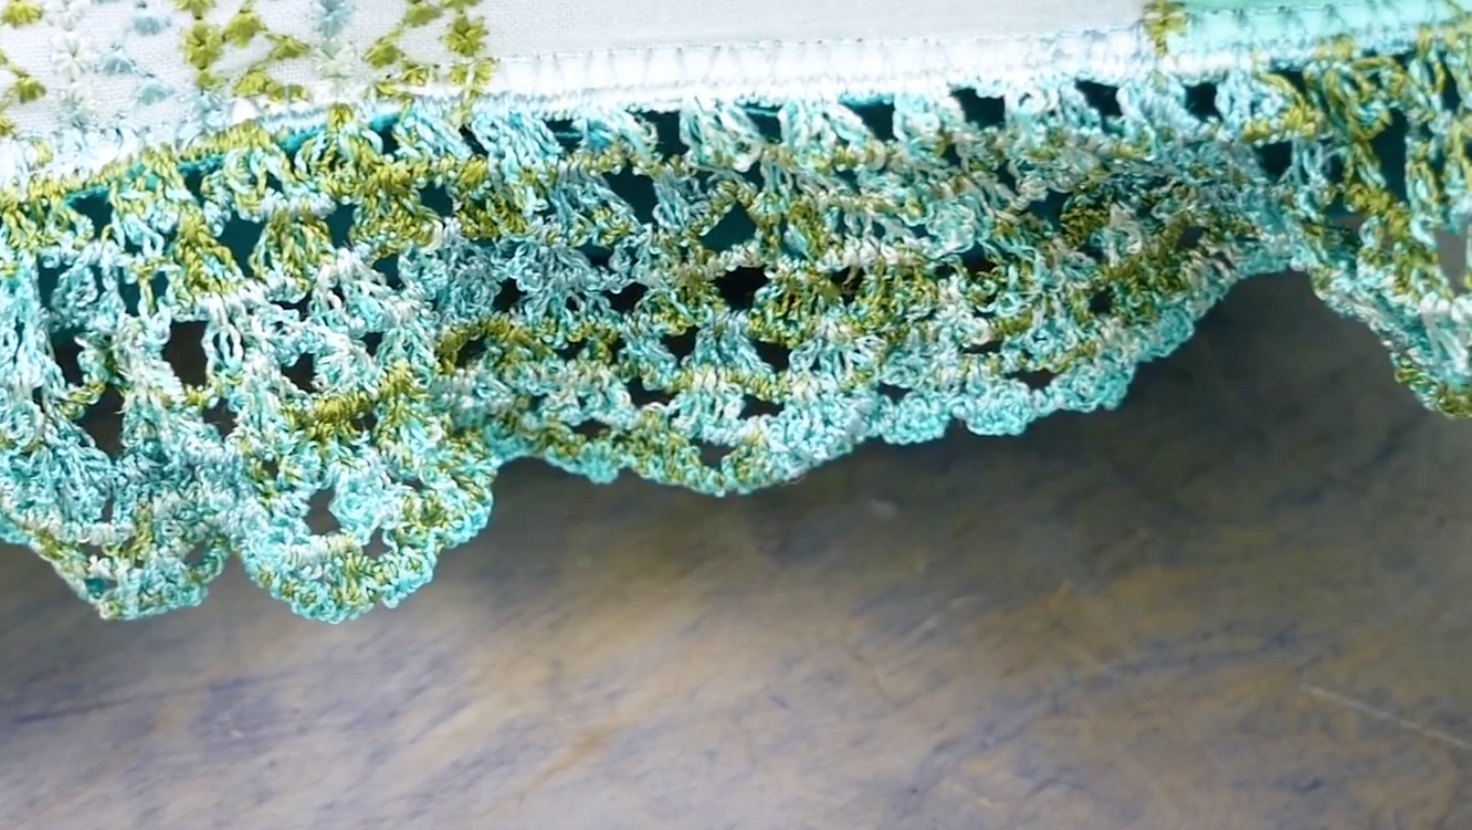
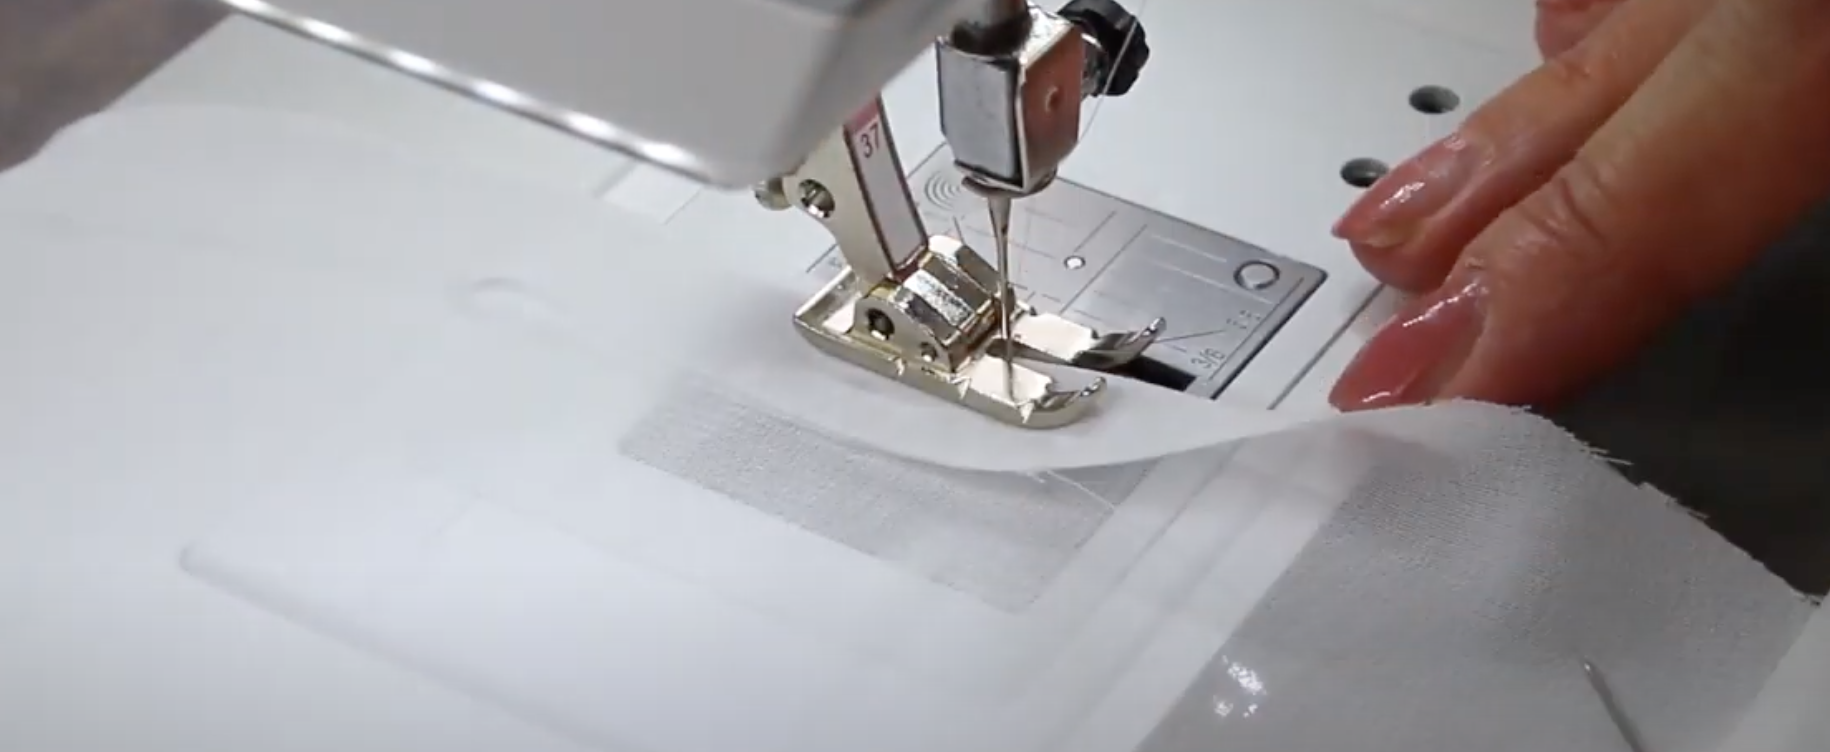
Freestanding lace is a wonderful technique that lends itself to a wide variety of applications. Today we’ll be showing you how to embroider freestanding lace as well as a few of our favourite threads for the job!
Read More
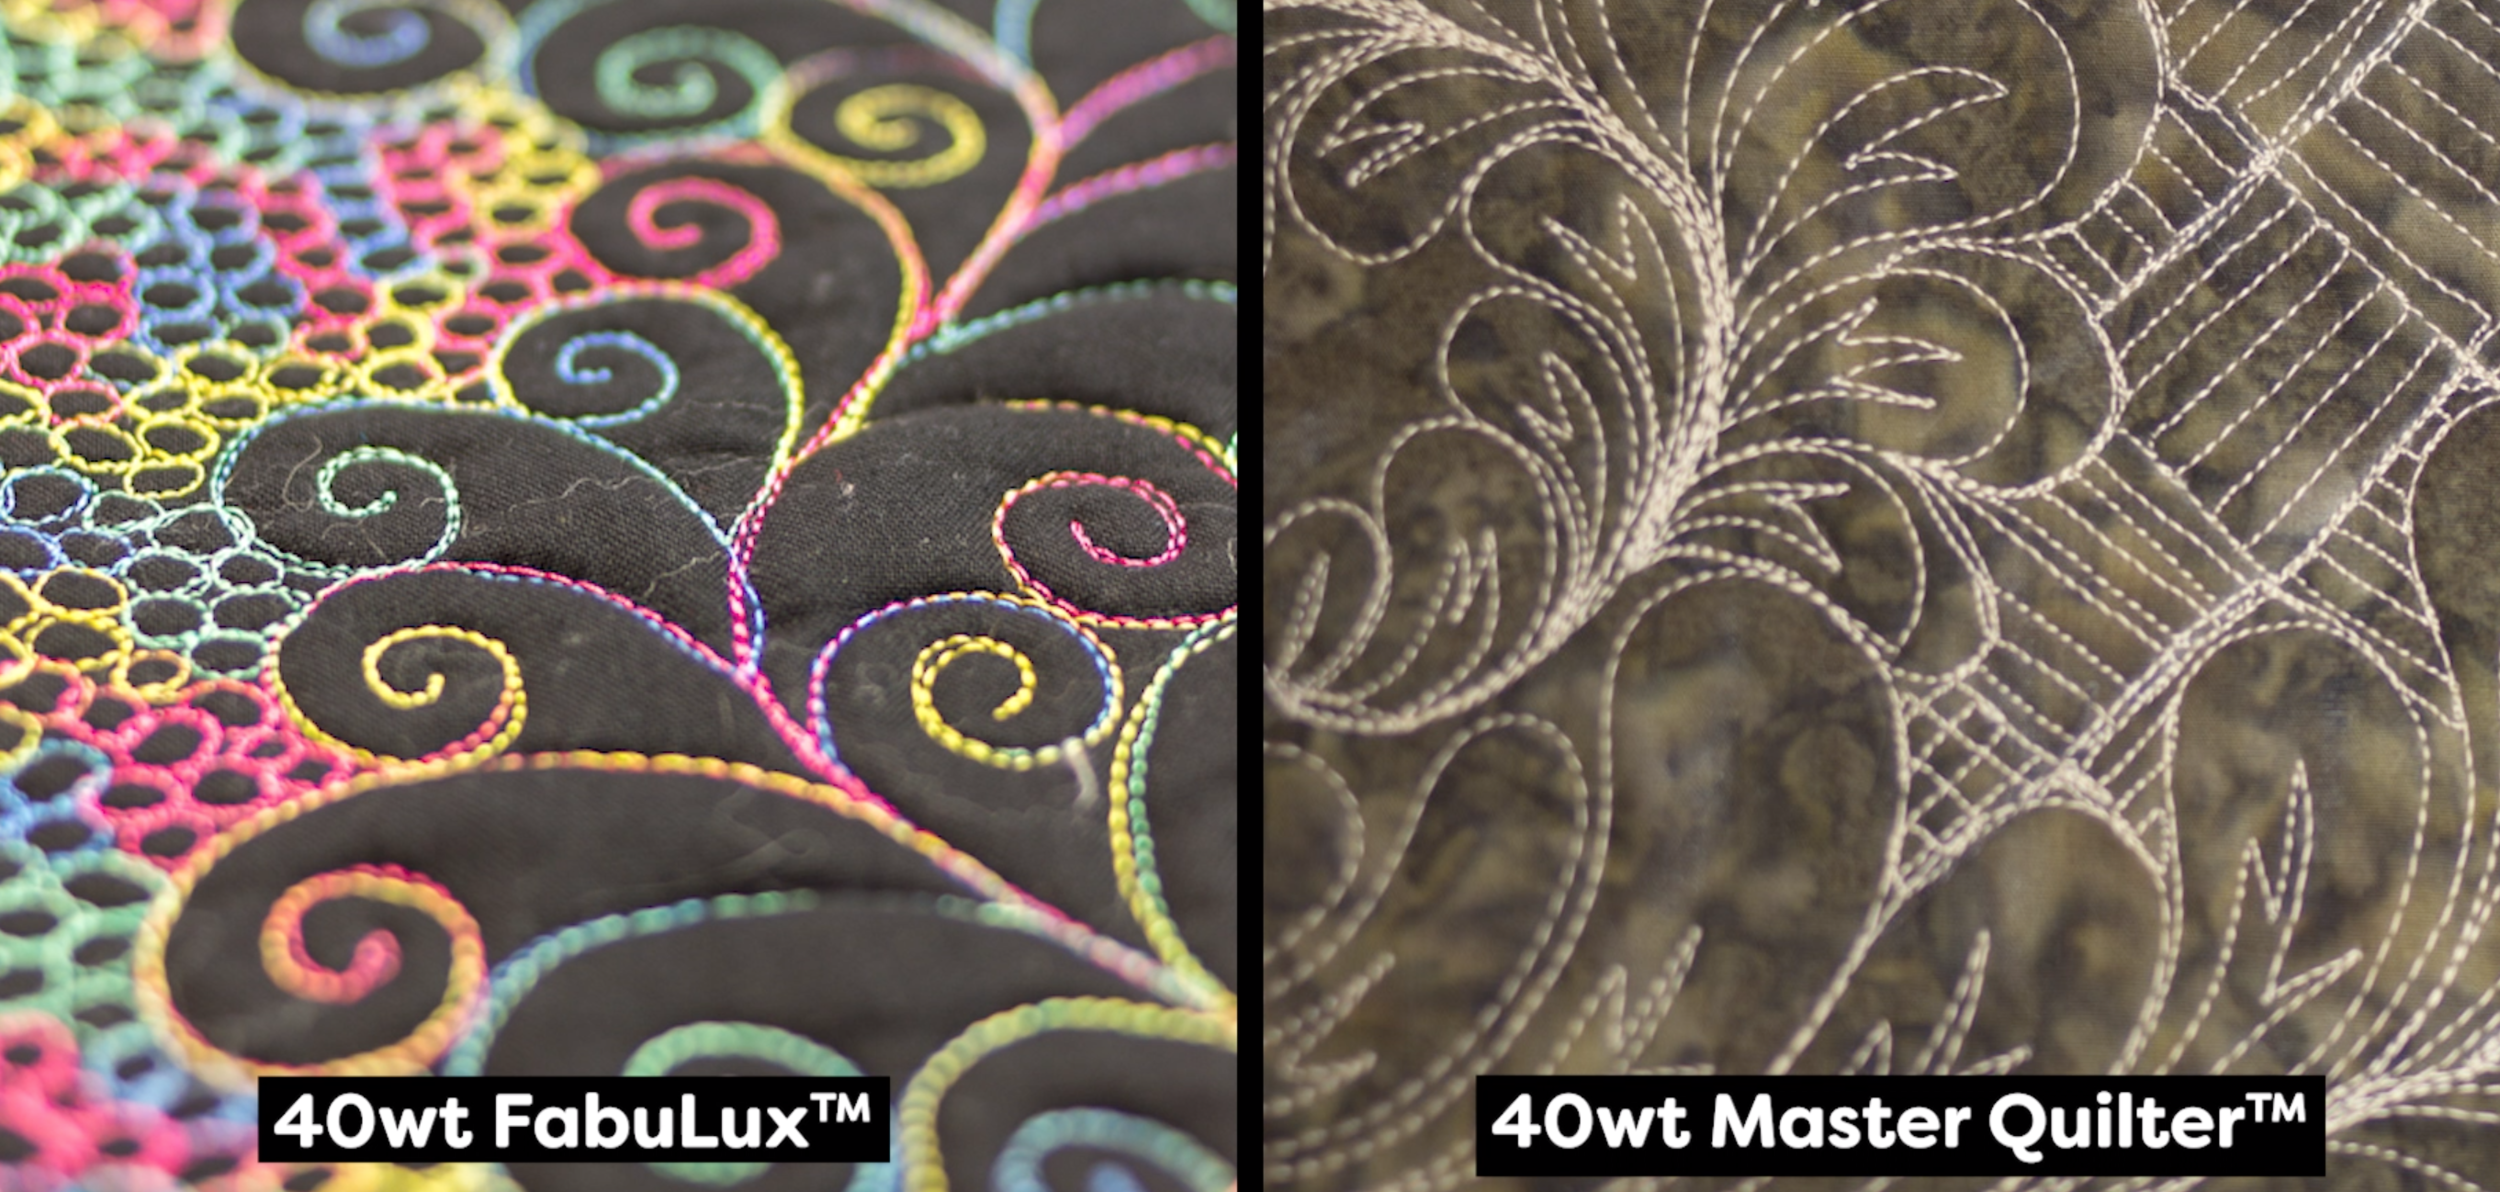
There’s a lot of different kinds of longarm threads out there, so how do you know which one to choose? We’ll go through the best threads for both your machine, and your quilting projects.
Read More
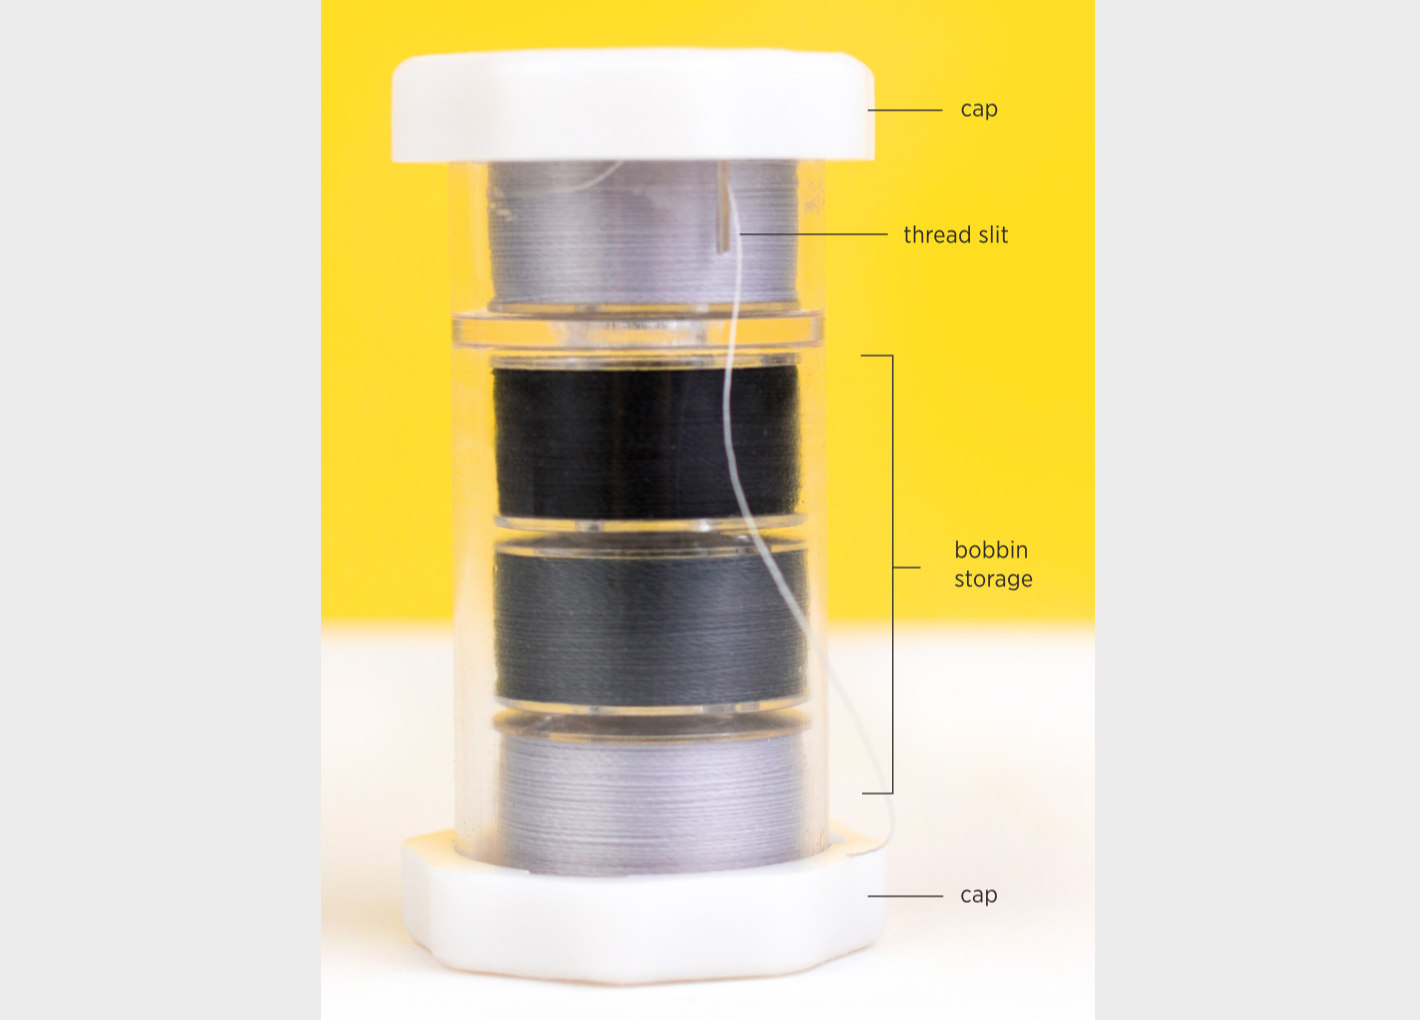
The Wonder Guard is useful for storing thread neatly, and for getting a nice even feed whenever you’re using a spool that requires a vertical feed.
Read More
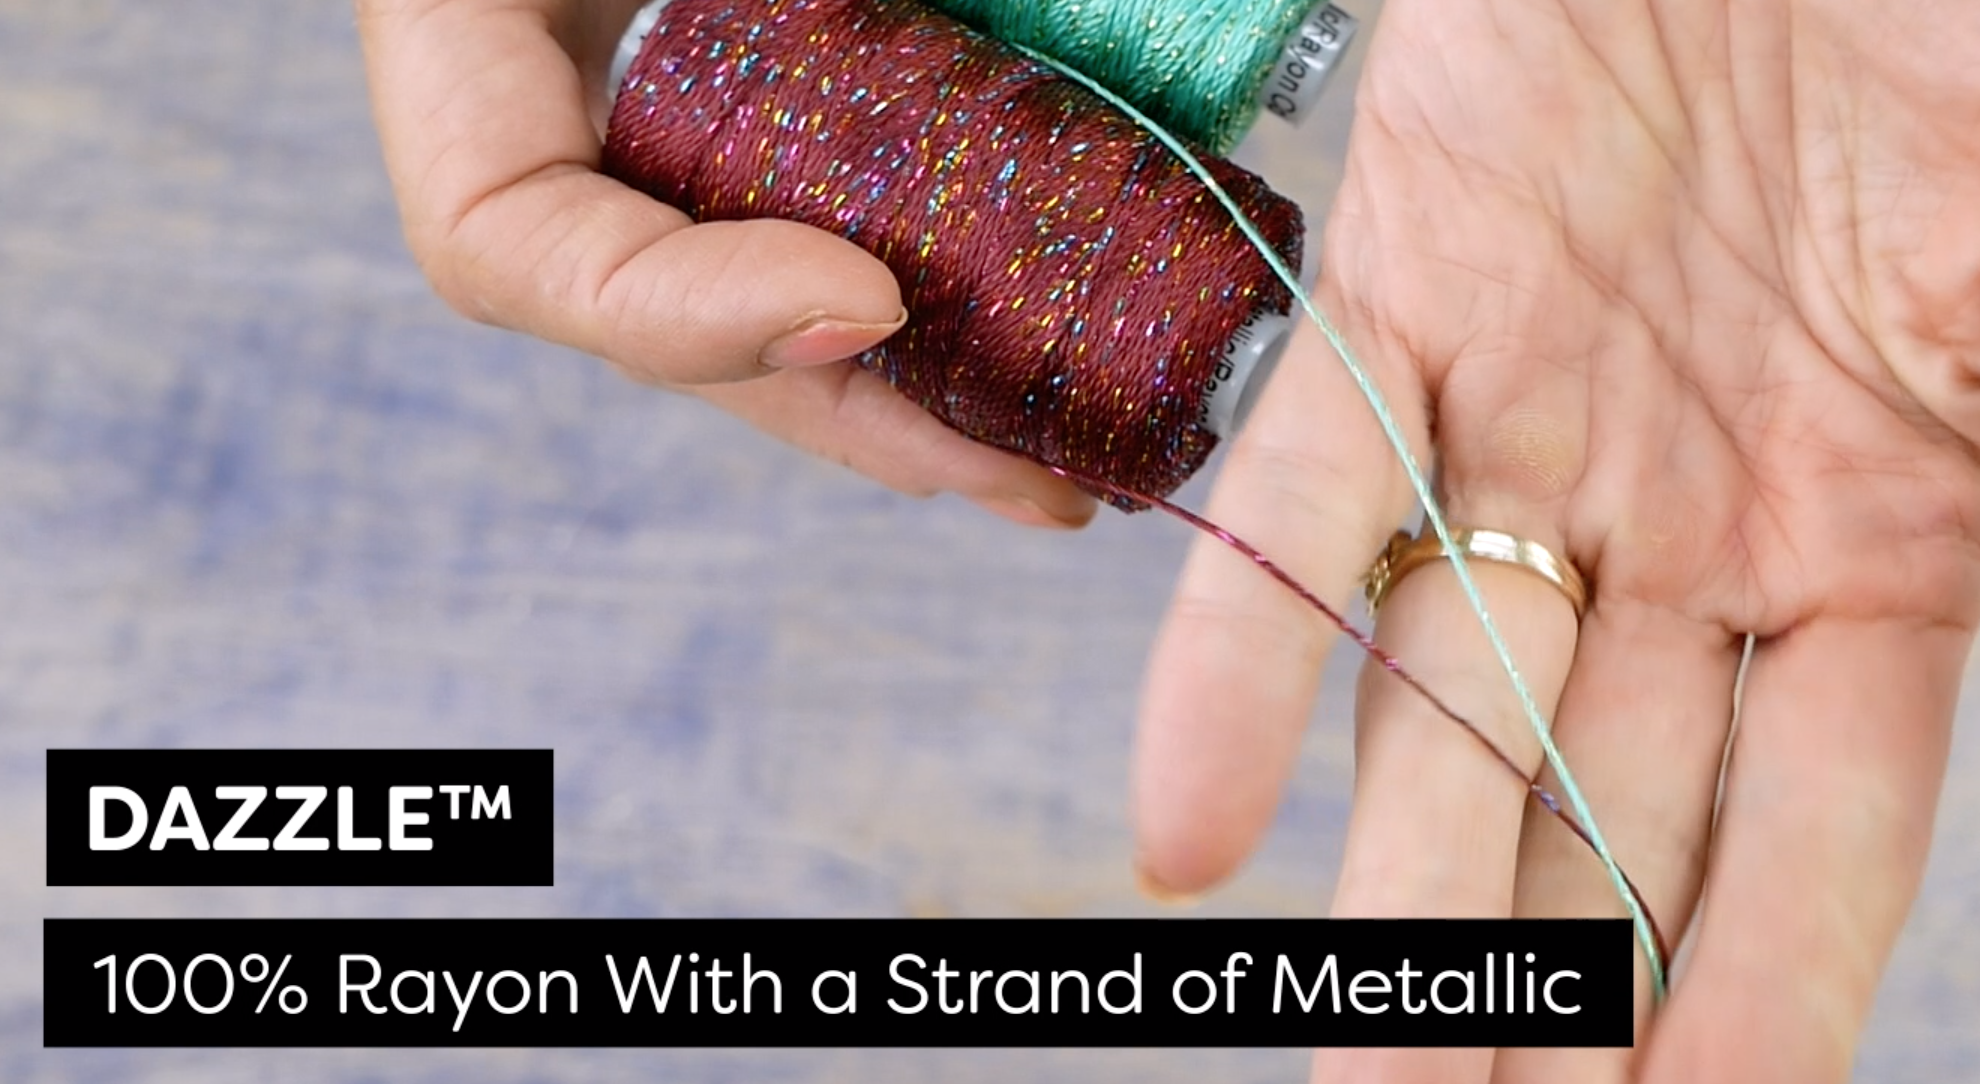
For a thread that’s truly out of this world, Starry Night Dazzle is perfect for adding a totally unique texture and colour to your projects. Designed by Kim Rado of Starry Night Hollow, Starry Night Dazzle is a collection of 35 colours from the Dazzle thread line and know how to stand out.
Read More
WonderFil’s very own Andrew Ngai appeared on the Quilt Show to talk about a few essential threads that every quilter needs in their tool kit, and we’d like to share this episode with you!
Read More
Today we're going to talk about the Thread Tamer. It's a multipurpose thread stand and is the perfect tool for your sewing room.
Read More
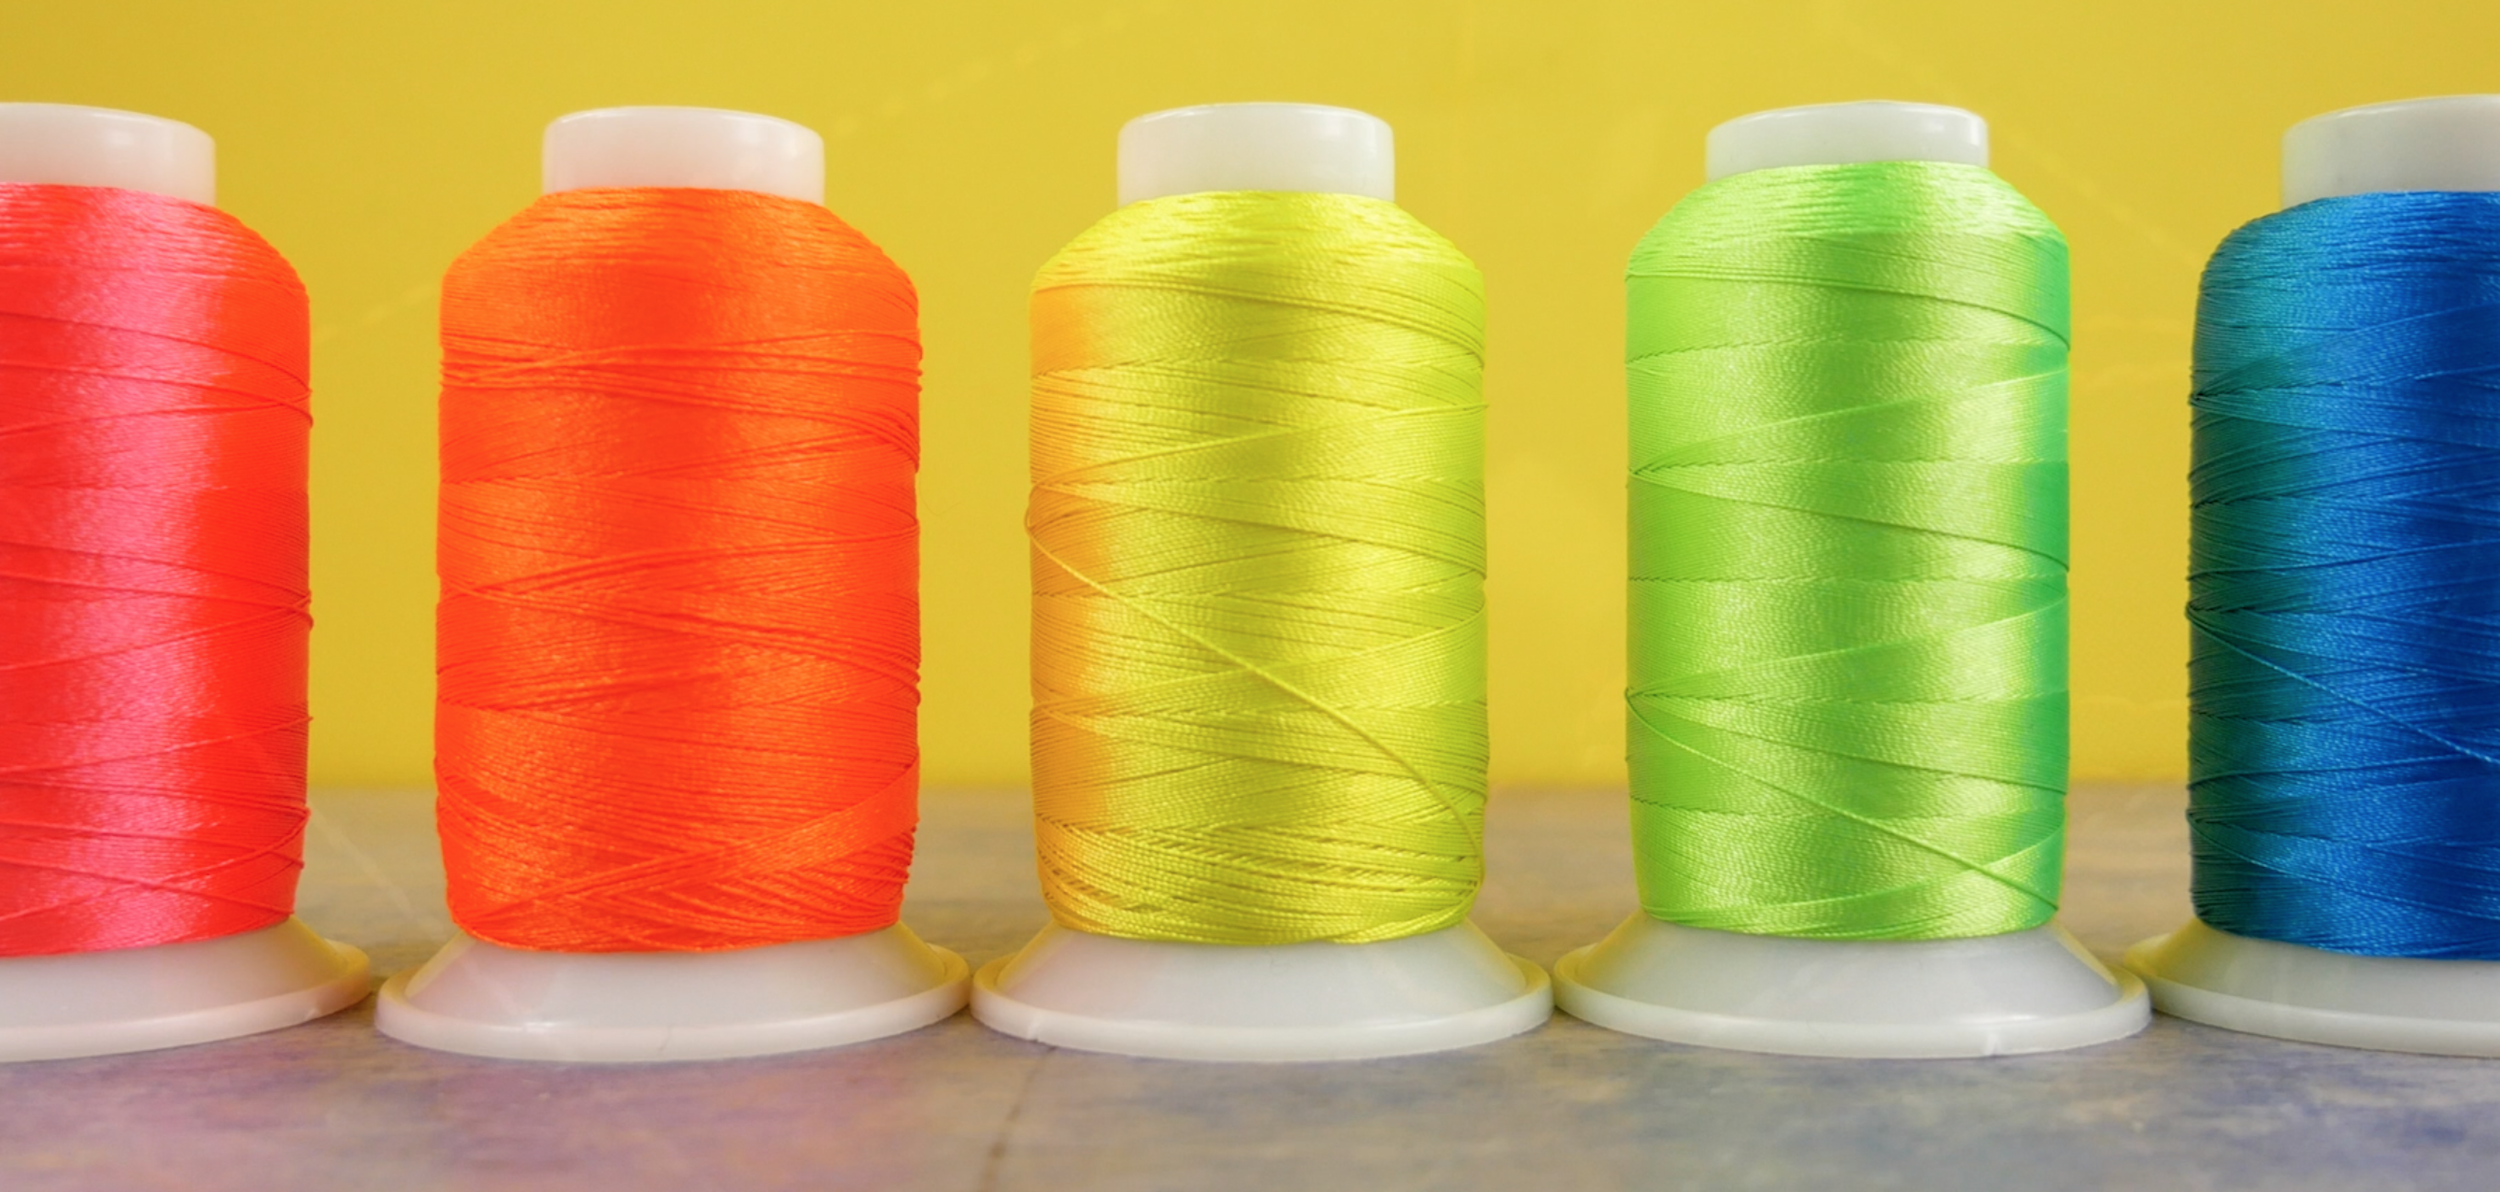
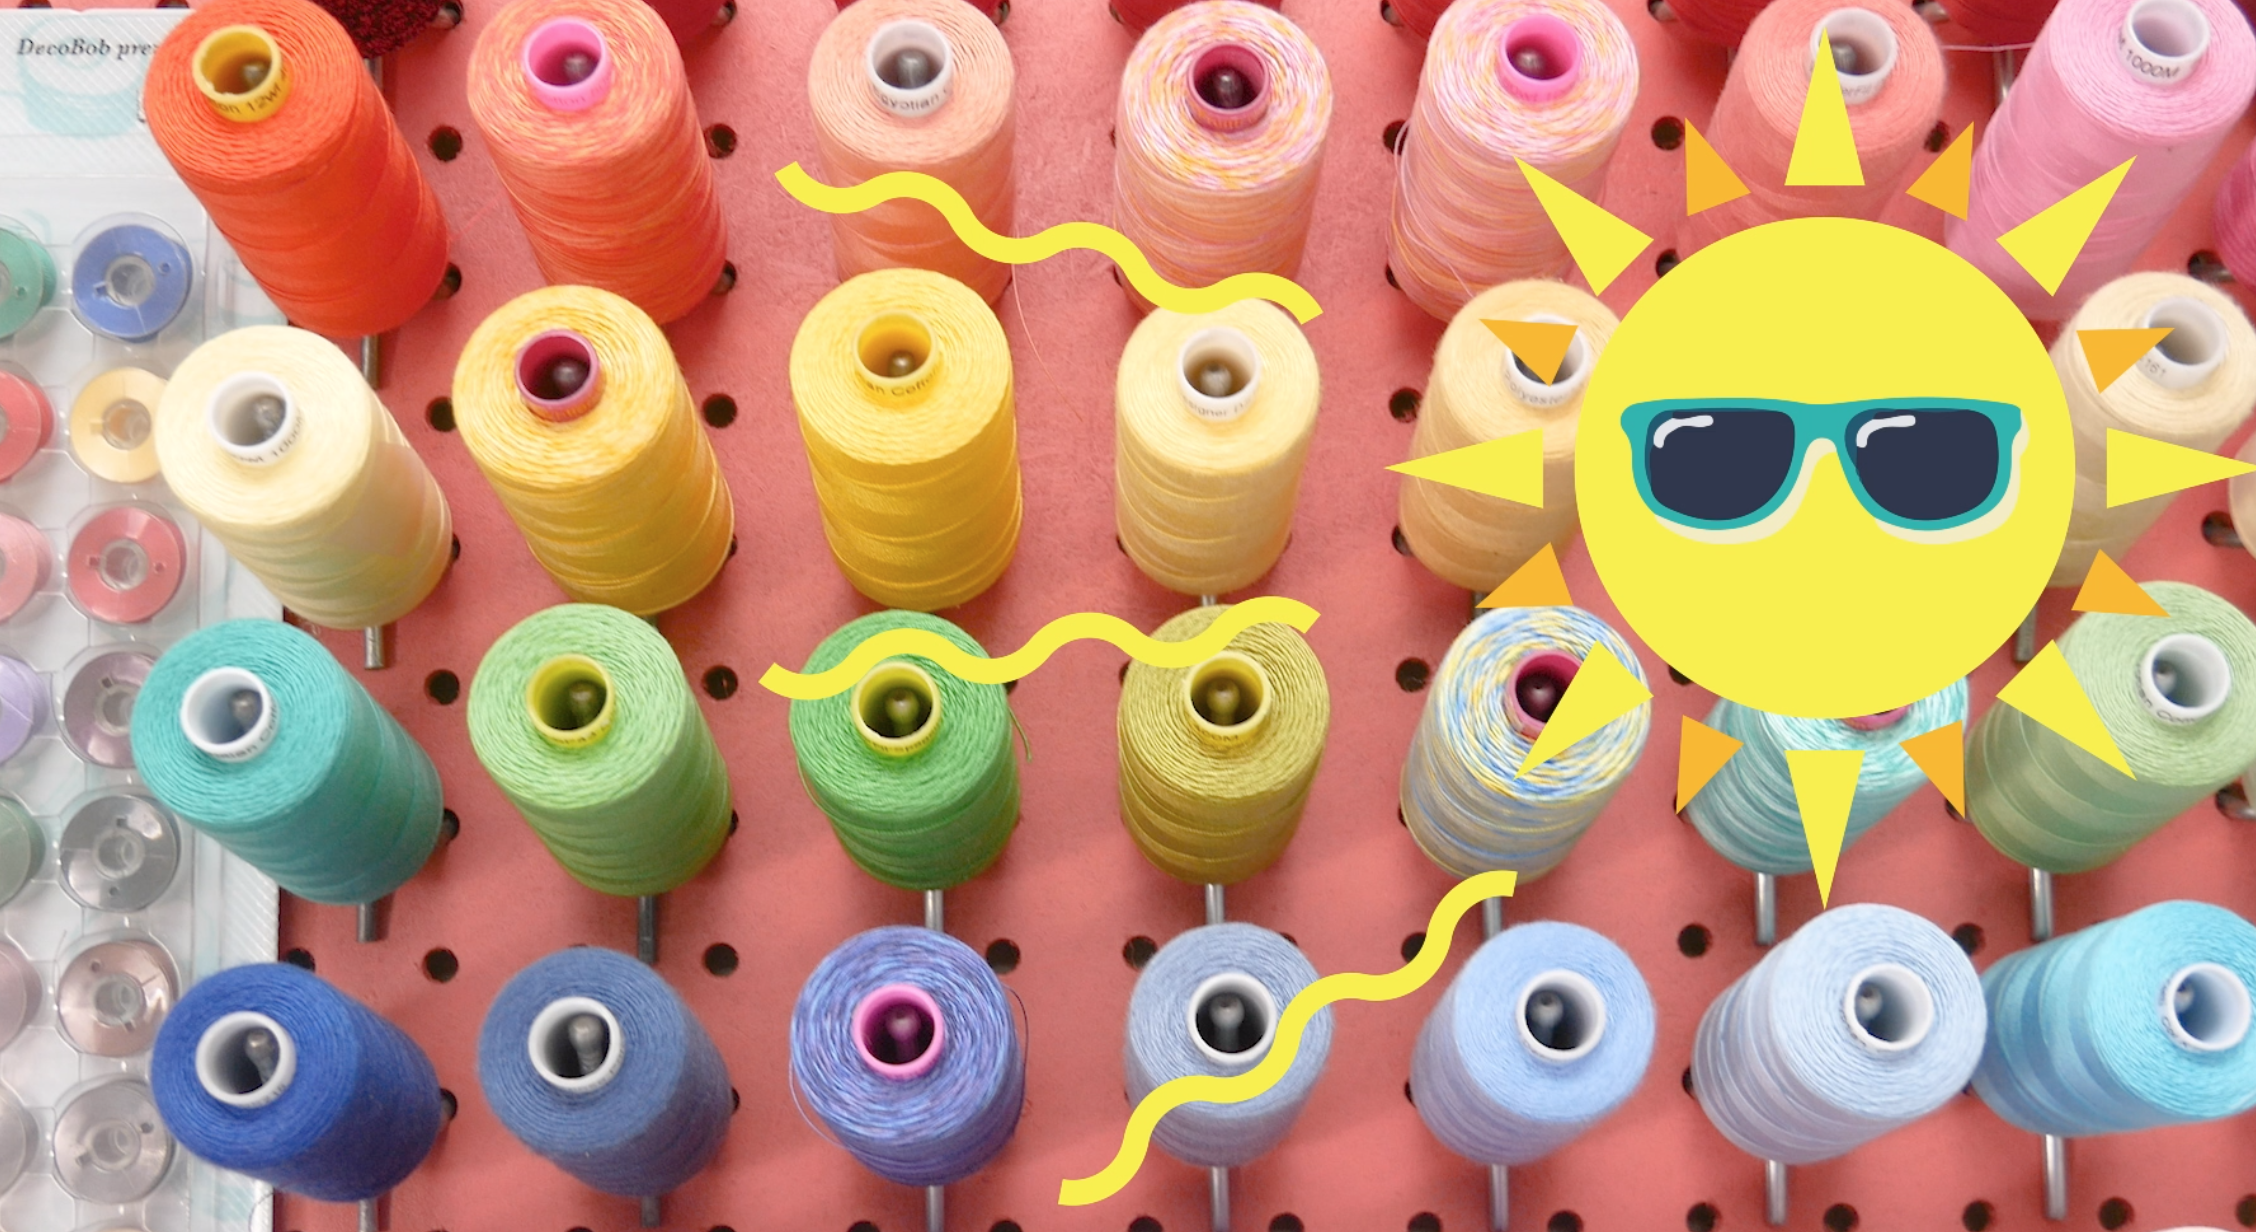
When you’re looking to begin your collection with a new thread line, it’s often worthwhile to shop for packs to get a good assortment of starter colors and a great deal. Whether you’re starting a collection for machine embroidery, hand embellishing, piecing, or quilting, we’ll show you our favorite affordable thread packs that are perfect for picking up all the colors you need to get started with these techniques and more.
Read More