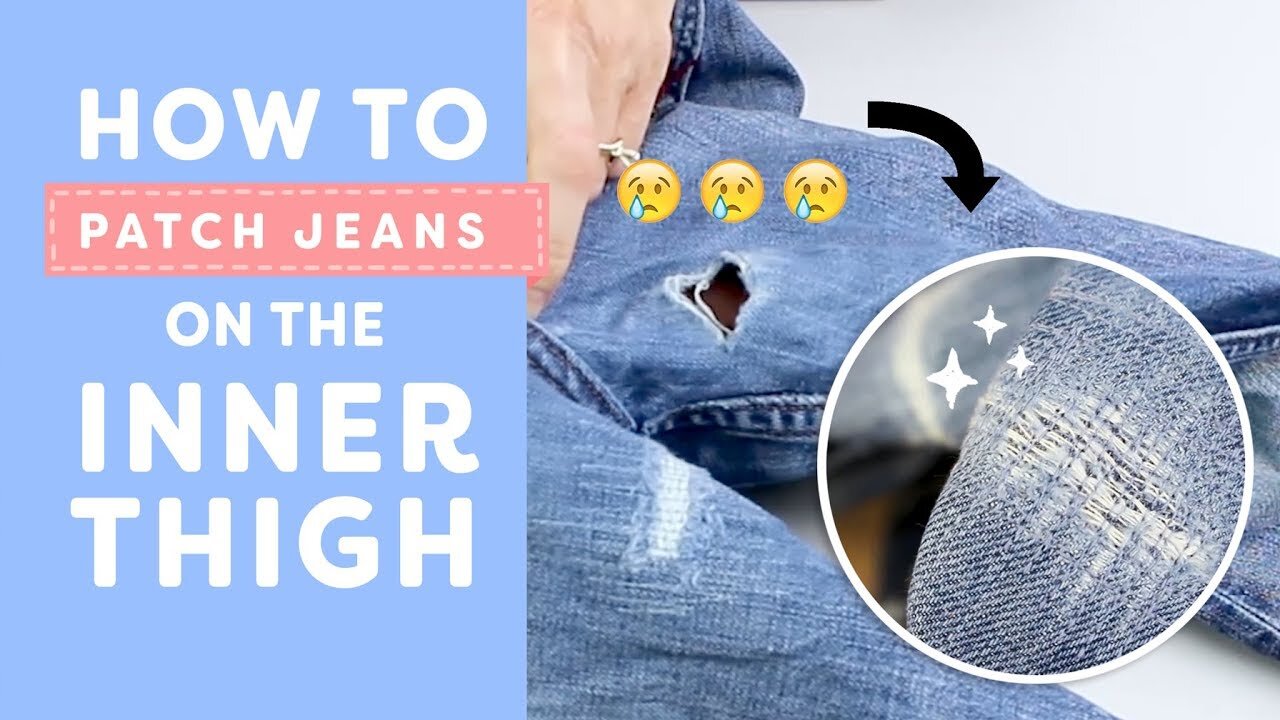
How to Patch Jeans on the Inner Thigh
Maura Kang
We’re going to demonstrate how to patch a pair of jeans that has a tear on the inner thigh. Anyone who has thighs knows what a pain this problem is, so instead of throwing away an otherwise perfectly good pair of jeans, we’ll show you how to repair them on your sewing machine.
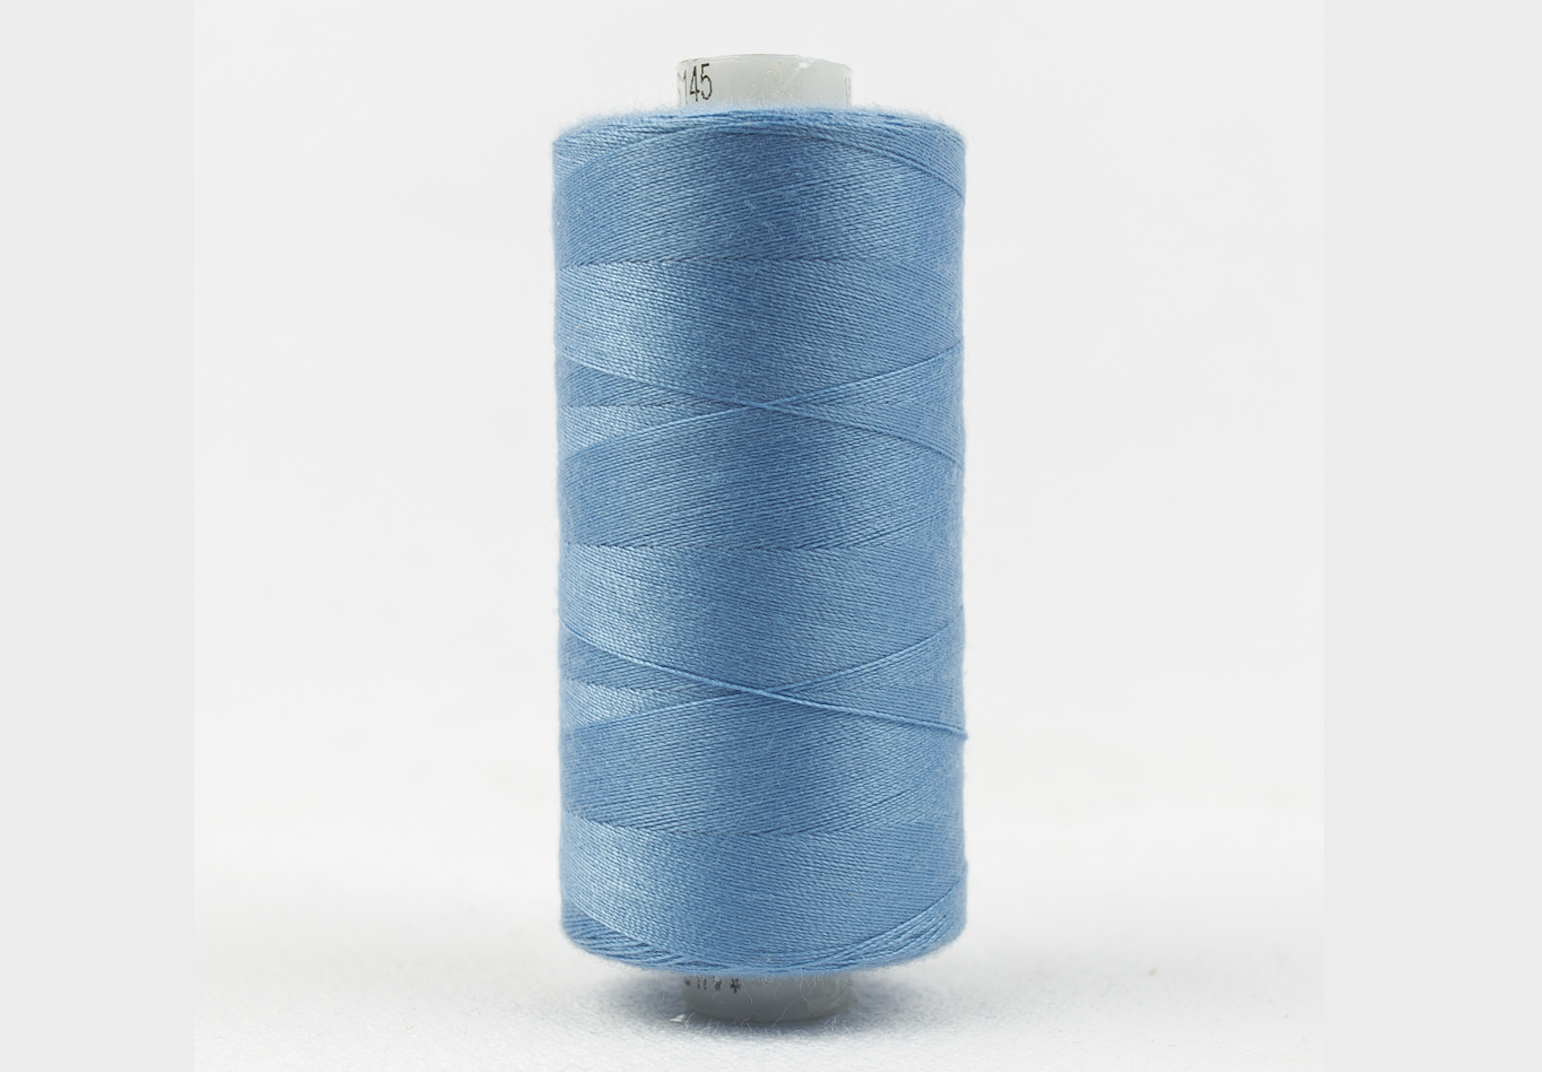
You’ll only need a few basic tools. We’re going to use a soft 40wt polyester thread called Designer, which is great for making repairs on clothing because it’s really strong and flexes with the fabric. Choose a colour that matches your jeans to help it blend in.
We’ll also be using a bobbin prewound with DecoBob, which is a really fine but strong 80wt polyester thread. Since it’s such a fine thread, it will keep the fabric around your patch softer, and since we’ll be going over the area several times, you won’t need to worry about it breaking from wear and tear.
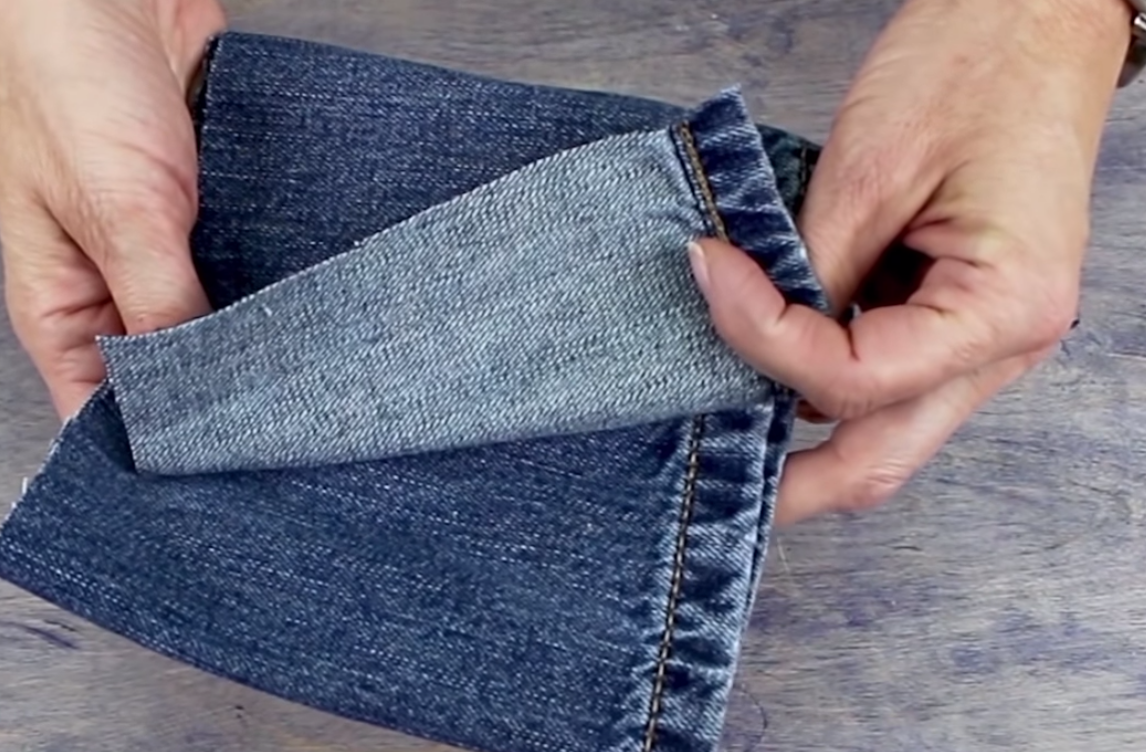
For this project, you’ll need a separate piece of denim or similar thick stretch fabric to patch the hole with. I have a piece cut from another pair of old jeans, and since it will be facing the inside of the hole, it doesn’t matter if the colour doesn’t match. Make sure it’s cut to be about an inch wider than the hole itself. You can always trim it down afterwards.
Finally, we’re just using a basic number 12 universal needle in the machine. Be sure to use a fresh needle so it’s nice and sharp as denim is a thick material to stitch through.
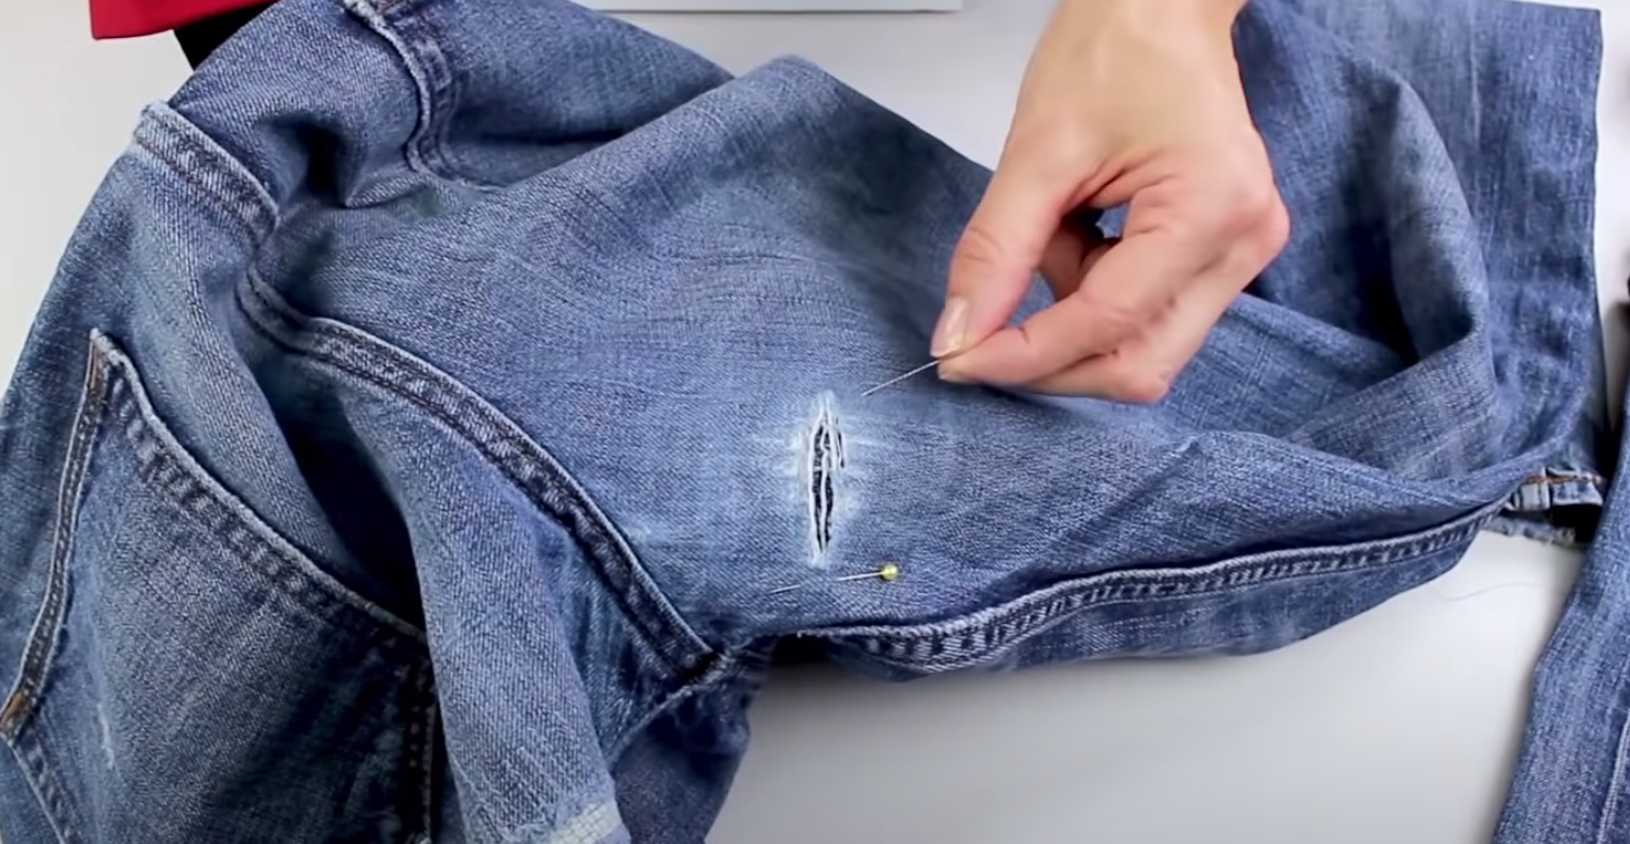
Tuck the patch centered evenly behind the hole and pin it in place so it doesn’t move. It’s a good idea to position your pins further away from the hole so you have room to stitch over the hole without them getting in the way. Make sure the area around it is flat so you don’t have any ripples. If the hole is in a difficult place to work in, like a knee, you may have to open up a side seam so you can lay the area flat under your machine. Then you can simply close the side seam once your repair is complete. Close up the hole with your patch as much as you can without warping the shape of your fabric.
We’re going to use a simple straight stitch on a stitch length of 2.0. If the hole is large, or the area around is very worn and weak, we suggest using a three step zig zag stitch for the repair, as it will better hold down the frayed fabric edges.
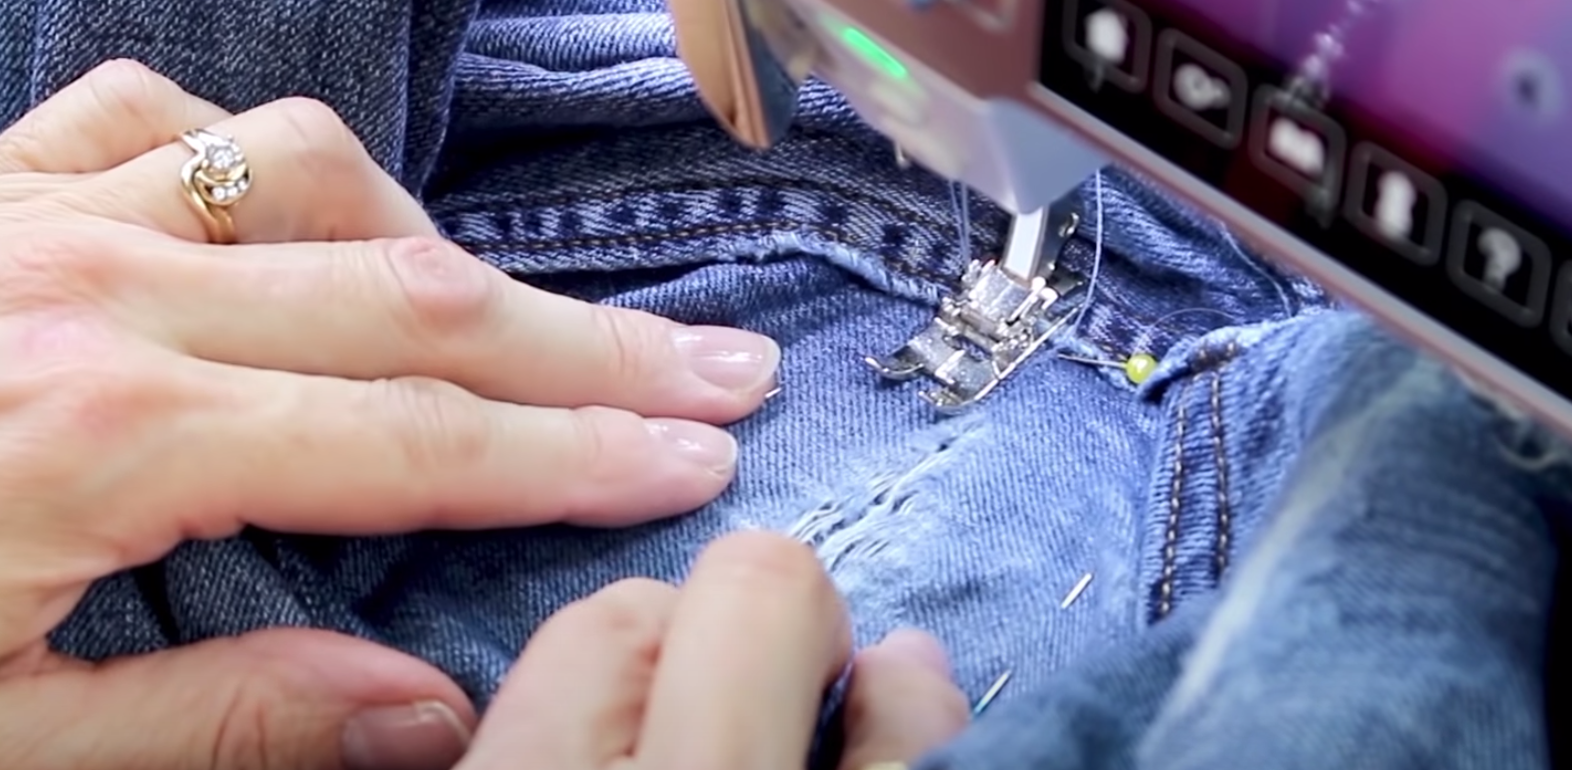
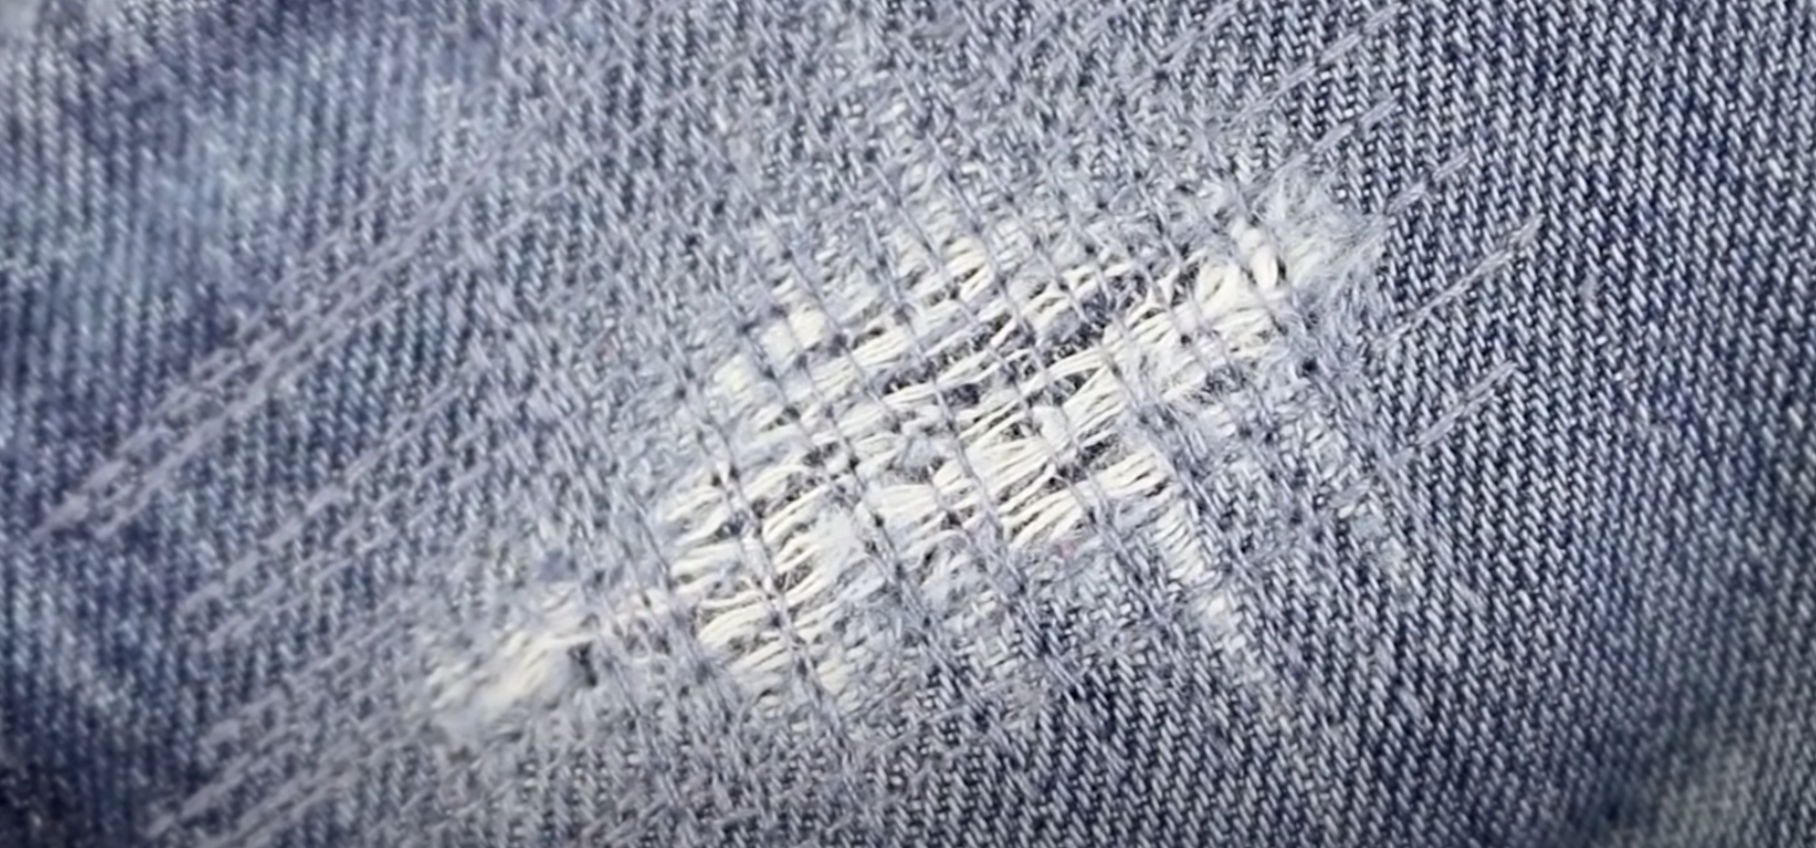
To start, we’re going to sew horizontal lines going back and forth over the hole, using the backstitch button to sew backwards. Once we’ve done that a few times and the hole is more secure, we’ll go over the areas we missed to make sure everything is fully stitched down. Try to catch all the fraying edges to prevent the fabric from fraying further.

To further secure the patch, do a few vertical lines over all the stitching.
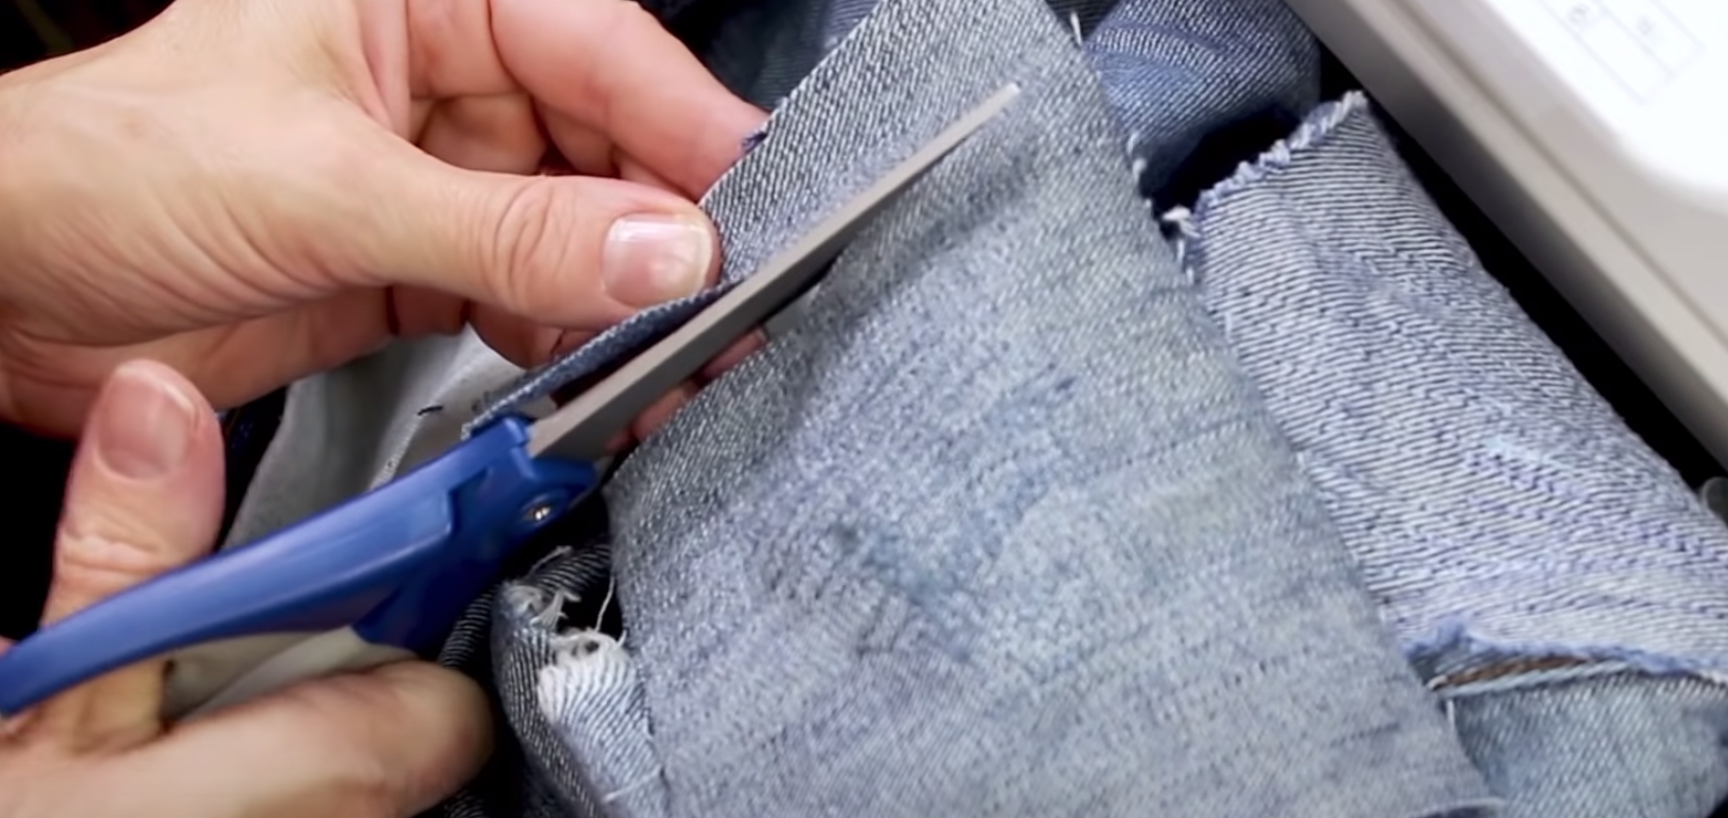
Now that we’ve stitched the hole completely closed, we’ll turn the jeans inside out to see how the underside looks. You can trim any excess fabric at this point so it’s more comfortable to wear. The patched area will be a little stiffer, but will soften up after washing and a few wears.
There you have it! When worn, you won’t even be able to see the patch. This super simple technique is a great way to save your jeans and keep your wallet full. If you’re thinking of giving your wardrobe a second life, don’t forget to read about the different ways to re-inspire your old clothing and upcycle them into something fresh!
Inspired to sew with Designer? Find a store in your area that carries WonderFil at http://www.shopwonderfil.ca/shop-local. You can also sign up for our free newsletter to receive more educational sewing tips, tutorials, and free patterns. Register by clicking here! We’ll see you again next time!