
Sewing Reverse Appliqué: Free Pillow Pattern!
Maura Kang
Reverse appliqué is a beautiful way to add interest to any project such as quilts, table runners, bags or decorative pillow cases. This technique is easy to follow along with for beginners and is offers a little more texture than traditional appliqué. We’ll show you how to sew reverse appliqué, then turn it into a fun decorative pillow cover, free pattern included!

Download and print the free pattern by clicking here.
Thread:
•DecoBob and DecoBob Pre-wound bobbins: https://shopwonderfil.com/product-category/decobob
• Splendor: https://shopwonderfil.com/product-category/splendor
Material:
• At least two 15” x 15” complimenting fabrics, we chose cottons
Needle:
• 80/12 Schmetz : https://shopwonderfil.com/product/machine-needles
About the technique: In traditional applique you have a separate cut out piece of fabric and you sew it directly onto another piece. In reverse applique you actually cut out shapes out of the top layer of fabric to reveal the fabric beneath it.

Cut out two pieces of fabric at the same shape and size, we did 15” X 15”. This pillow will be 14” when finished as the size we gave allows for ½” seam allowance around the pattern. Whatever fabric you pick for the bottom will peek through the top fabric - that is why we chose a patterned motif for this. For the pillow back we cut a rectangle that is 15” X 11”.


Next we are going to start by grabbing our matching thread. We chose to use DecoBob since it is so lightweight and thin it makes the seams have very reduced bulk. We are also using and 80/20 needle for our machine to ensure a smooth stitch.


Place the two pieces of fabric right side up with the fabric you want contrasting on the bottom. Make sure the top fabric is on top of the contrast fabric.

Baste all the way around with a ¼” seam allowance just to hold the pieces together while we cut/appliqué them.

Next you want to grab the pattern that is linked above. We printed this pattern onto cardstock just for a bit more stability. We used a small knife to cut out the little diagonal windows so we can transfer it onto our fabric. Then trace through the windows you cut out onto your fabric. We used a disappearing marker.


Once you have transferred the pattern, very carefully separate the fabric and cut away your shapes from only the top fabric. When all of the shapes are cut out, then you want to pin the top fabric to the bottom so that it will not move around. Pin around each cut out shape to prevent it from shifting. Or as an alternative option you can glue the top fabric to the bottom around the cut outs with a fabric glue.

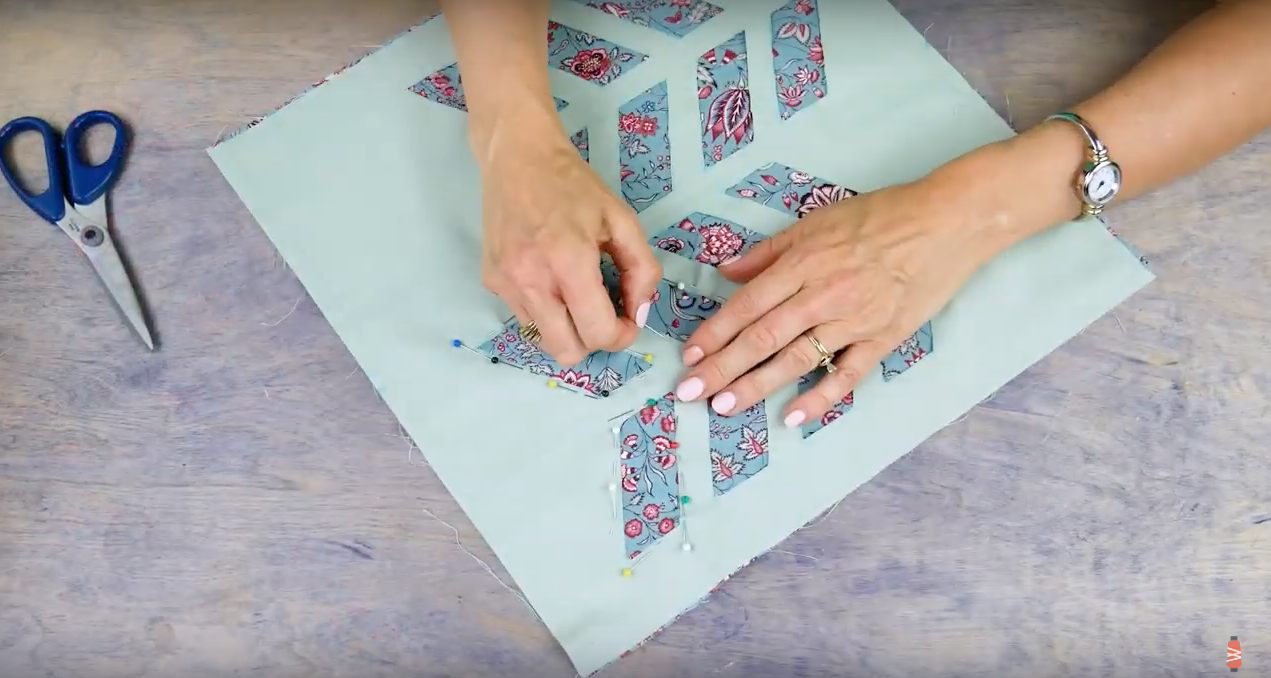

Then with your machine, you want to stitch around the cut out shape very close to the edge. This will secure the top to bottom layer so that we can appliqué it nicely.


You could choose to leave the edges raw and continue to make the rest of the pillowcase. We are going to use a decorative stitch on our machine to hide this edge, and it helps to enclose this way if your top fabric frays too. We decided to add a little pop and changed our thread to Splendor, which is a beautiful shiny rayon thread. We kept the DecoBob in the bobbin.

We recommend adding a stabilizer before finishing off the applique on the edges, as it will add a little bit more structure and strength to the area. We added tear away stabilizer to the wrong side of this piece and ironed it on.
We did a satin stitch around each edge (zig zag). Make sure that when you are sewing this, that the stitch will enclose the raw edge.

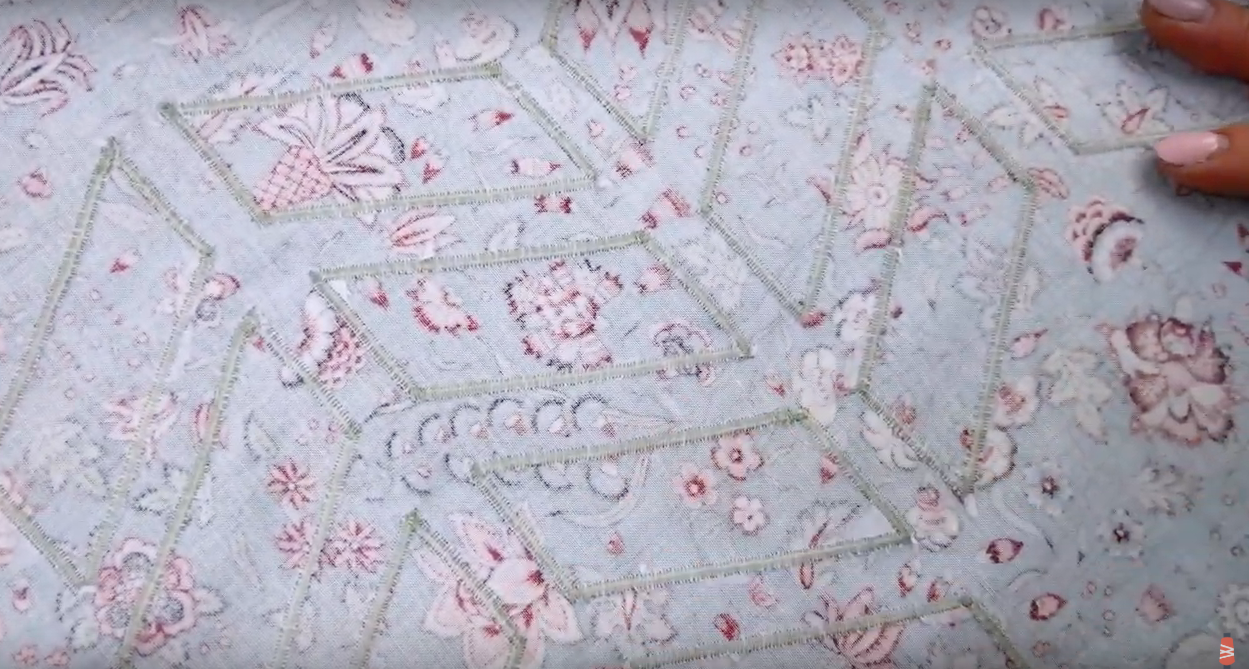
When finished the shapes should look something like this:
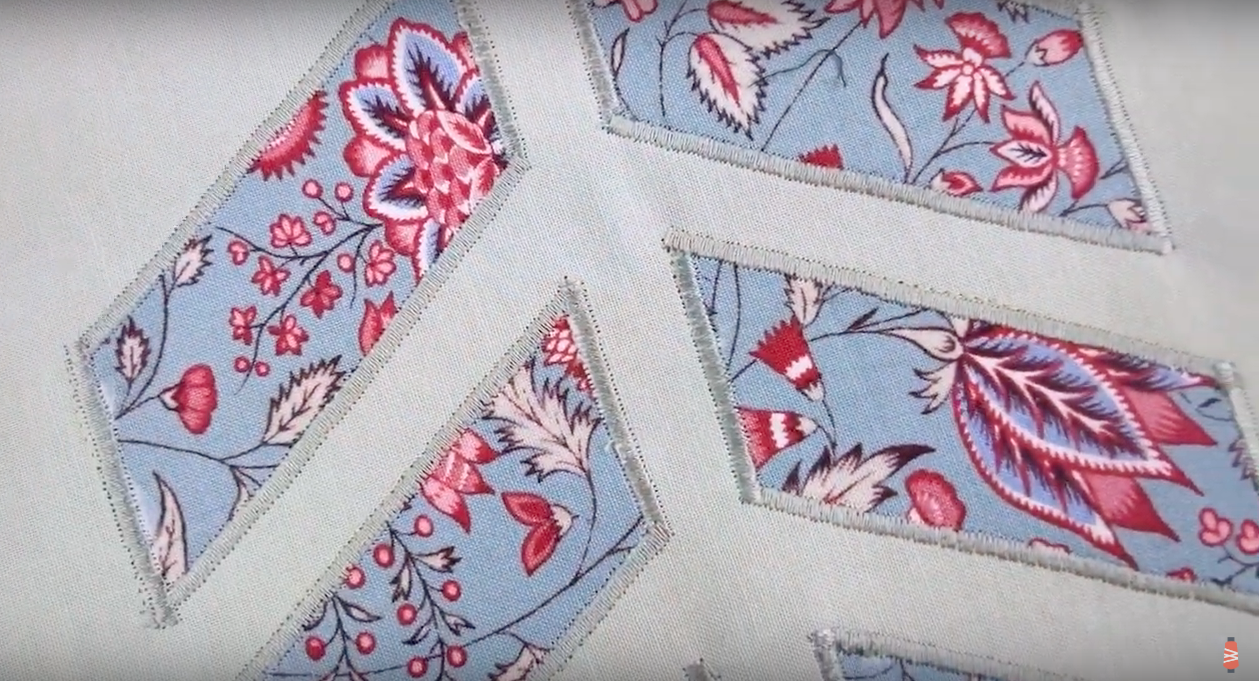
Once you are happy with this stitching then you can tear away the excess stabilizer on the wrong side.

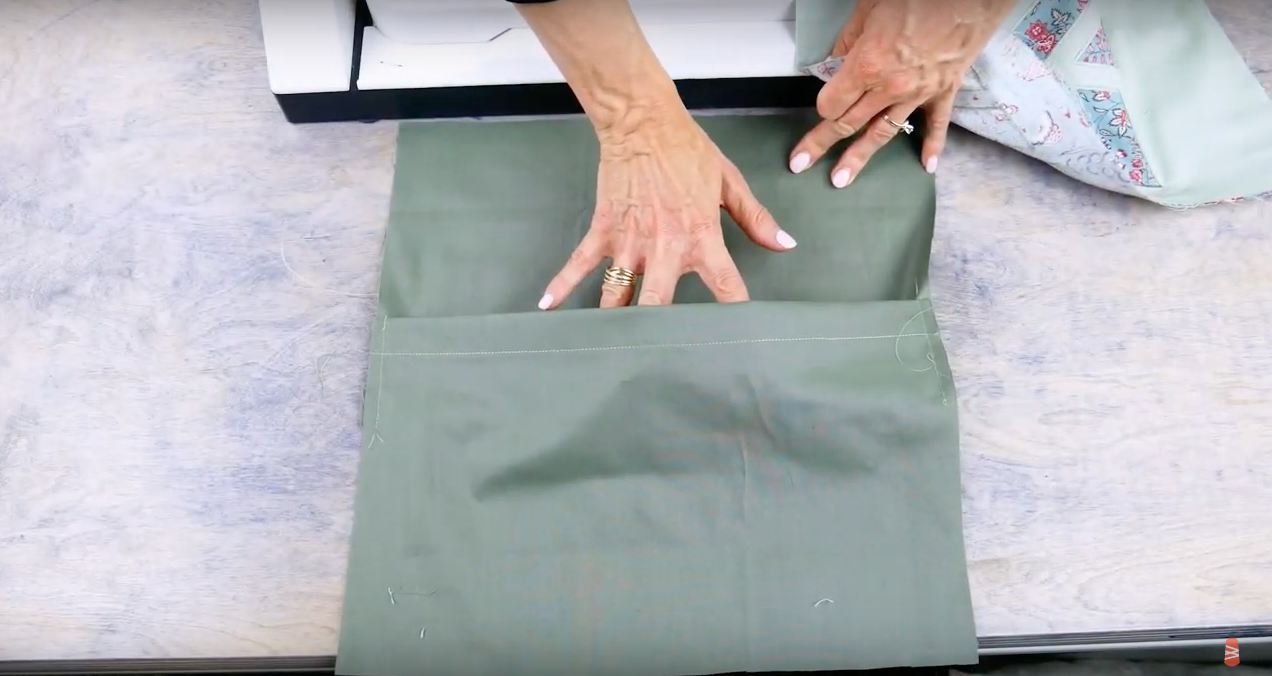
Now we are going to make the pillow back. Along one 15” edge of a back piece press a 1” hem to the wrong side of the fabric.

Once you have ironed this 1” hem then fold it over again to enclose the raw edge of the fabric.

Stitch along the pressed edge to create a 1” double hem. Sew close to the edge so that the hem lays flat and will not pop up. Repeat this step for the other back piece so that there is one finished hem edge on both.


Face the hemmed edges together and lay one back piece on top of the other. On one piece we used pins to mark 3” from the hemmed side. When placing one on top of the other it should line up with this three-inch mark- giving a 3” overlap. Then once they are placed with the 3” overlap, pin together so they stay in place.


Baste the raw edges where they overlap to help hold it in place. Baste at ¼” so that it will be hidden in the seam. Then place the right side of the back of the pillowcase ad the right side of the front pillowcase together.

Then you can pin around the outside, and stitch around the entire square. Use a ½” seam allowance.

Once you have sewn the whole square then cut straight across the corners of the fabric - making sure not to catch any of your stitch. This will reduce bulk and let the corners come out crisper. Turn your pillowcase to the right side through the double hemmed opening made on the back.


Once pulled through then make sure the corners are poked out well. You can use your fingers, or something pointy but not too sharp such as a chopstick. Then you can lightly iron around the edges- this will make the seam lay better when the pillow form is inserted.

Insert the pillow form through the back opening to finish!

There are so many ways to use reverse appliqué. We hope that you enjoyed making this project! Whether you decided to make this pillow, or use the technique in another way we would love to see. Tag us on Facebook @wonderfil, Instagram @wonderfilspecialtythreads, or using the hashtag #wonderfil. Happy crafting!
