Simple Ear Guard for Face Masks
Maura Kang
If you’re wearing a face mask using elastic hoops, this simple ear guard will alleviate the pressure they put on your ears by allowing you to hoop them behind your head instead. Two buttons and a few pieces of scrap fabric and batting is all you need to make one! The best part is, they’re incredibly fast to stitch together and can save you a lot of pain, especially if you’re wearing your mask for several hours. Don’t forget to check out our accompanying face mask tutorial to make your own: https://www.wonderfil.ca/blog/easy-diy-face-mask-with-filter-pocket-amp-fitted-nose-crimp/4/8/2020
Materials:
Download the super simple pattern by clicking here.
We used Designer 40wt all-purpose polyester thread to sew our ear guards for added security
We recommend DecoBob 80wt cottonized polyester in pre-wound bobbins as this strong thread offers the most consistent tension for ease of sewing.
2 pieces of fabric cut to the size indicated in the pattern
1 piece of batting cut to the size indicated in the pattern
2 medium sized buttons
Direction:
Before starting, don’t forget to download the pattern linked at the top of our materials list and choose the size you wish to sew. We’re demonstrating using the child size in the pattern. Cut out your 2 pieces of fabric and the batting. These pieces are small enough that we were able to cut them from our scraps!


Place your batting piece together with one of the fabric pieces against the wrong side. Pin together and sew all the way around on a ¼” (0.63cm) seam allowance.


We added two rows of quilting through the middle to further secure the pieces together. This batting adds an extra layer of cushion against your head so that it sits more comfortably.

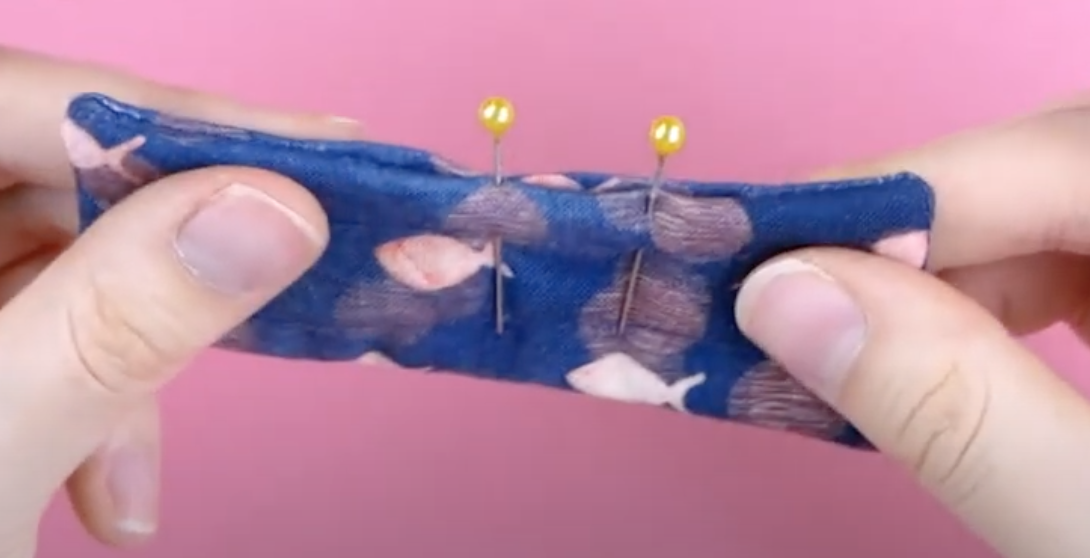
Lay this stitched piece together with the second piece of unstitched fabric facing right sides together. Pin in place and sew on a ¼” (0.63cm) seam allowance, leaving a 2” (5.1cm) gap to turn the piece through. Don’t forget to backstitch at the beginning and end.

Trim the extra fabric away from the edges, being very careful not to cut into your stitches. Then turn the piece right sides out.


We handstitched the remaining gap closed using DecoBob 80wt thread, the same thread we used in the bobbin while sewing in the machine. This small thread will hide better in the fabric so it won’t be seen. We used a smaller short darner size 11 needle to sew it.

For the final step, we’ll be sewing the two buttons on by hand. Using Designer 40wt thread now and a sharps needle, simply stitch each button to the end of the rectangle.


Your ear guard is now ready to be used! This simple and quick project will help alleviate the pressure face mask elastics put on your ears for a more comfortable wear.
