Needle Punch Tutorial & Free Patterns!
Maura Kang
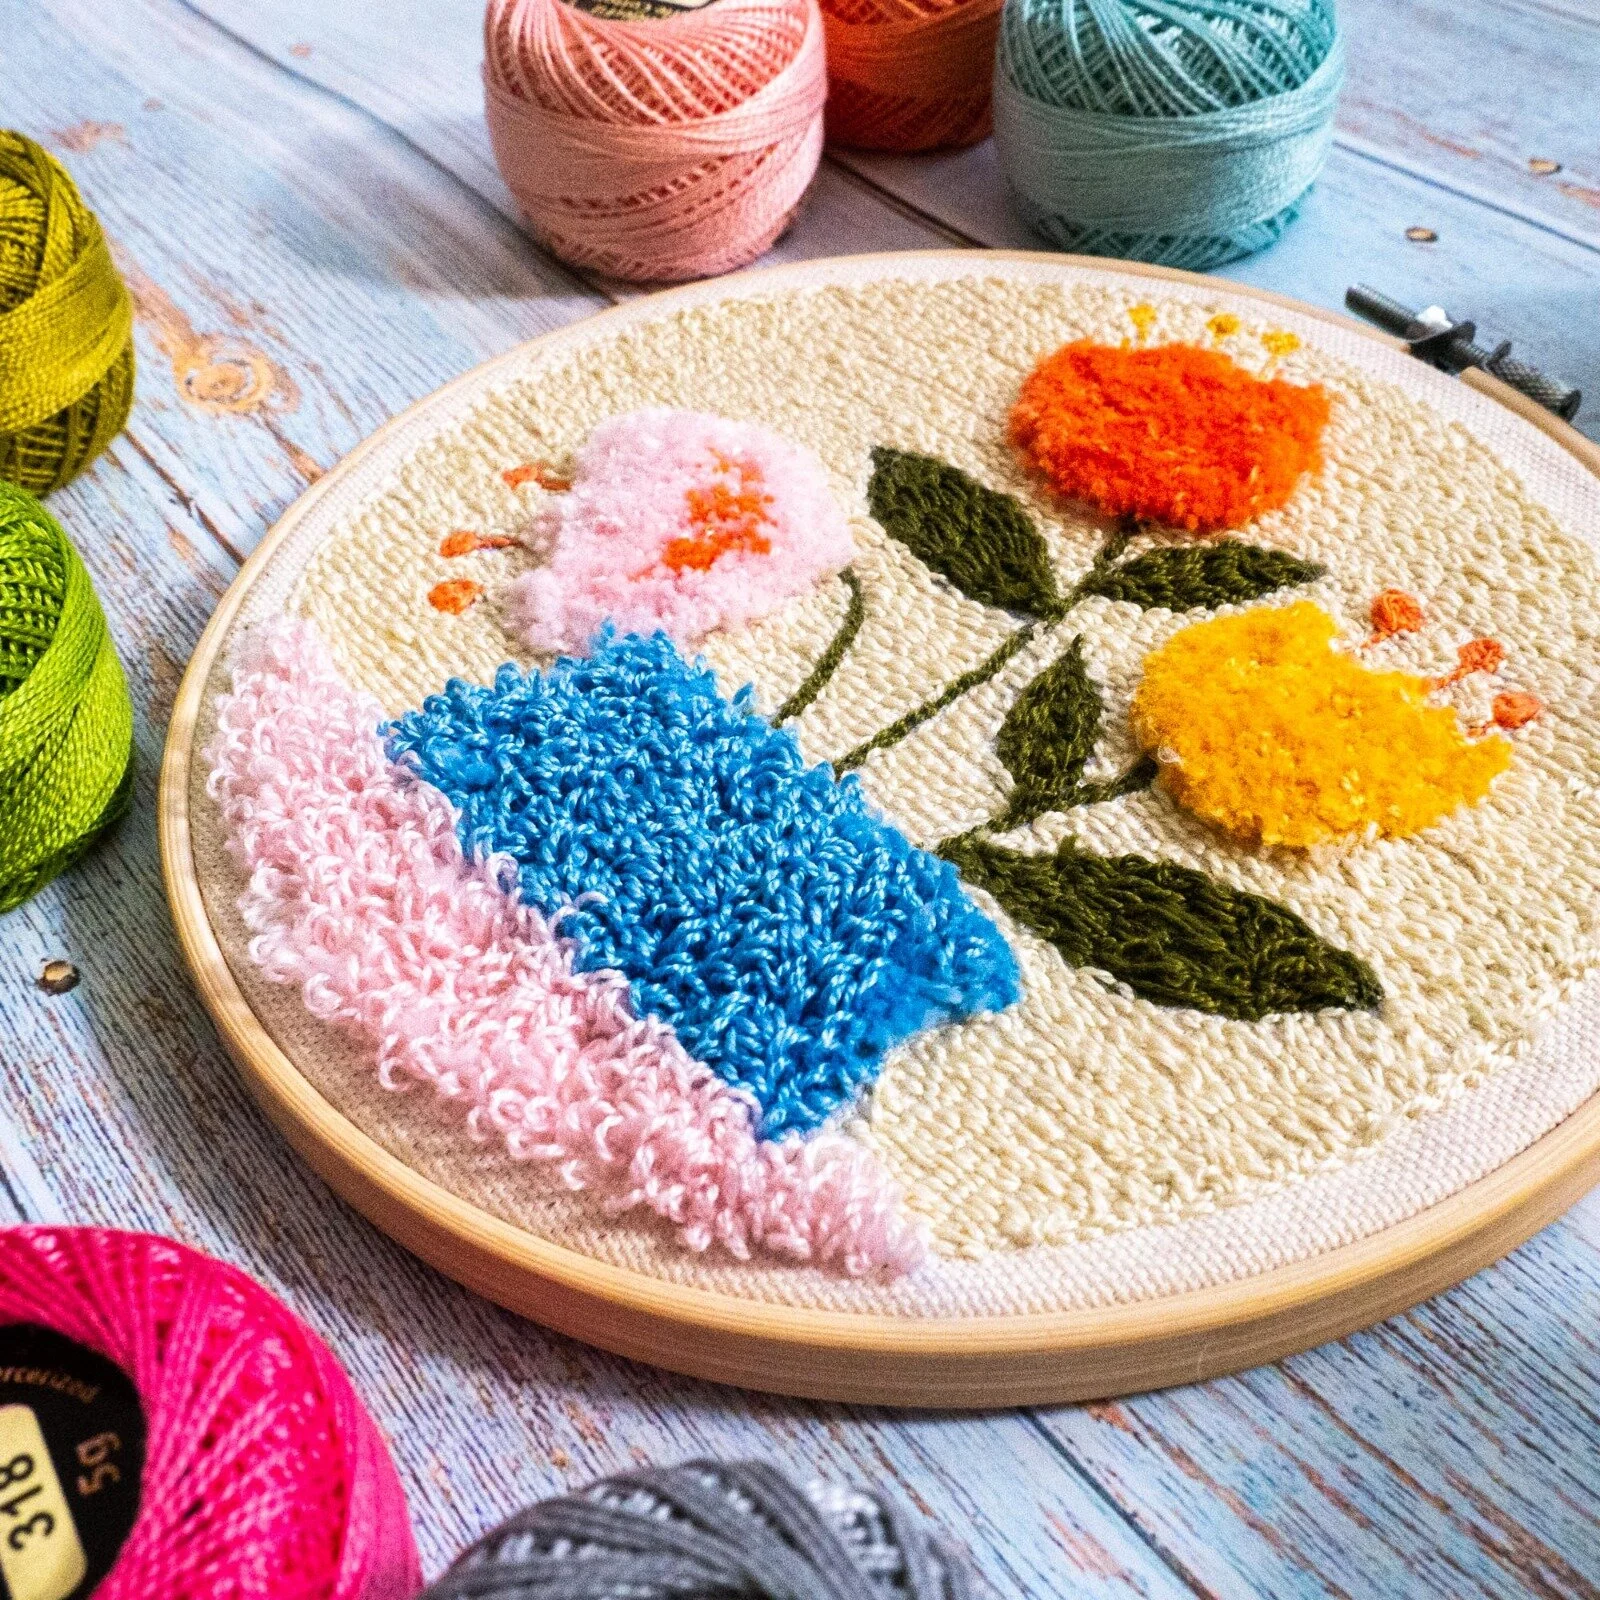
Needle punch is a simple way you can easily and quickly create beautiful stitched patterns and designs. We’ll show you how to set up your needle punch tool, our recommended thread and materials, and walk you through simple tips on how you can use this technique to create different textures and stitches. We’ve even included a few FREE printable patterns below to help get you started on your next needle punch project!
Materials:
Download one the free patterns by clicking here.
Recommended thread: Eleganza™ #8 perle cotton thread: https://shopwonderfil.com/product-category/eleganza/
Needle punch tool (we used one by Clover)
Embroidery hoop (to fit the free patterns above, we used a 5.5” hoop)
100% cotton monk’s cloth with an even weave
(optional) A light table to trace your pattern onto the fabric, we used one by Daylight
Clear glue
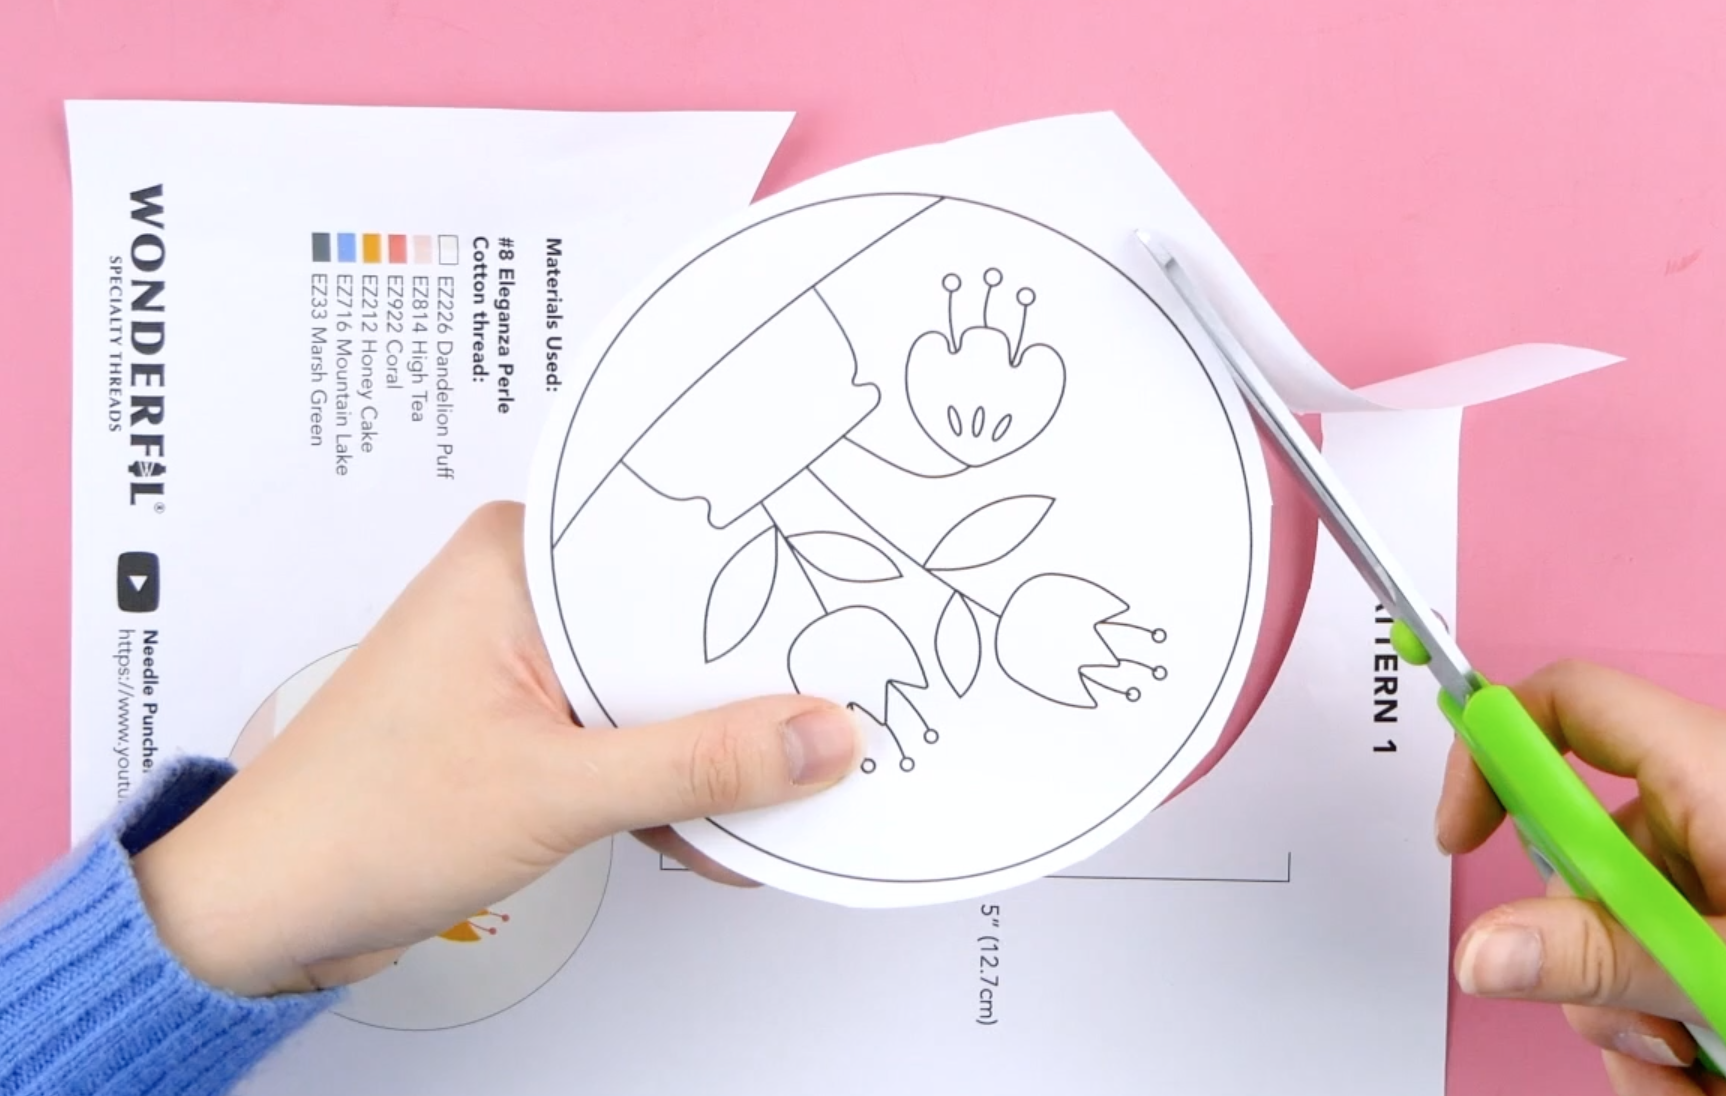
Before you can begin needle punching, you’ll need to prepare your fabric. Download one of the patterns from the link above or select one of your own. You can trace this pattern onto your monk’s fabric using a light table or by holding it up against a window. Some patterns can also be transferred using an iron or with carbon paper and will come with instructions on how to do so.

We recommend using a 100% cotton monk’s cloth with an even weave as this will be the easiest to keep your stitches looking consistent and straight.

Once your pattern is traced, hoop the fabric tightly in an embroidery hoop. For the free patterns available above, we used a size 5.5” hoop. You can then proceed to load your needle punch tool with thread. Our recommendation is a #8 size perle cotton as this will offer enough friction in the fabric to hold, while still showing boldly. We used #8 Eleganza perle cotton as it has a very tight twist which prevents untwisting, and a low lint finish that allows it to pull easily through the fabric.

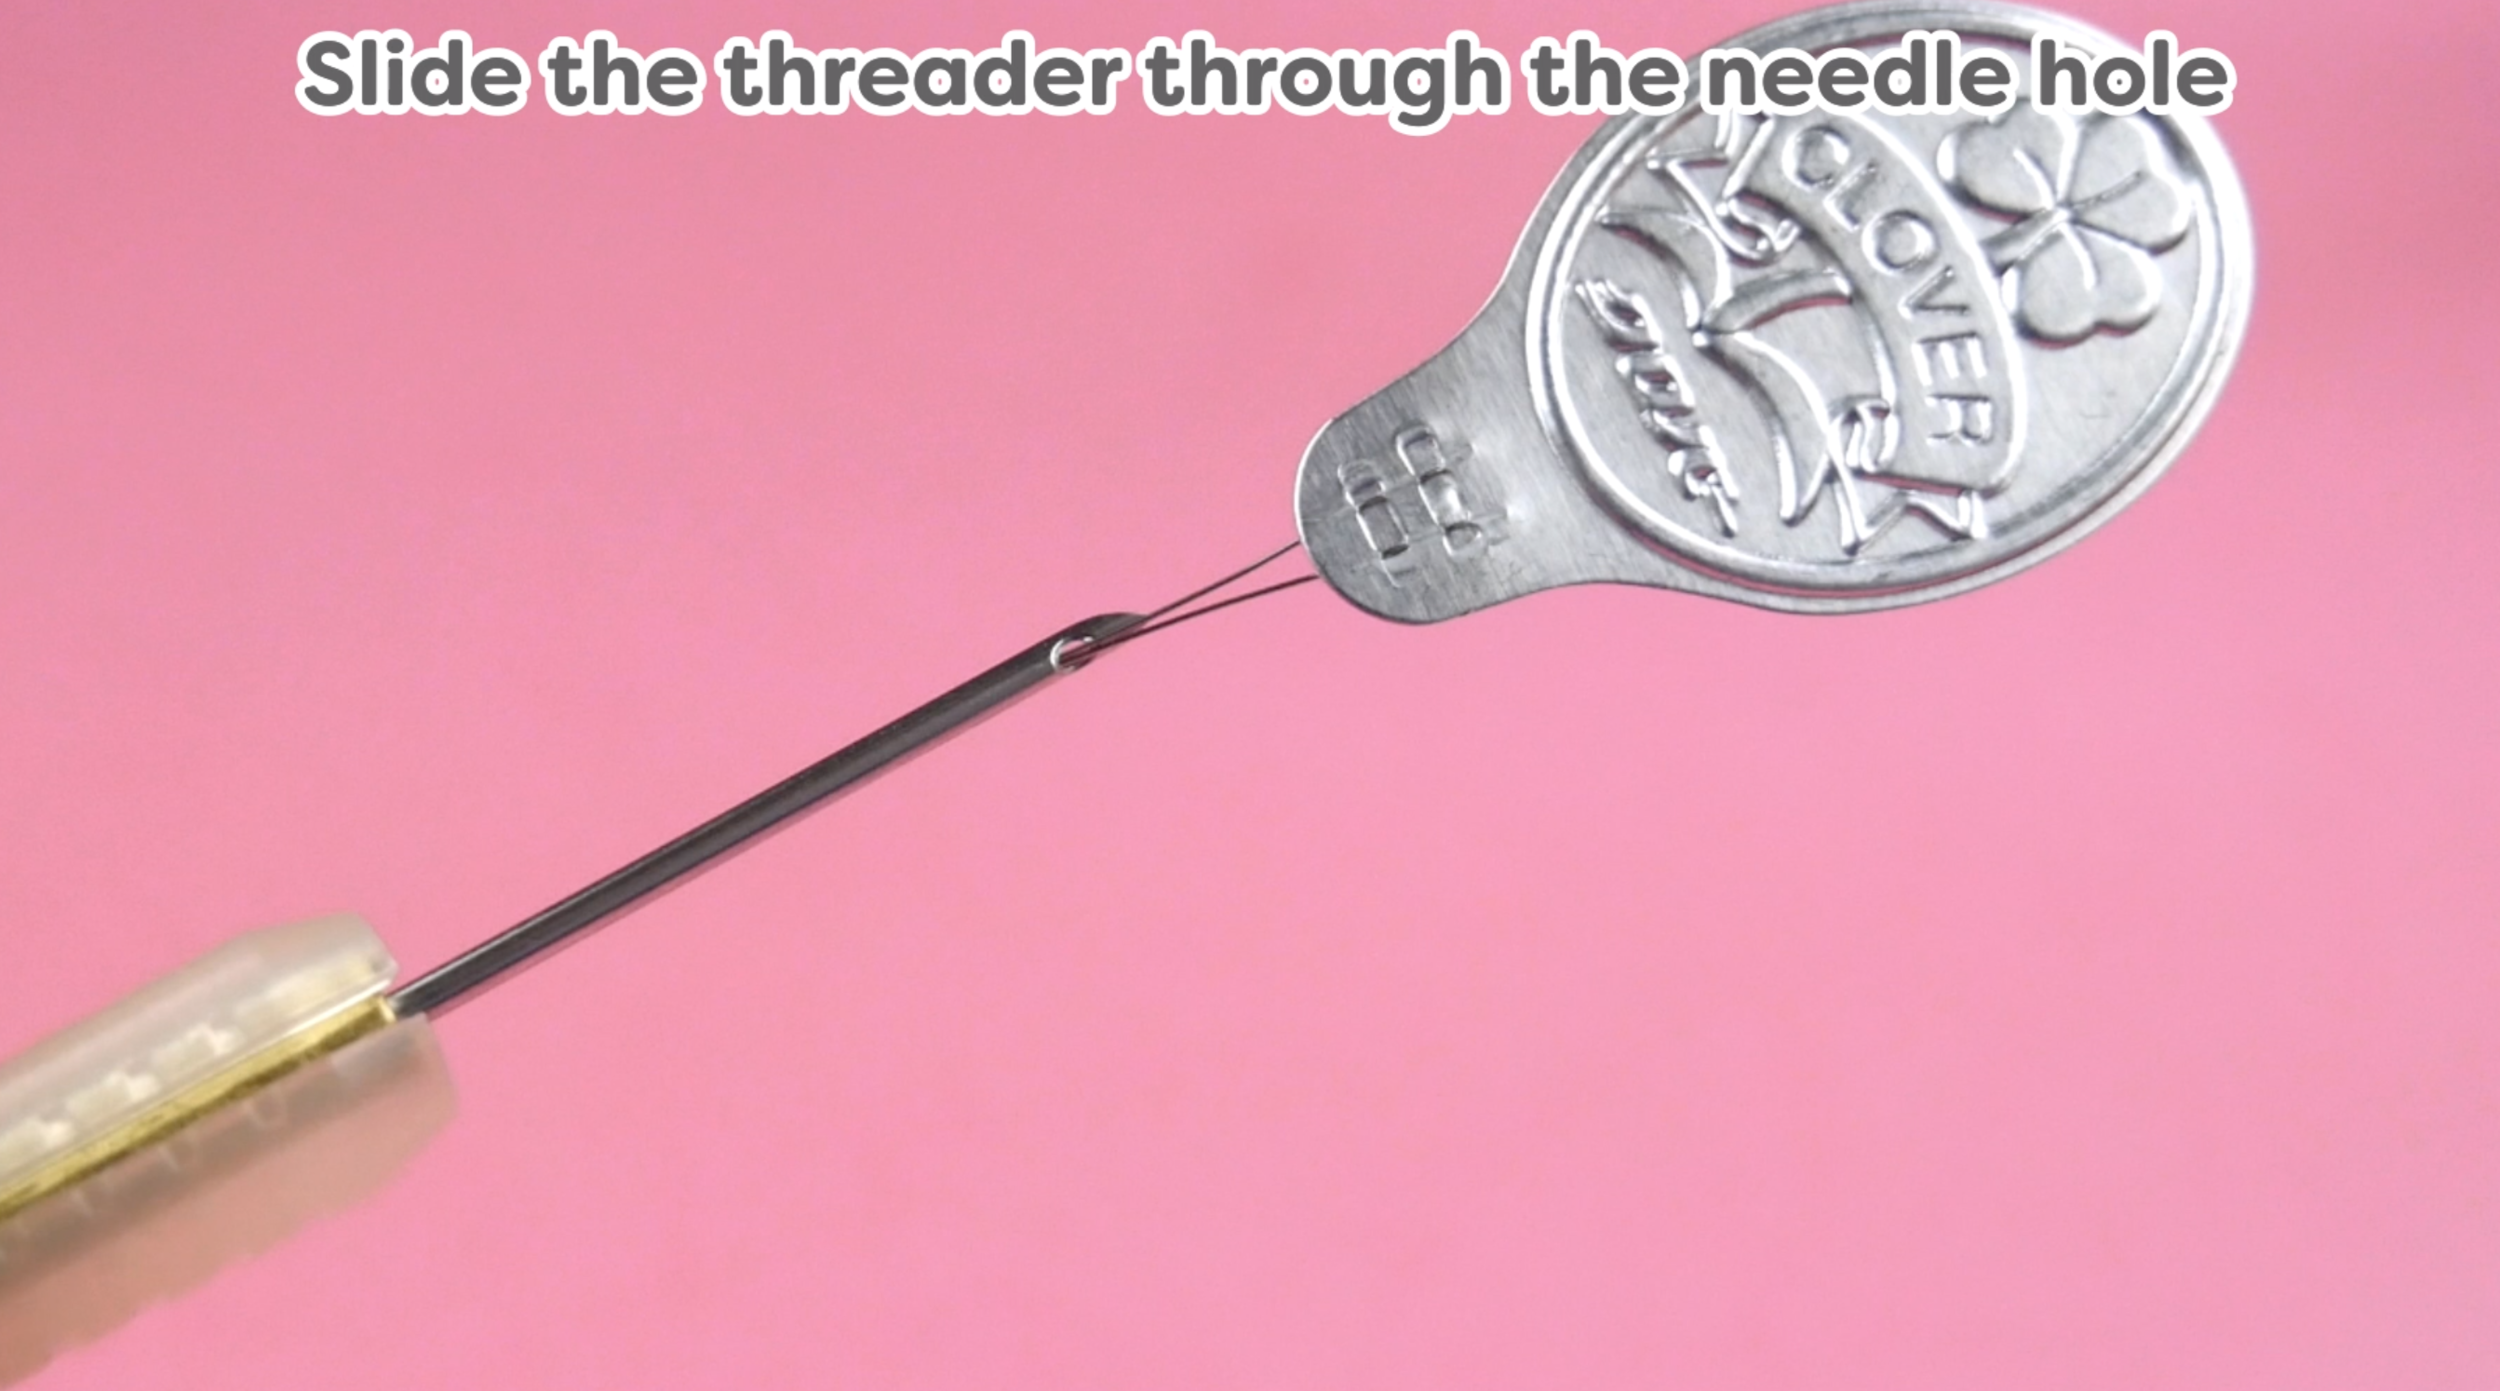
Your needle punch should come with a needle threader. Slide it through the tool from the base of the needle so that the threader is facing the top end of the punch. You can then slide the thread through the threader loop and pull it back through the punch, drawing the thread with it through to the base of the needle.
Inserting the needle threader.

Sliding the thread through the needle threader’s loop.

Drawing the needle threader back out, pulling the thread with it. Your needle punch is now threaded!
Leave a tail of a few inches of thread and slowly begin punching through the fabric, filling in the design. You’ll notice two sides to the fabric, one that sticks out with loops, and the backside which is shorter. You can choose to make either side your “right” side.
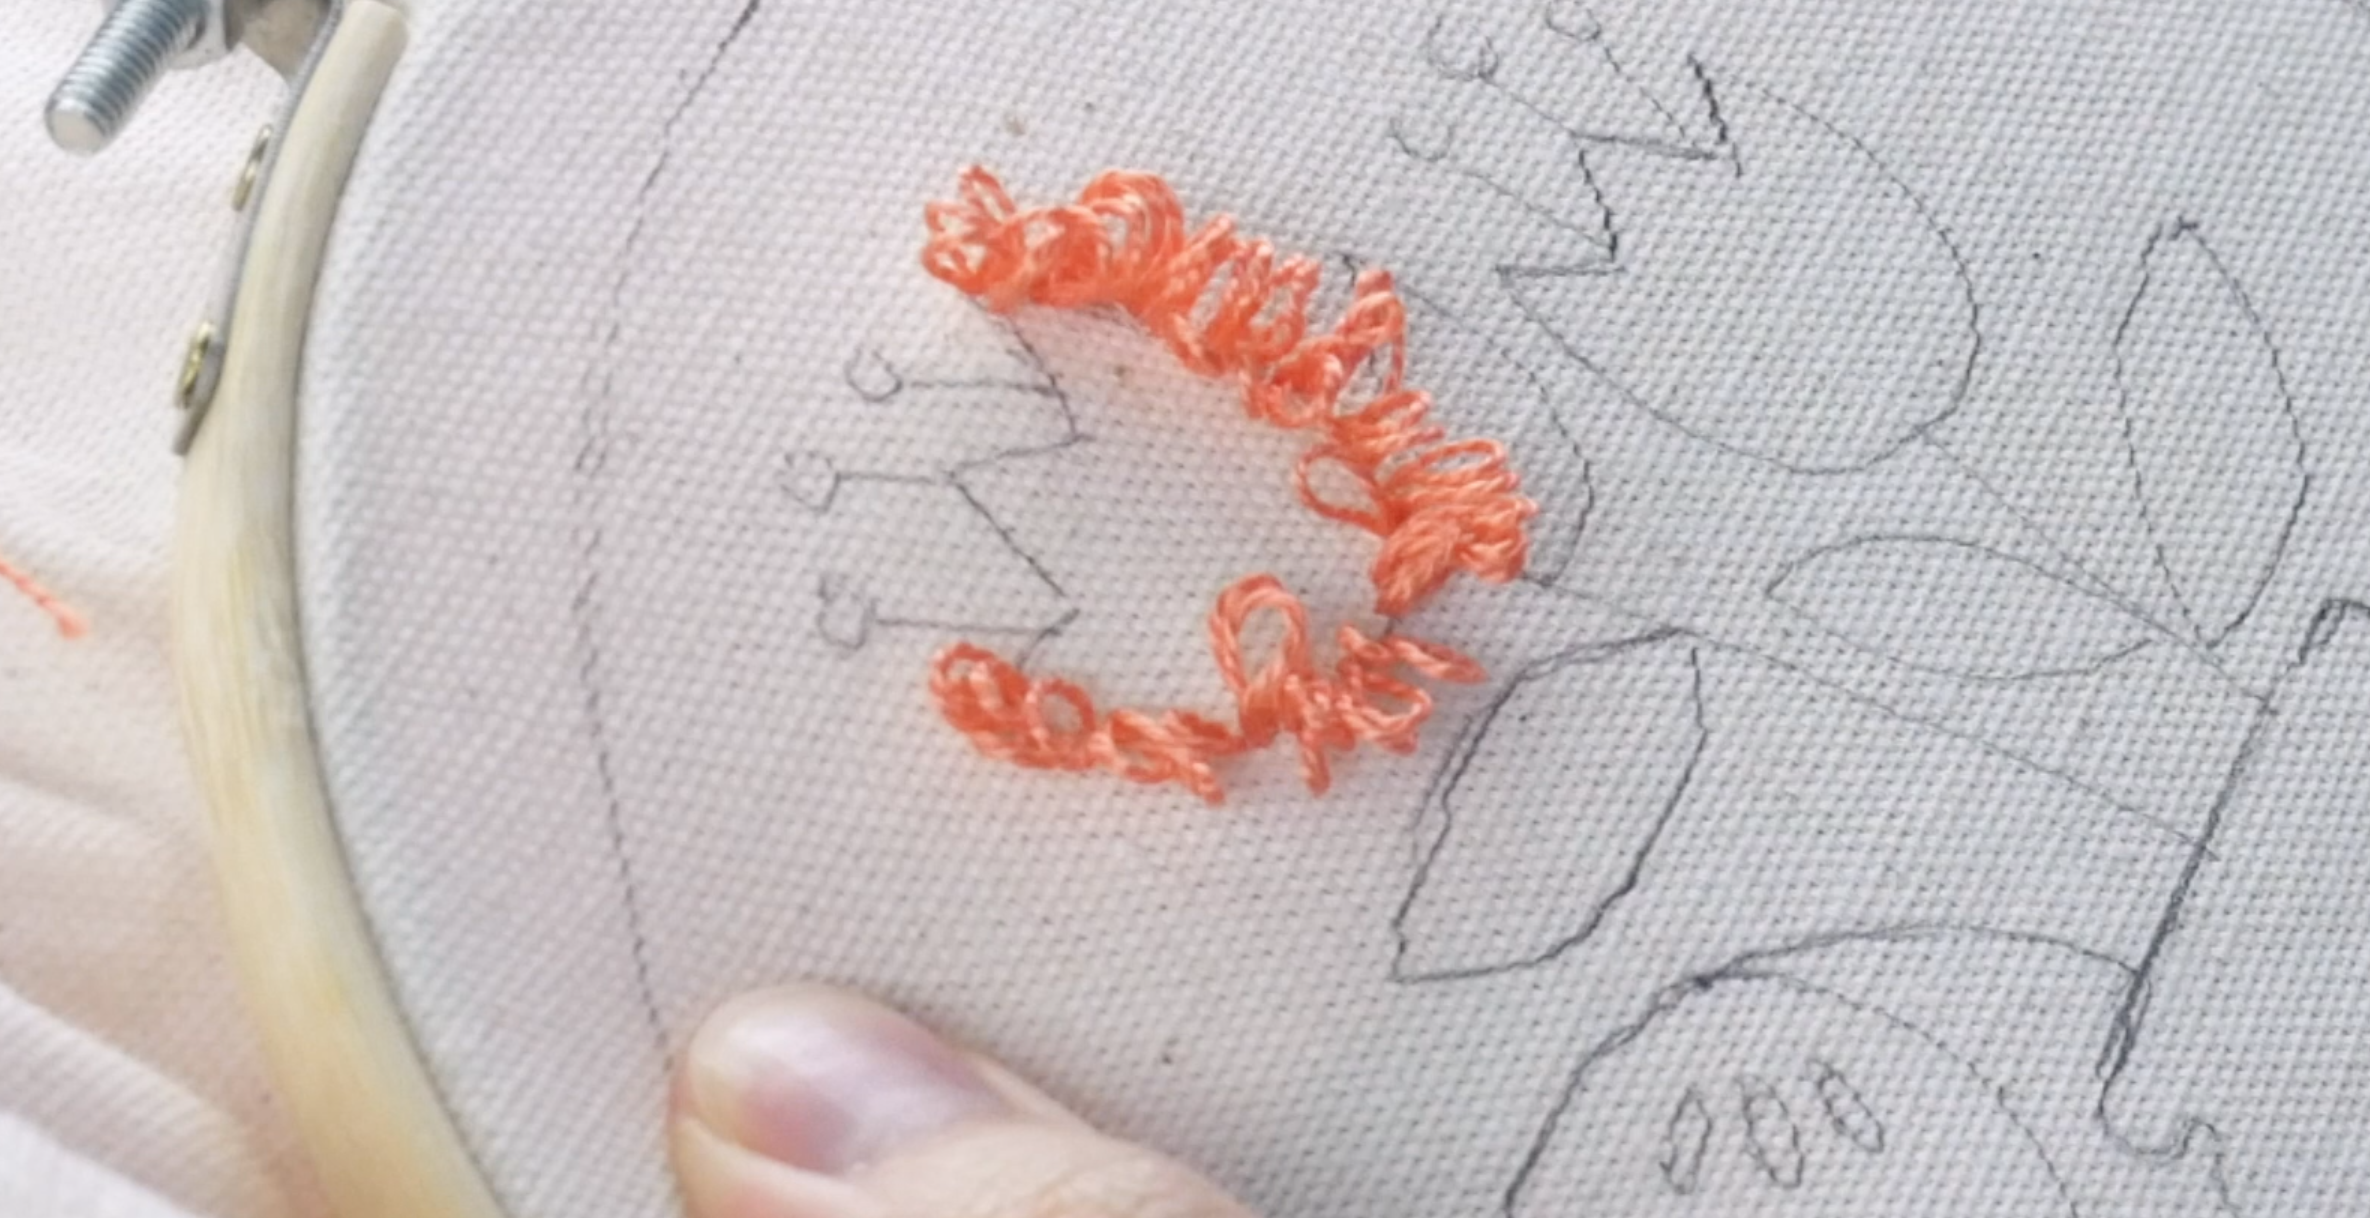
Front side.

Back side.
For reference, the side you do the punching from will be the “back side” of the fabric, while the opposite side will be the “front side”. When you’re finished filling in a section, trim away the thread and secure the back side with clear glue.

To create an optional fun texture, you can take a pair of scissors and cut the loops on the front side of the fabric, releasing them. You’ll end up with a soft and fuzzy texture that can be trimmed down around the edges of the design to keep the edges clean and crisp.

Cutting the loops.

The resulting texture after cutting the loops.
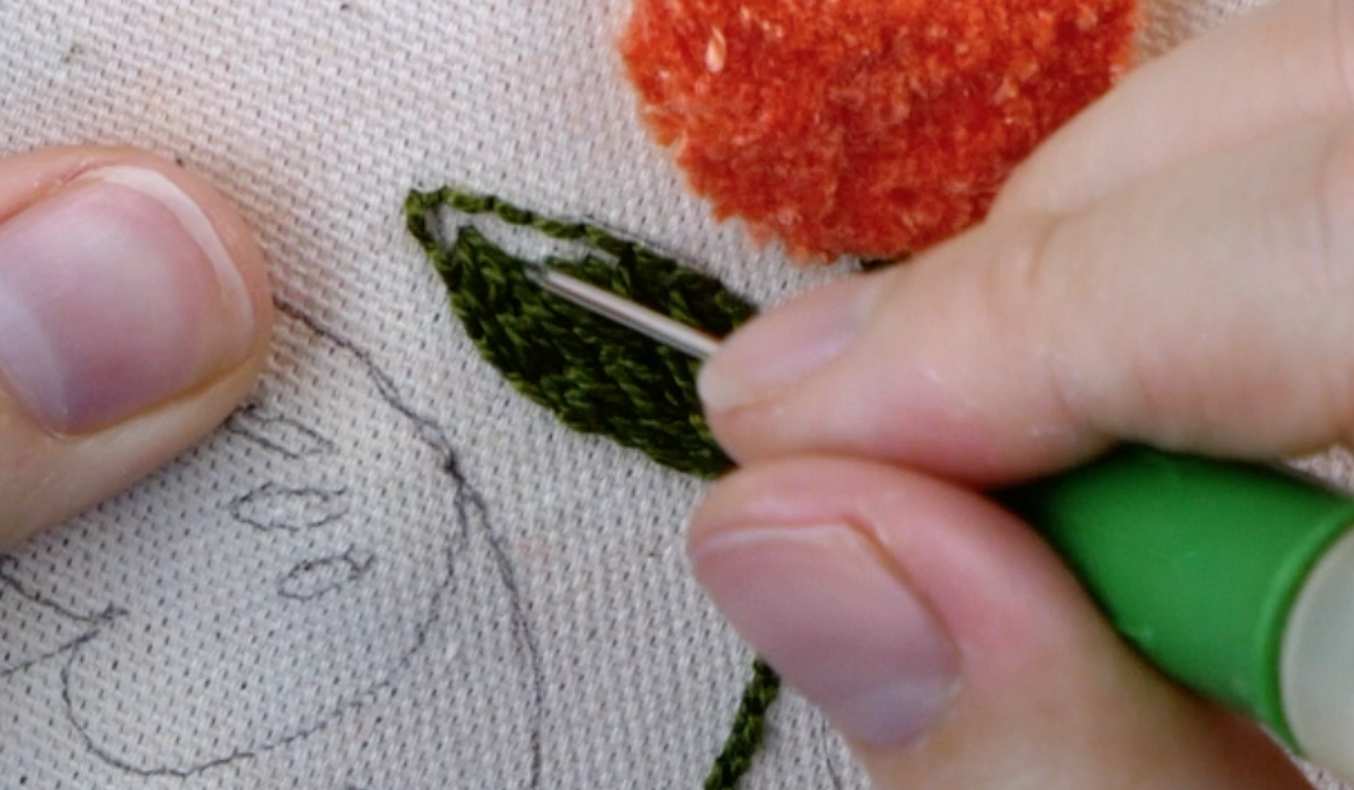
To change the texture and add a bit of contrast in the design, we’ll be flipping the hoop over and punching from the “front side” instead of the “back side”. Since these stitches will now be more visible, an option while you’re filling in the design is to move back and forth in a zig zag pattern. This creates an even satin stitch that mimics the shape of the leaf.
Once again, when you’re finished filling in a section, trim away the thread and apply clear glue to secure the stitches at the start and end of the thread.

Play with the side you punch from to create a variety of textures for your project! Continue these steps until your design is complete. Below is the front side of our hoop.

To finish your hoop, trim the fabric to the edge of the hoop. We’ll be leaving our design in the hoop to frame and hang it.

Experiment with the textures you can create using this fun and simple tool! This is a versatile way to efficiently fill in designs in by hand and get creative.

Feeling inspired? This needle punch is available from Clover. You can find Eleganza™ in a whopping 340 unique solid and variegated colours to play with. Find it in a local store near you at www.shopwonderfil.com/shop-local or to order it online. Share your needle punch projects with us on social media using #wonderfil, we’d love to be inspired by you!
You can also sign up to receive weekly sewing tips, free patterns, and tutorials in our newsletter. Register by clicking here! You can unsubscribe at any time by clicking the unsubscribe button on the footer of every email you receive.