Getting Started With Crochet: Beginner Stitches
Maura Kang
We’re here to teach you a few basic crochet stitches that will help introduce you to crochet! This is a fun, relaxing pastime that is easy to take with you on long road trips or on the go. Once you master these basic stitches, it’s easy to create a variety of different projects.
These basic stitches can be used to create the top for this cute little girl’s dress. We’ve included the FREE crochet pattern for this top which can be downloaded and printed by clicking here. This pattern uses each of the crochet stitches shown in the video below.

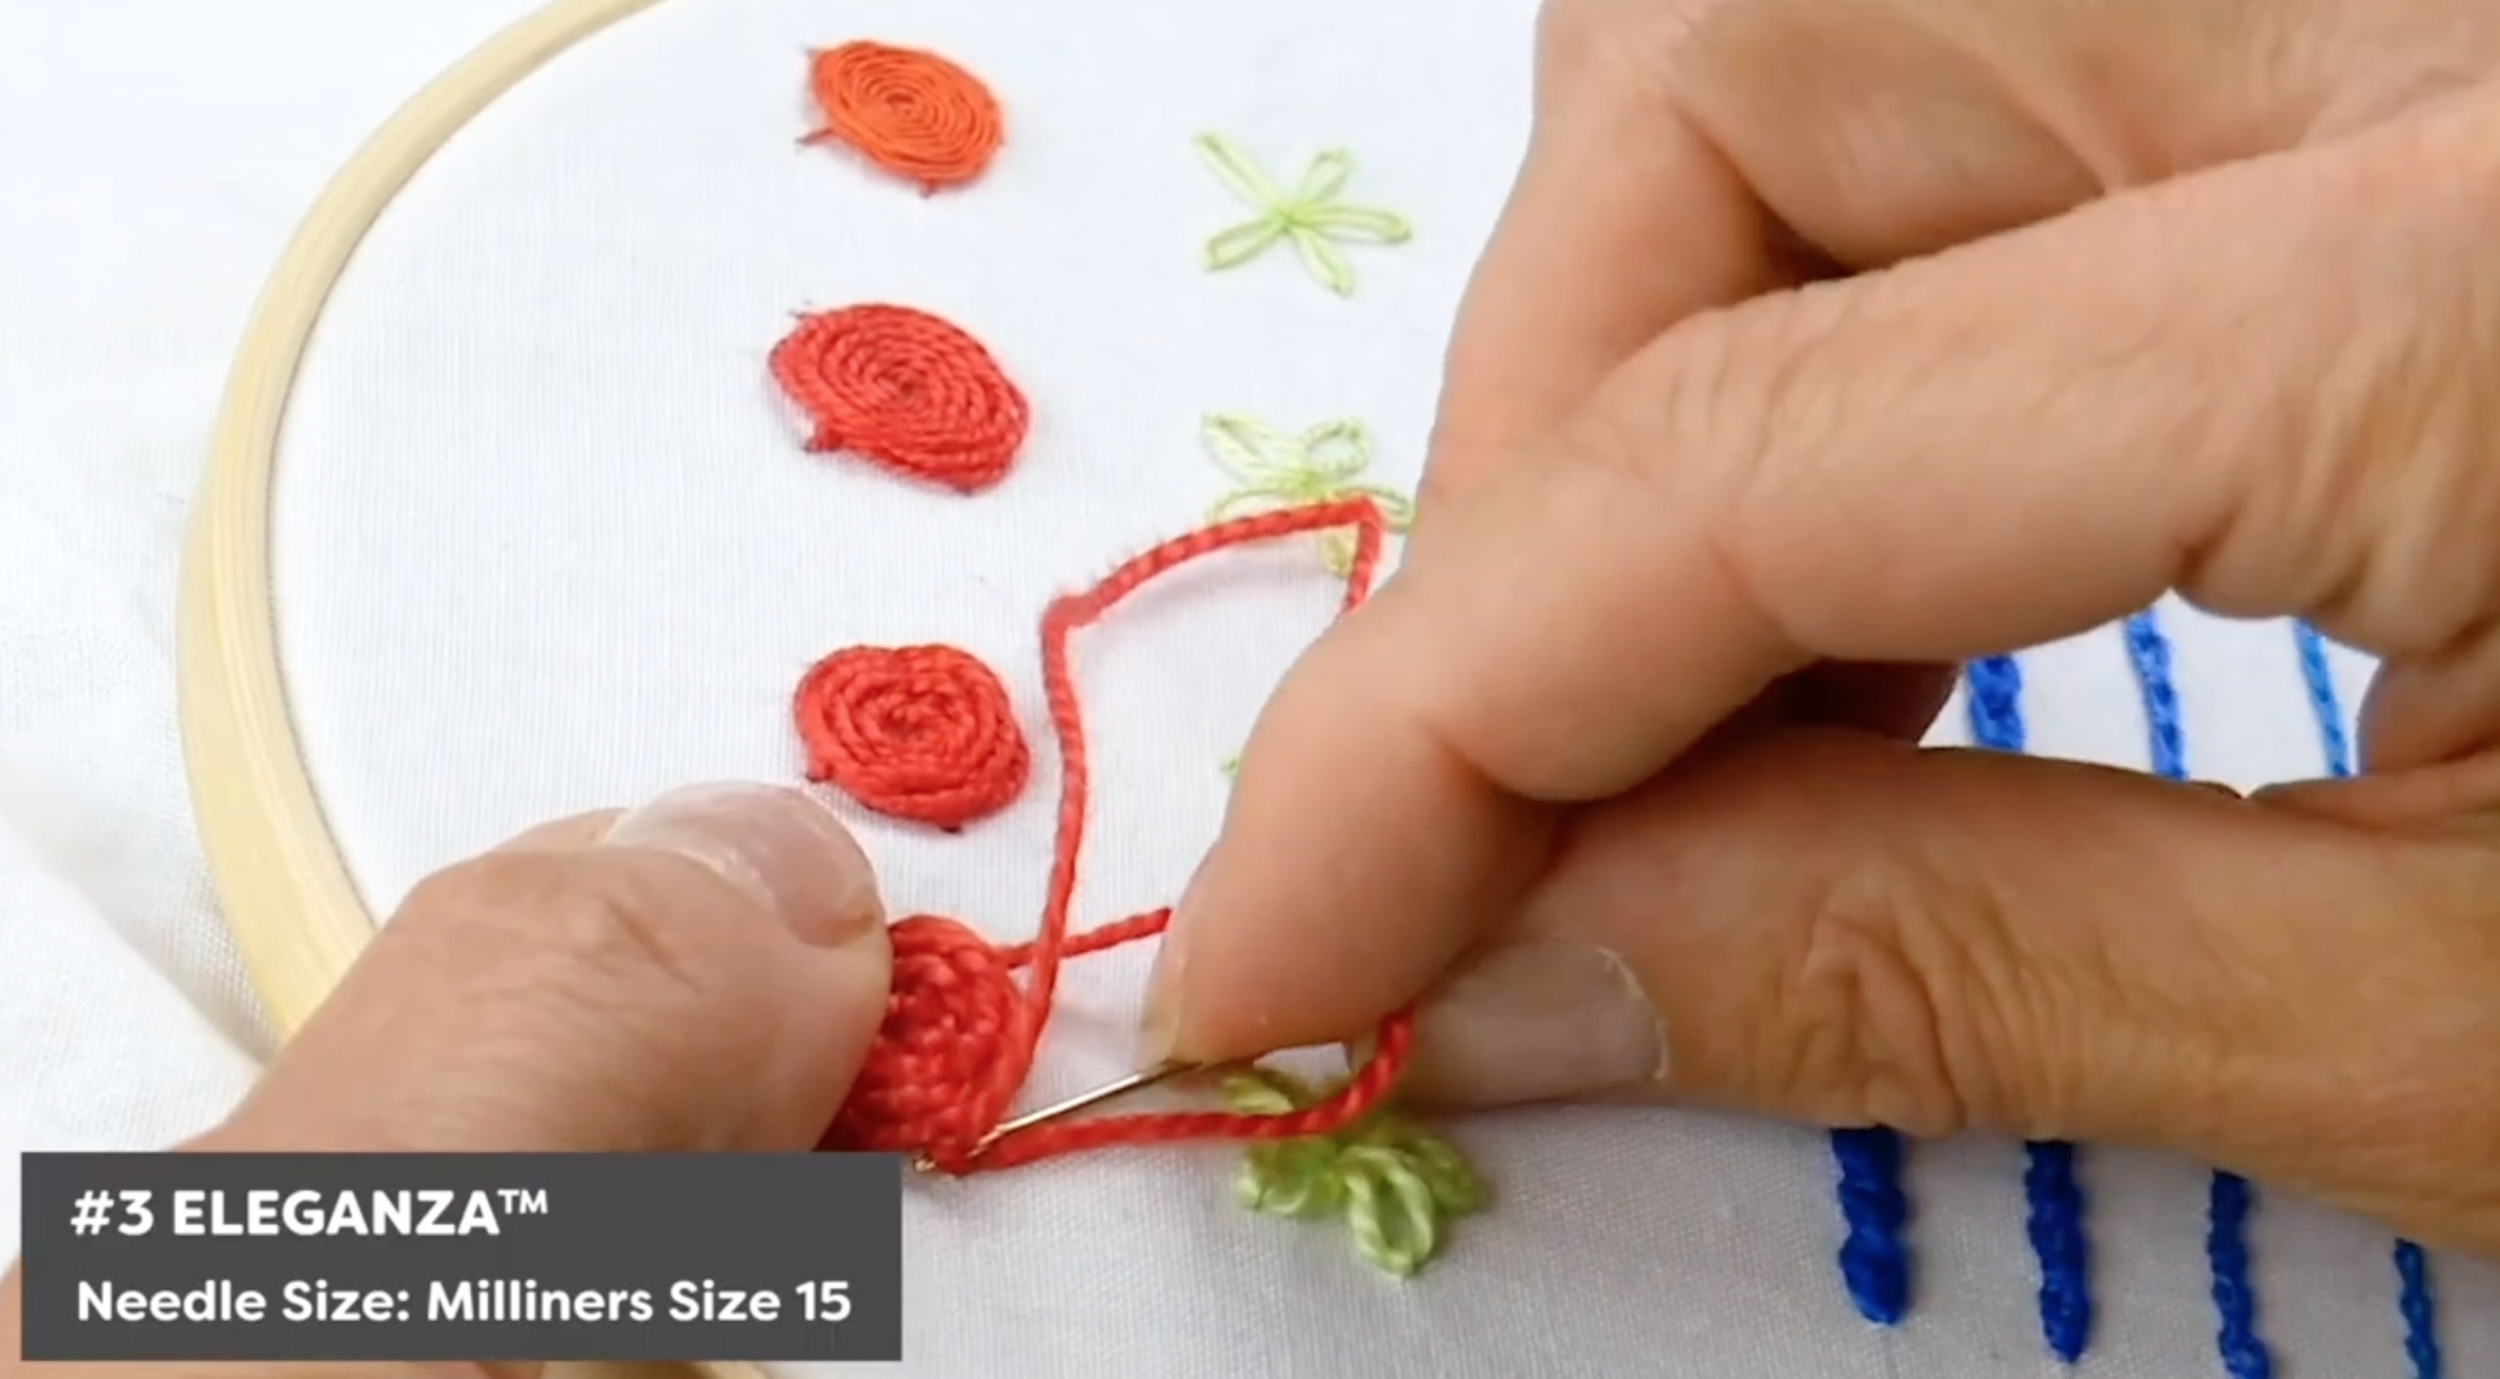
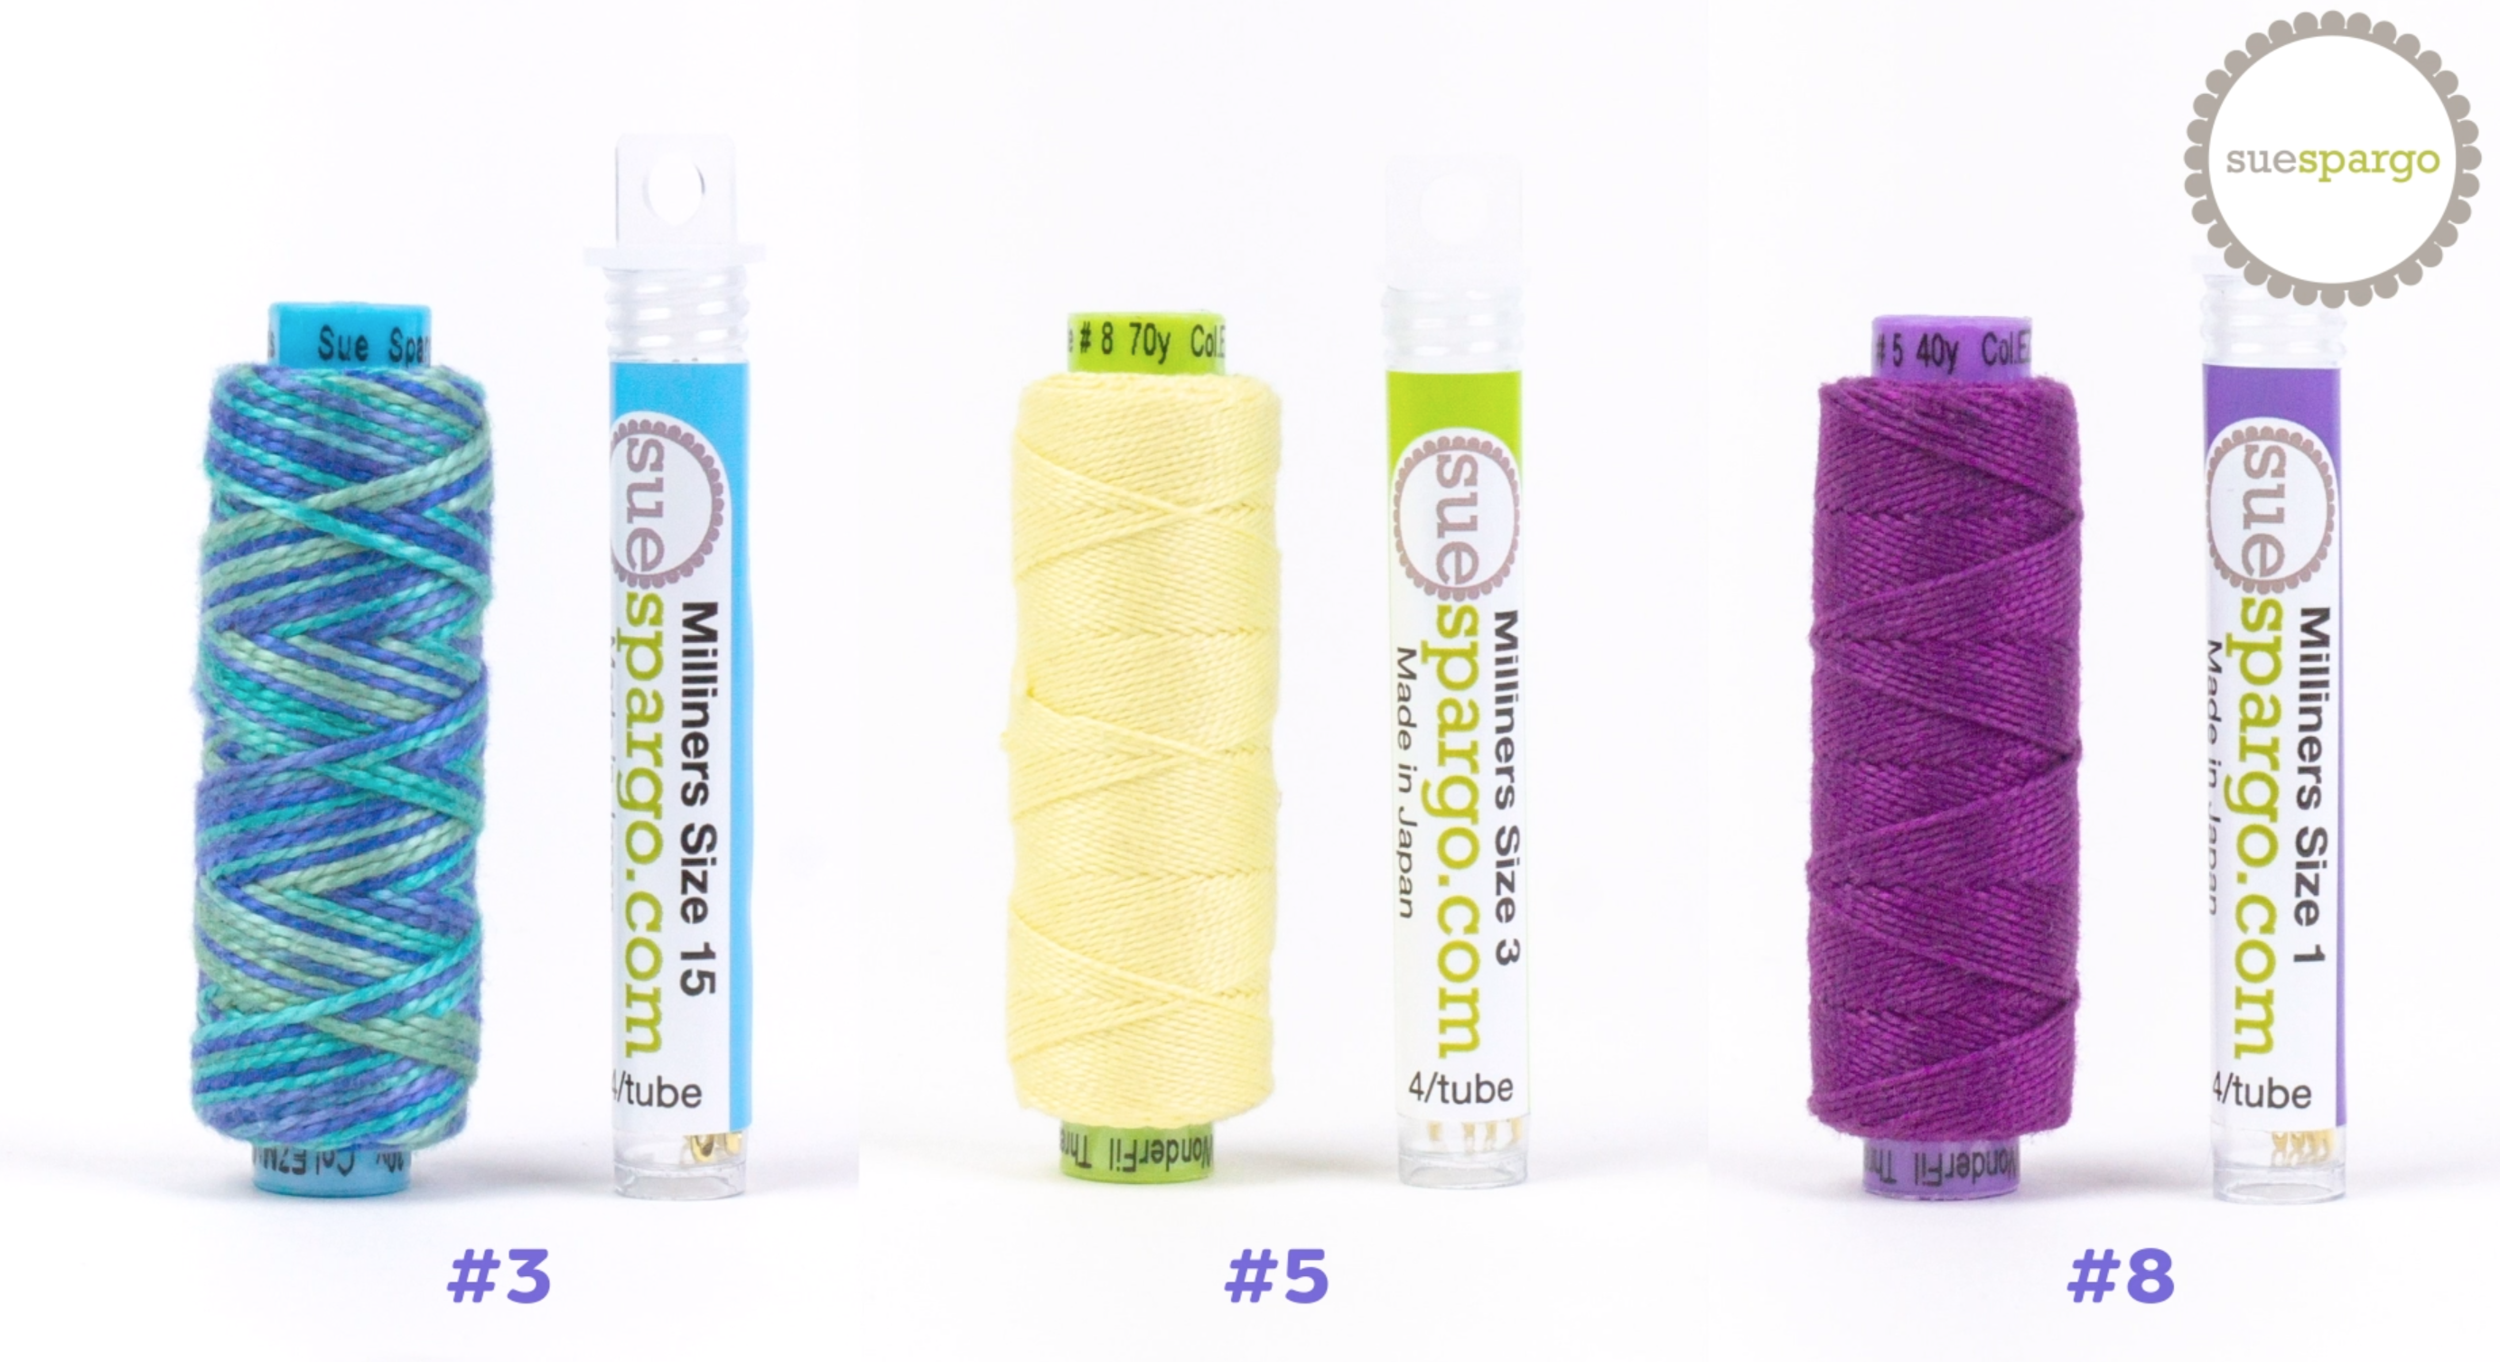
The dress was created using Eleganza #3, a high quality, long staple Egyptian cotton. For the beginner crocheter, you will appreciate the quality, as it is not prone to twisting and tangling. It is the heaviest weight of Eleganza, which also makes it great for beginners. We will also be using a 3.5 mm crochet hook.

To learn these stitches, check out the video below for detailed step-by-step instructions.

1. Chain Stitch (CH)

2. Single Crochet (SC)

3. Double Crochet (DC)

4. Double Crochet in One Spot

5. Double Crochet, Chain 3, Double Crochet in One Spot
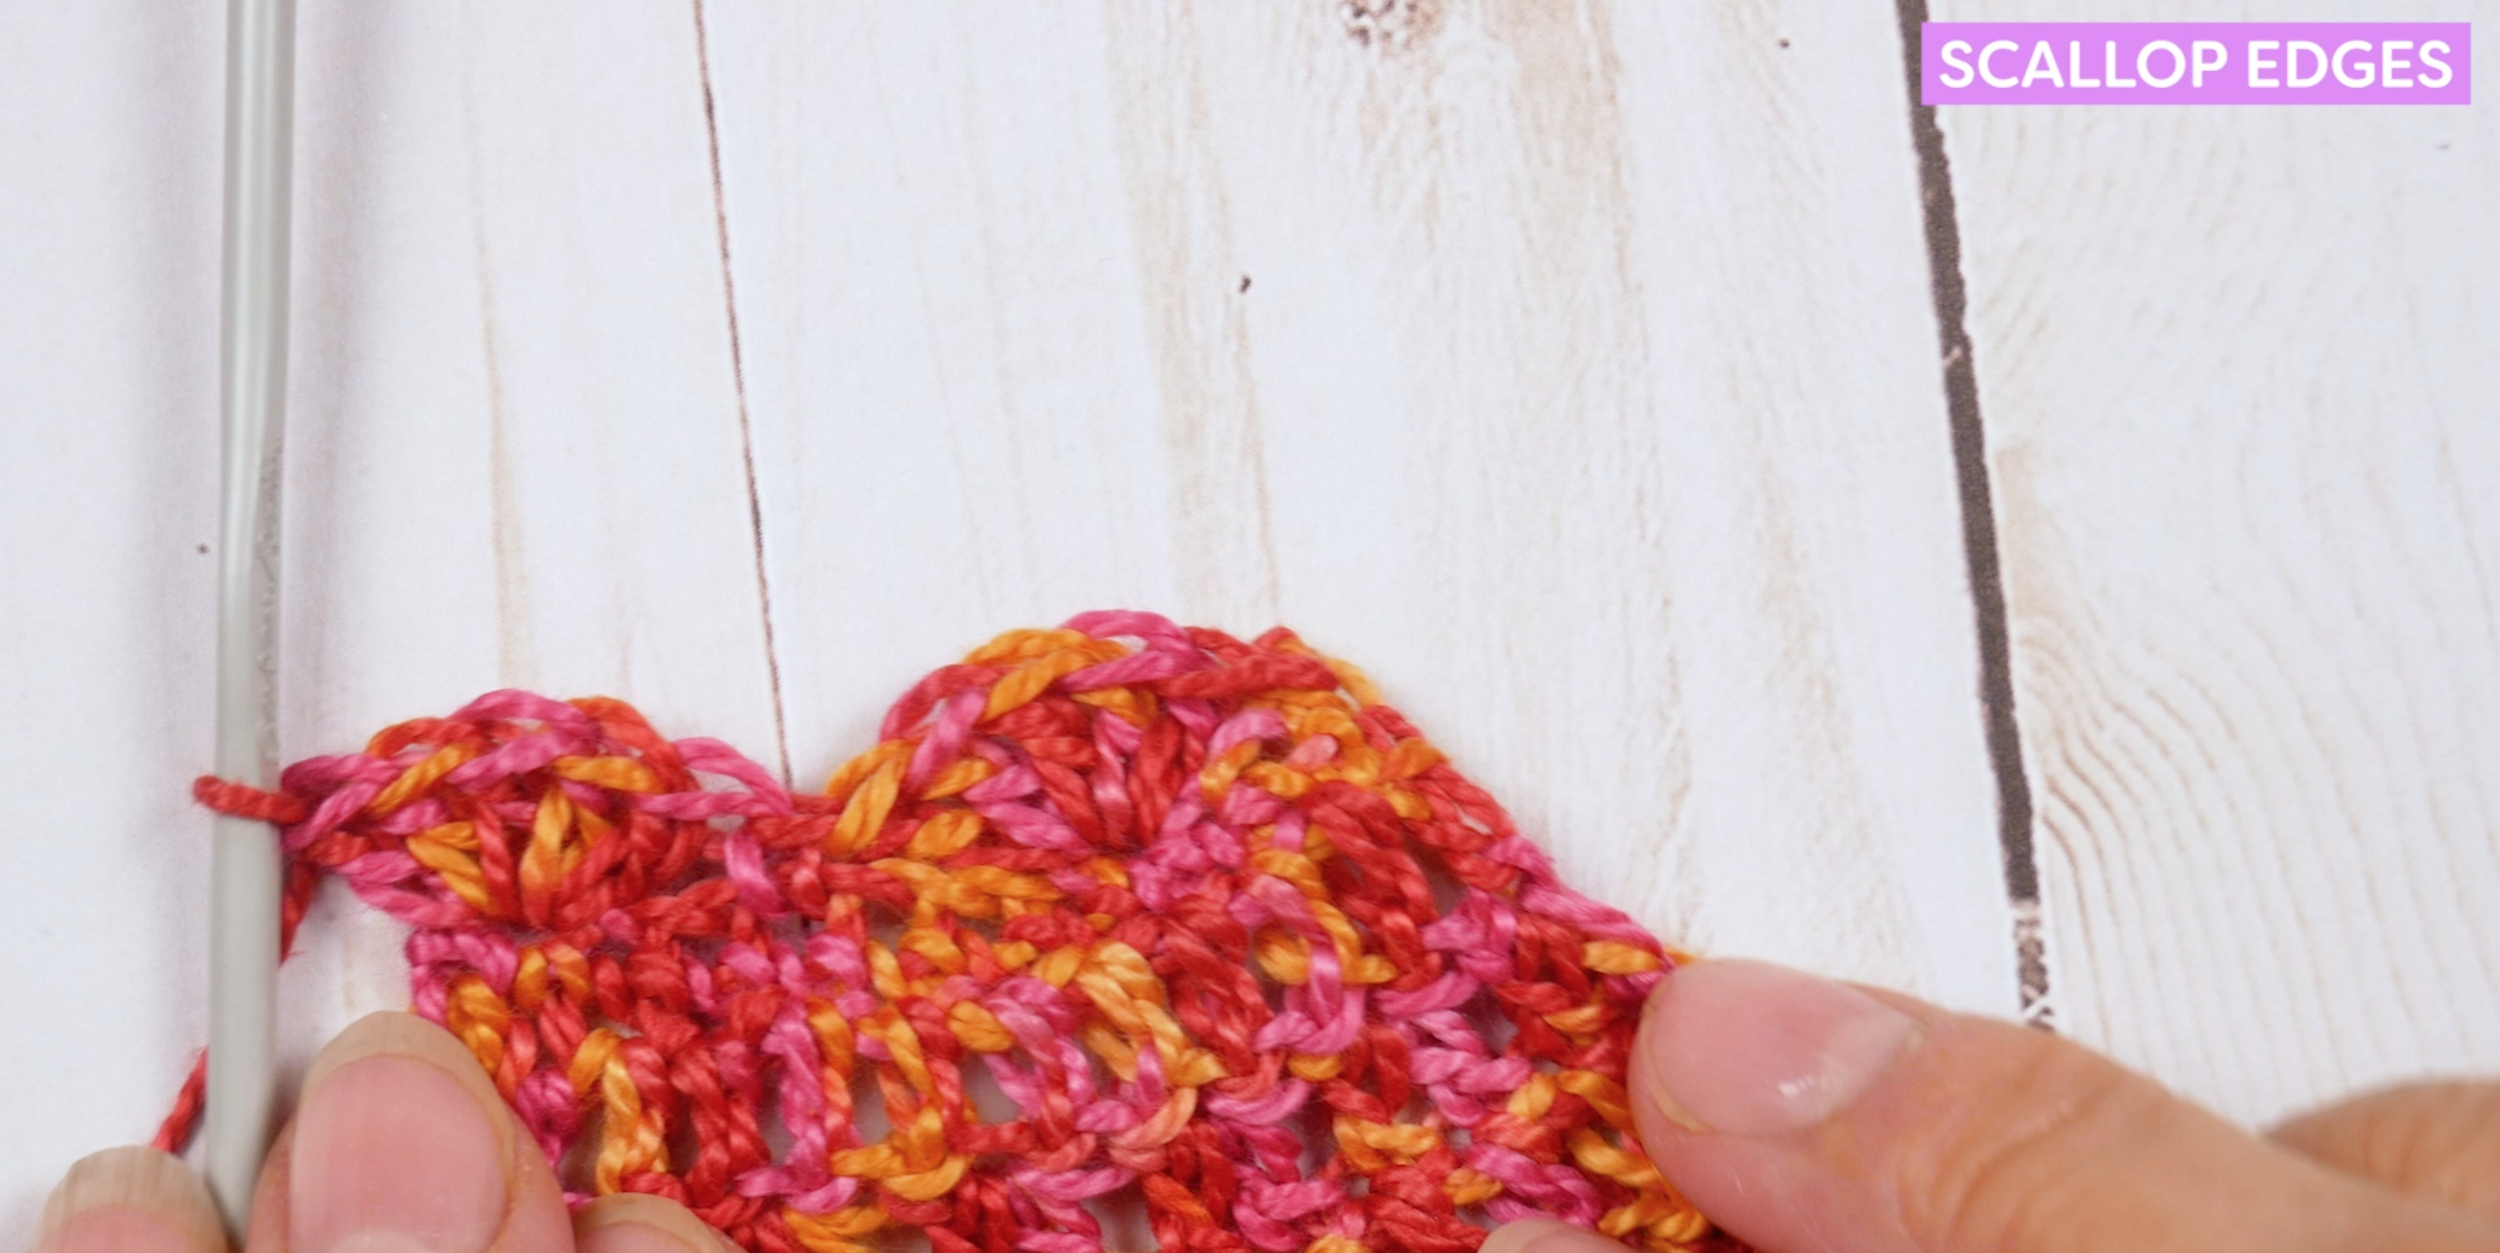
6. Scallop Edges

7. Half Double Crochet (HDC)

8. Treble Stitch (TR)

9. Slip Stitch
Don’t forget, to learn how to these stitches, check out our video for details step-by-step instructions!
That’s all you need to know to create the dress pattern. It would be a good idea to practice some of these stitches before you begin to get used to the motion. One of the difficulties beginners will encounter is recognizing the skip stitch at the start of each row, so as not to unintentionally increase or decrease your stitch count in each row. So at first, practice doing a piece of either just single crochets or double crochet, to make sure you can keep your stitch count the same row to row and your piece straight and square. The stitches for the butterfly and flower addition to this top are a bit more complicated, so let us know if you would like to see another crochet tutorial for those.
Thanks for tuning in. Please send us pictures of your finished dresses; we would love to see them! Don’t forget to leave a comment in the comment section below and let us know what you would like to see next. Inspired to sew with WonderFil threads? Head on over to shopwonderfil.com/shop-local for a list of stores and retailers you can purchase from. You can also sign up to receive weekly sewing tips, free patterns, and tutorials in our newsletter. Register by clicking here! You can unsubscribe at any time by clicking the unsubscribe button on the footer of every email you receive.