Contact Us

Use the form on the right to contact us.

You can edit the text in this area, and change where the contact form on the right submits to, by entering edit mode using the modes on the bottom right. 

2915 19 St NE
Calgary, AB, T2E 7A2

18662506101

WonderFil Specialty Thread Blog

WonderFil brings you the latest news, events, upcoming thread lines and special tips and advice. Follow WonderFil Specialty Threads on our social media: Facebook, Instagram, Twitter, Pinterest, and Youtube.

Filtering by Tag: spagetti

The Easiest Way to Hem a Pair of Jeans

Maura Kang

Rather than rolling up your jeans or taking them to an expensive tailor, why not hem them yourself? This is one of those life skills that’s easy enough for anyone with a sewing machine to do themselves. Wearing jeans that are too long can wear away the denim around the heel in an ugly way. We’re here to show you our tried and true method of hemming jeans easily and quickly for a perfect fit. We’ll also show you our recommendation for notions that will give you the best look and results.

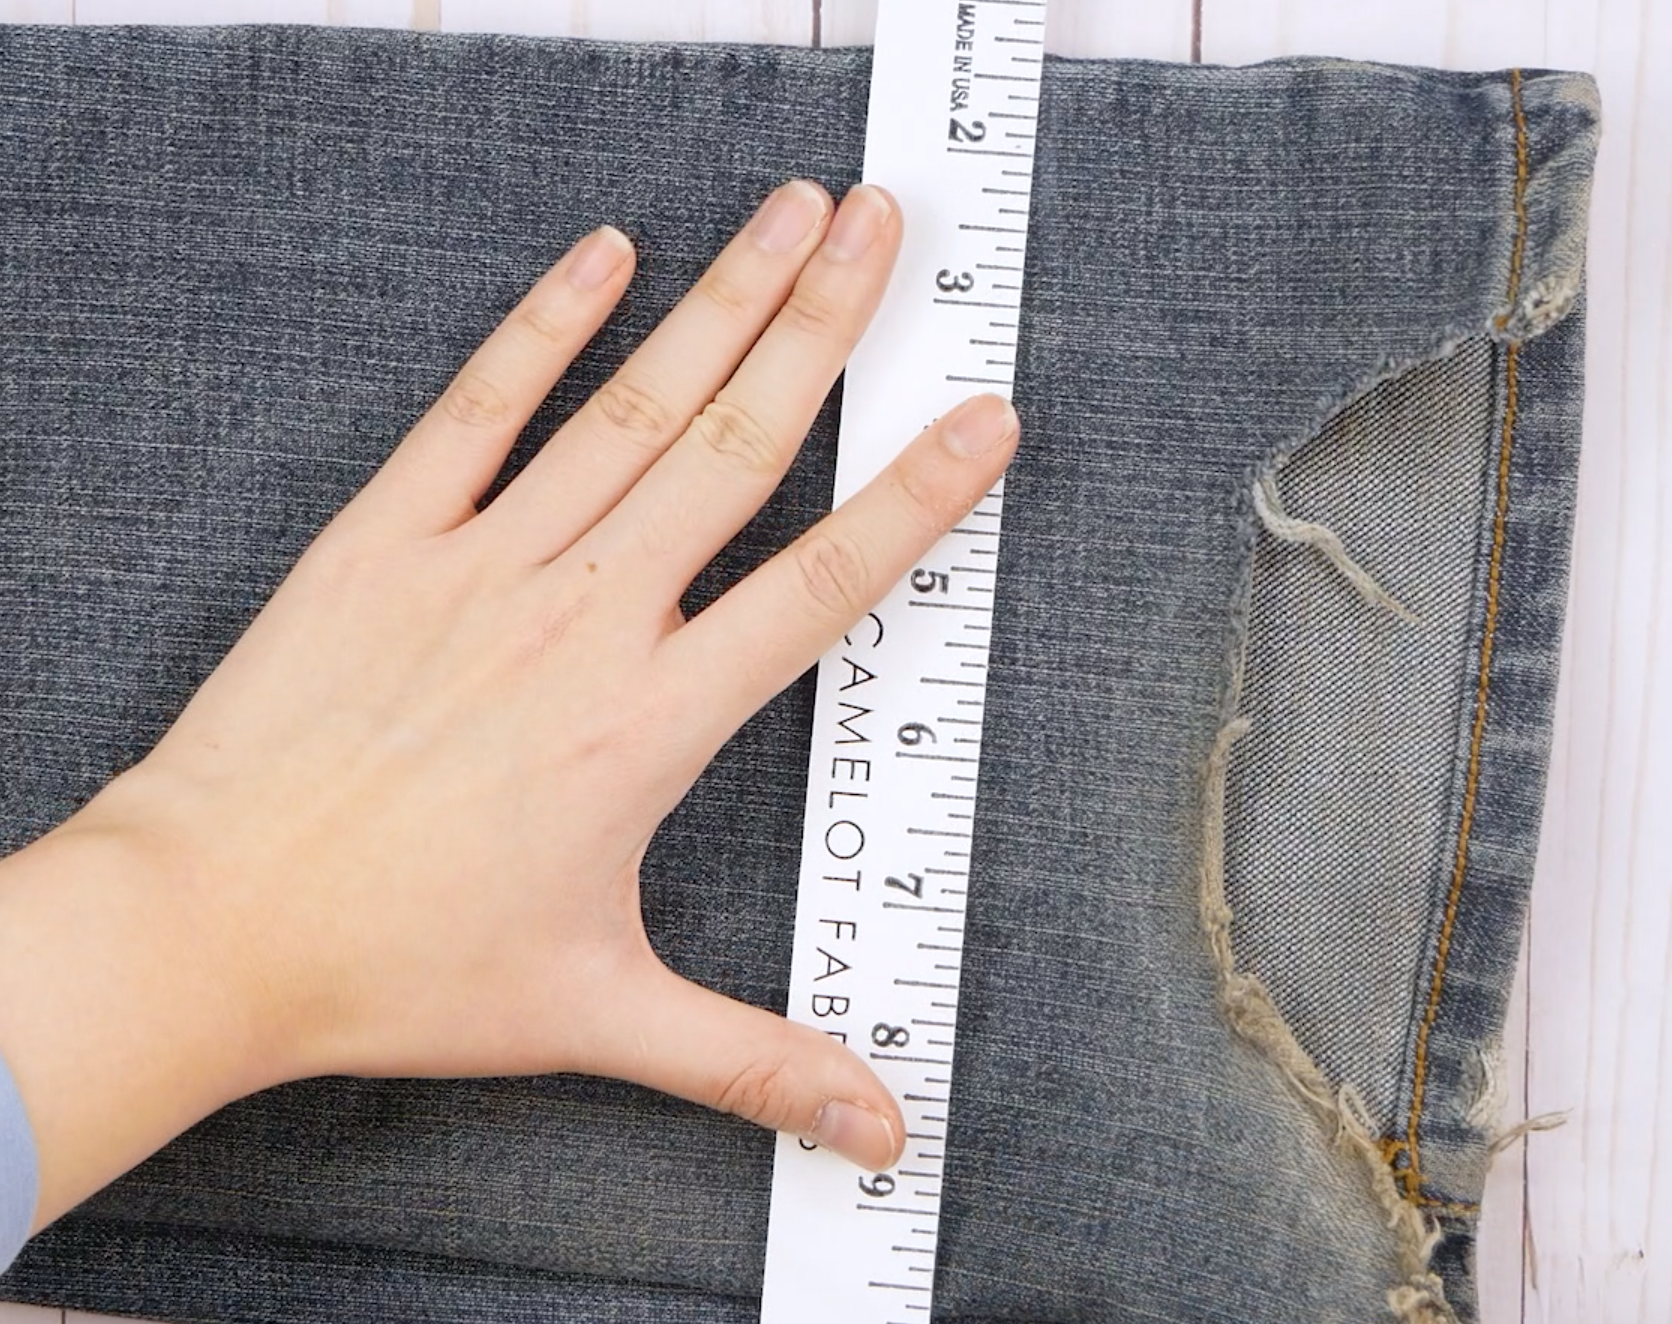
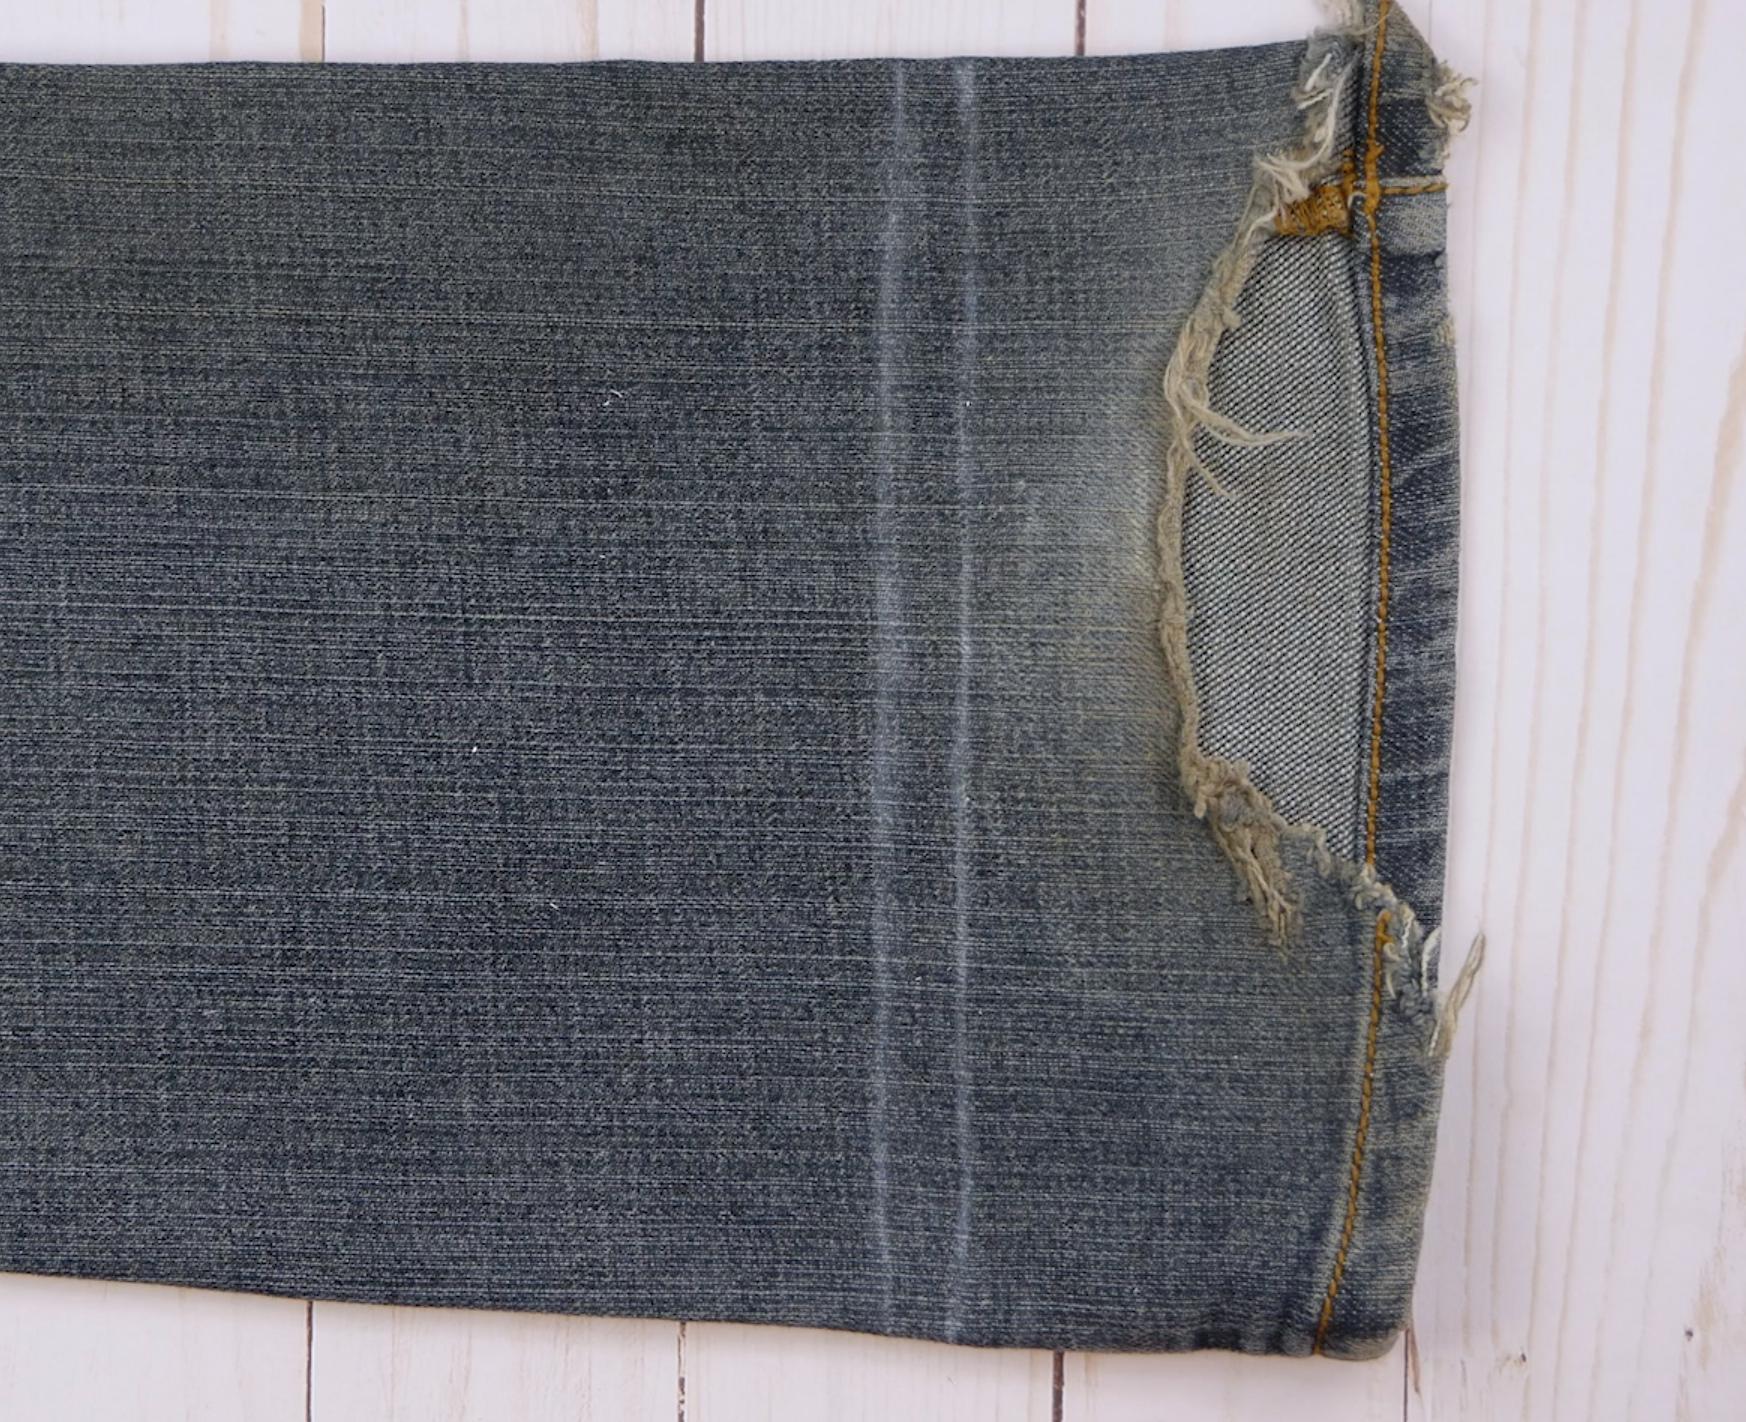
To begin, you’ll want to grab a piece of tailor’s chalk, preferably in white or another contrasting colour from your denim. Put on the pair of jeans that are too long and turn up the fabric under the wrong side of the pants until it’s at the desired length. We recommend doing this step while wearing shoes to ensure you take this extra height into consideration. It may help to have someone do this for you so you’re standing straight. Make a mark at the base of the fabric at the desired length using the tailor’s chalk.

1.png

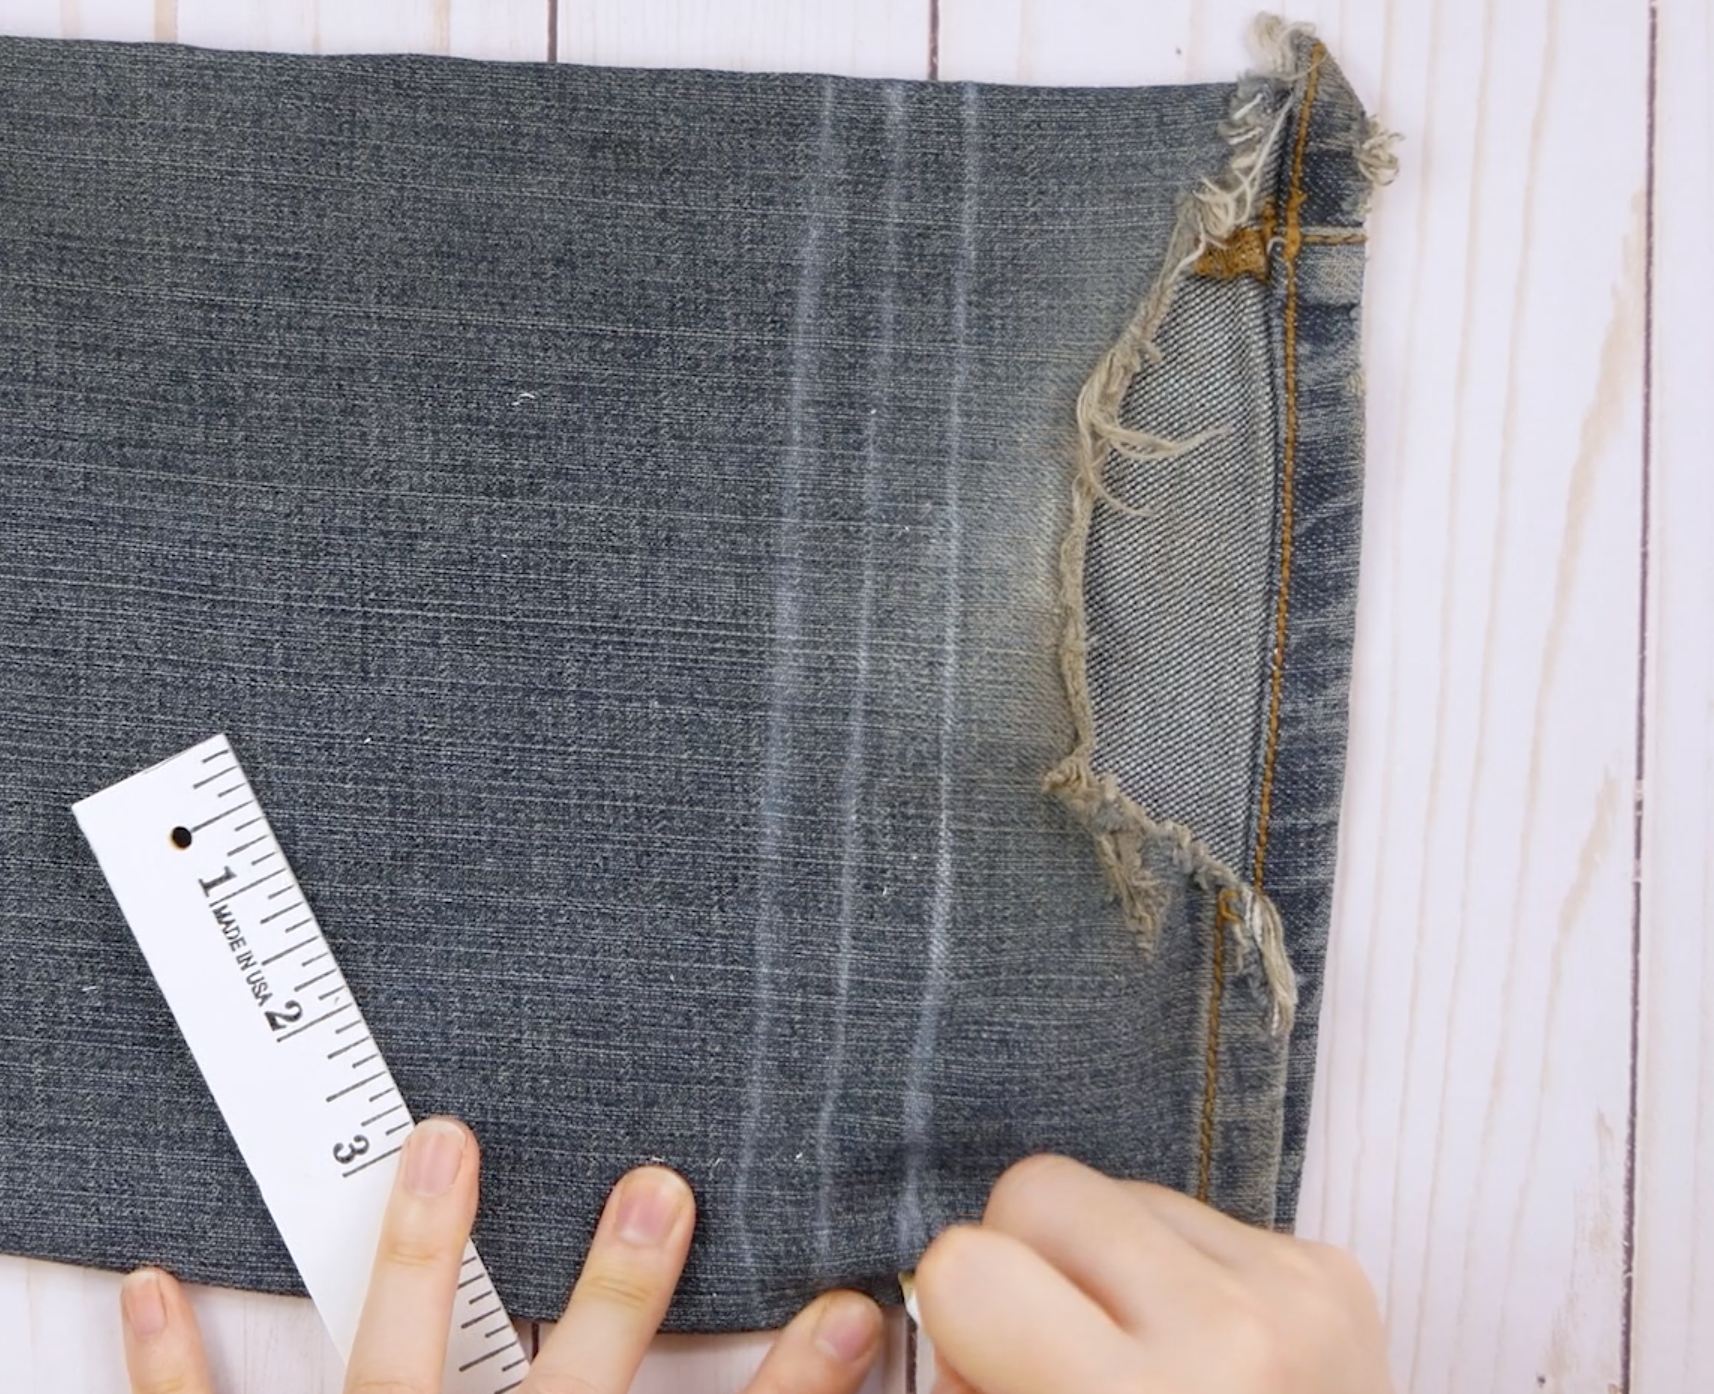
Now measure the distance from the mark to the bottom of the original hem. You’ll want to mark the other leg at the same distance so they are the same length. Lay one of the legs flat and place a ruler straight against the line. Extend the line all the way down the fabric.

2.png

Holding the ruler in place against the line, you can flip over the pant leg over the ruler and continue drawing the line to the other side of the leg, being careful to keep it straight. You should now have a straight line running on both sides of the pant leg.

3.png

Do the same with the other pant leg. Now that both legs have been marked, you’ll want to mark your fold lines next. On the side of the line closer to the bottom of the pant leg, measure another half inch and make a new mark.

4.png

Now measure another half inch from your new mark, and make a third mark. You’ll want to once again extend these lines straight all the way around the pant leg on both legs. You should now have 3 solid straight lines travelling around both your pant legs.

5.png

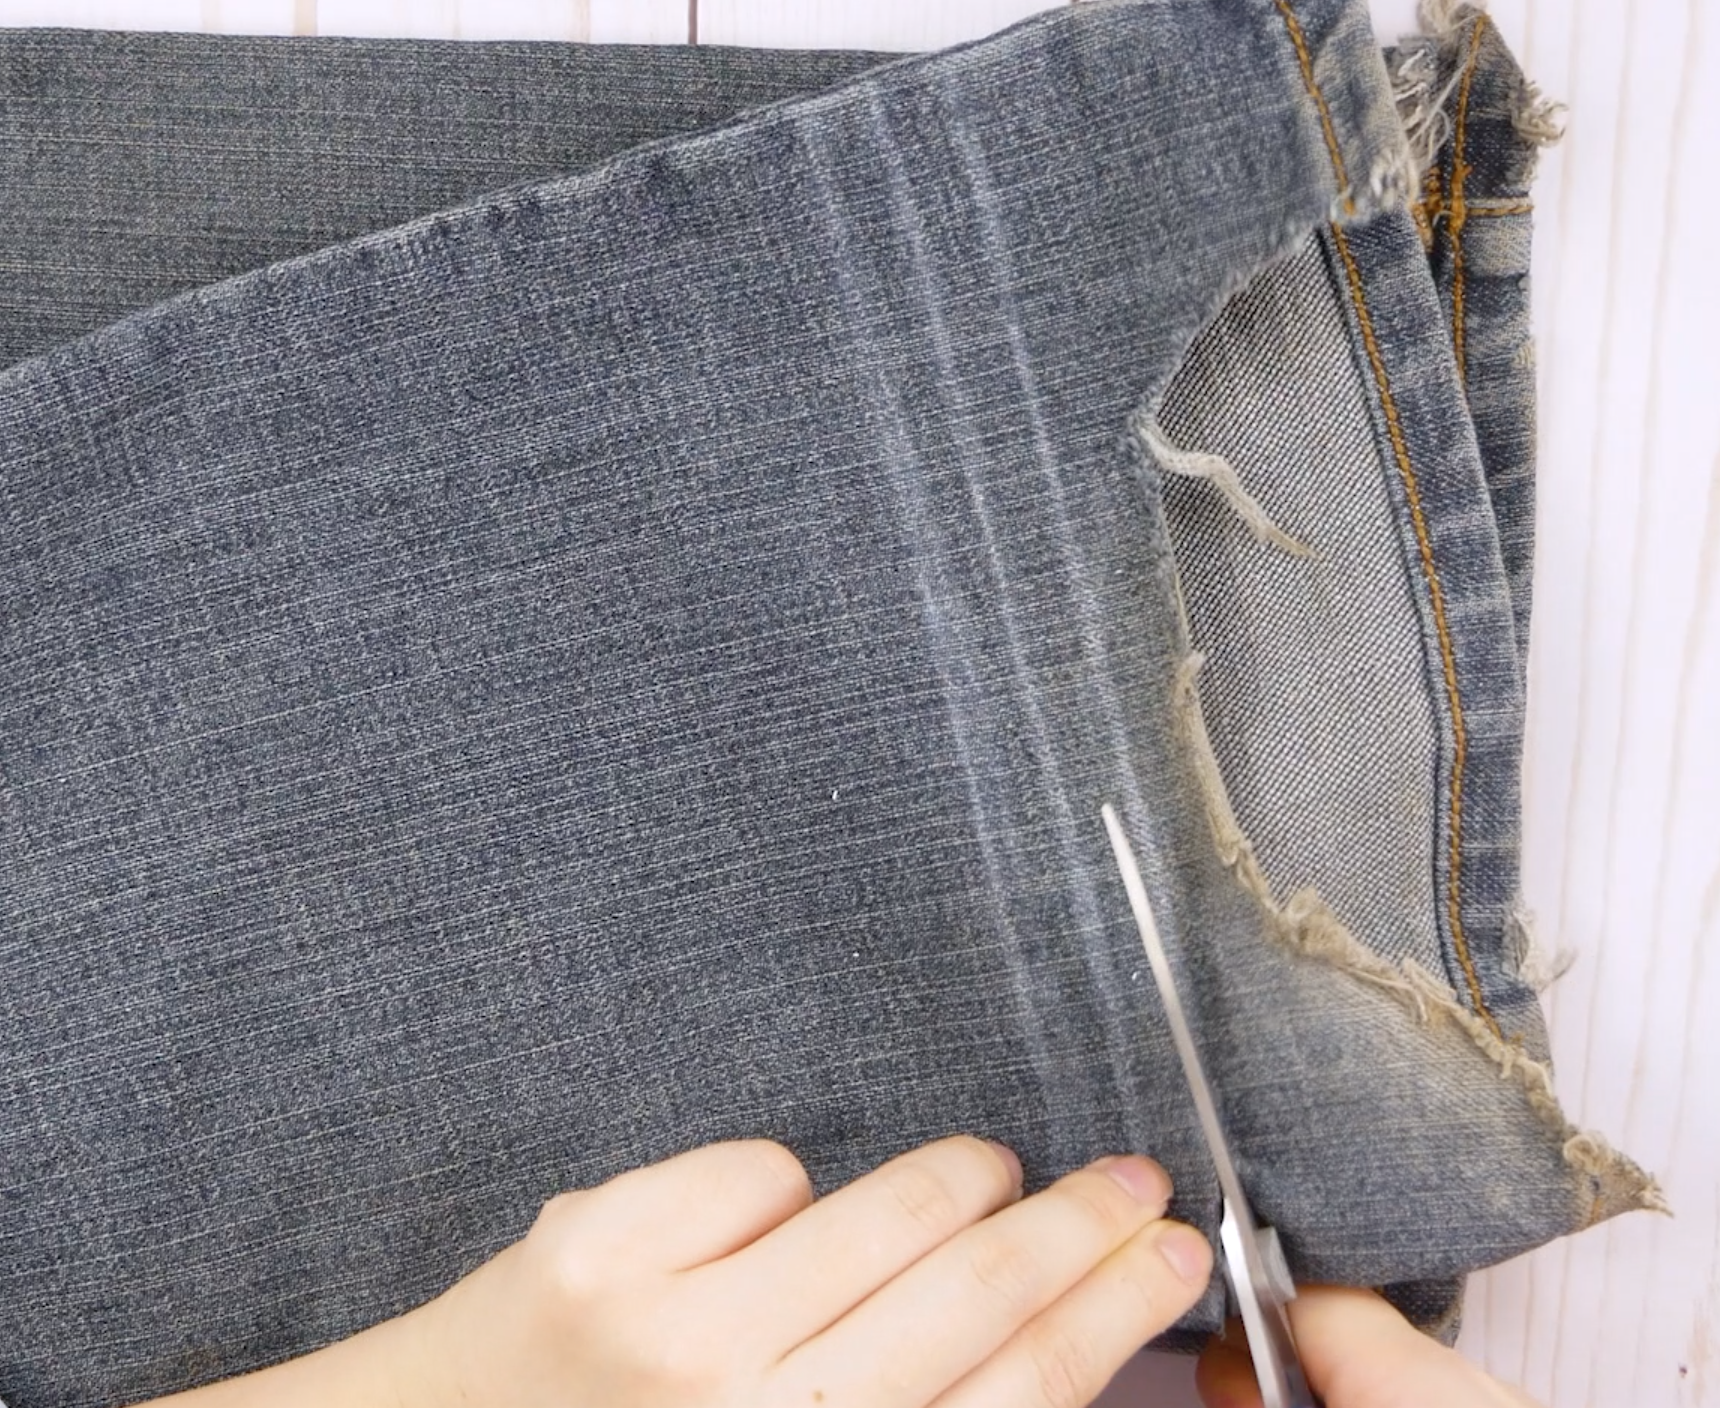
Using a pair of sharp fabric scissors, cut off the pants closely following the bottom line, the one closest to the bottom of the pant leg. Do this for both pant legs. You can now begin sewing your new hem!

6.png

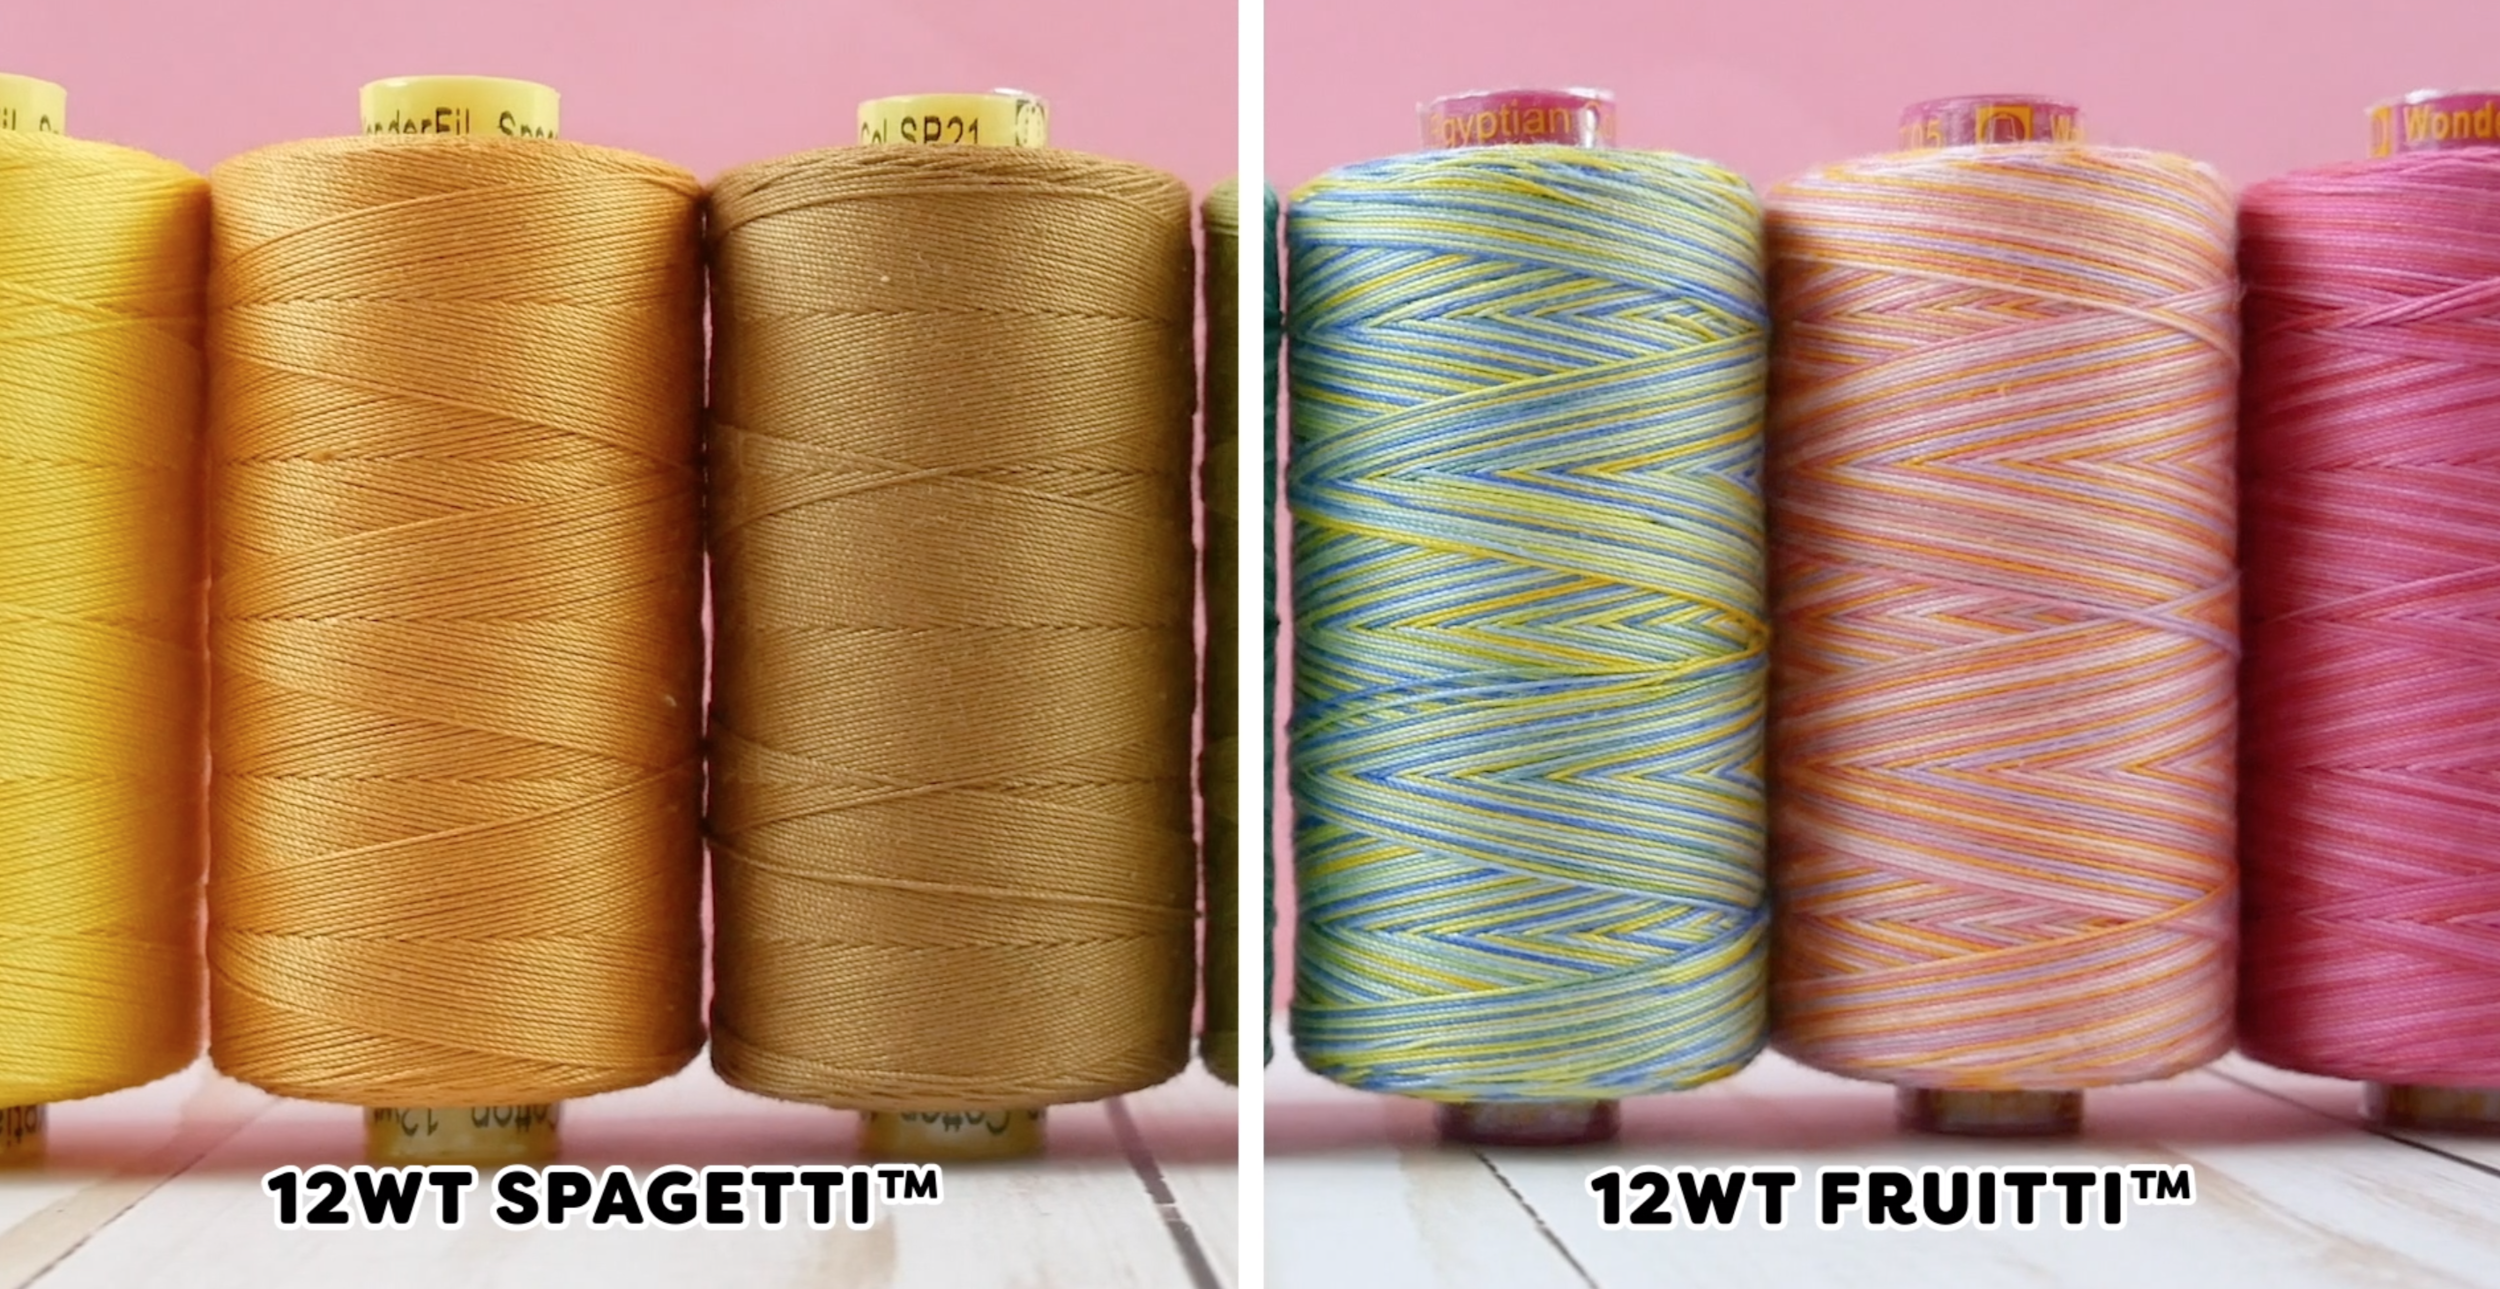
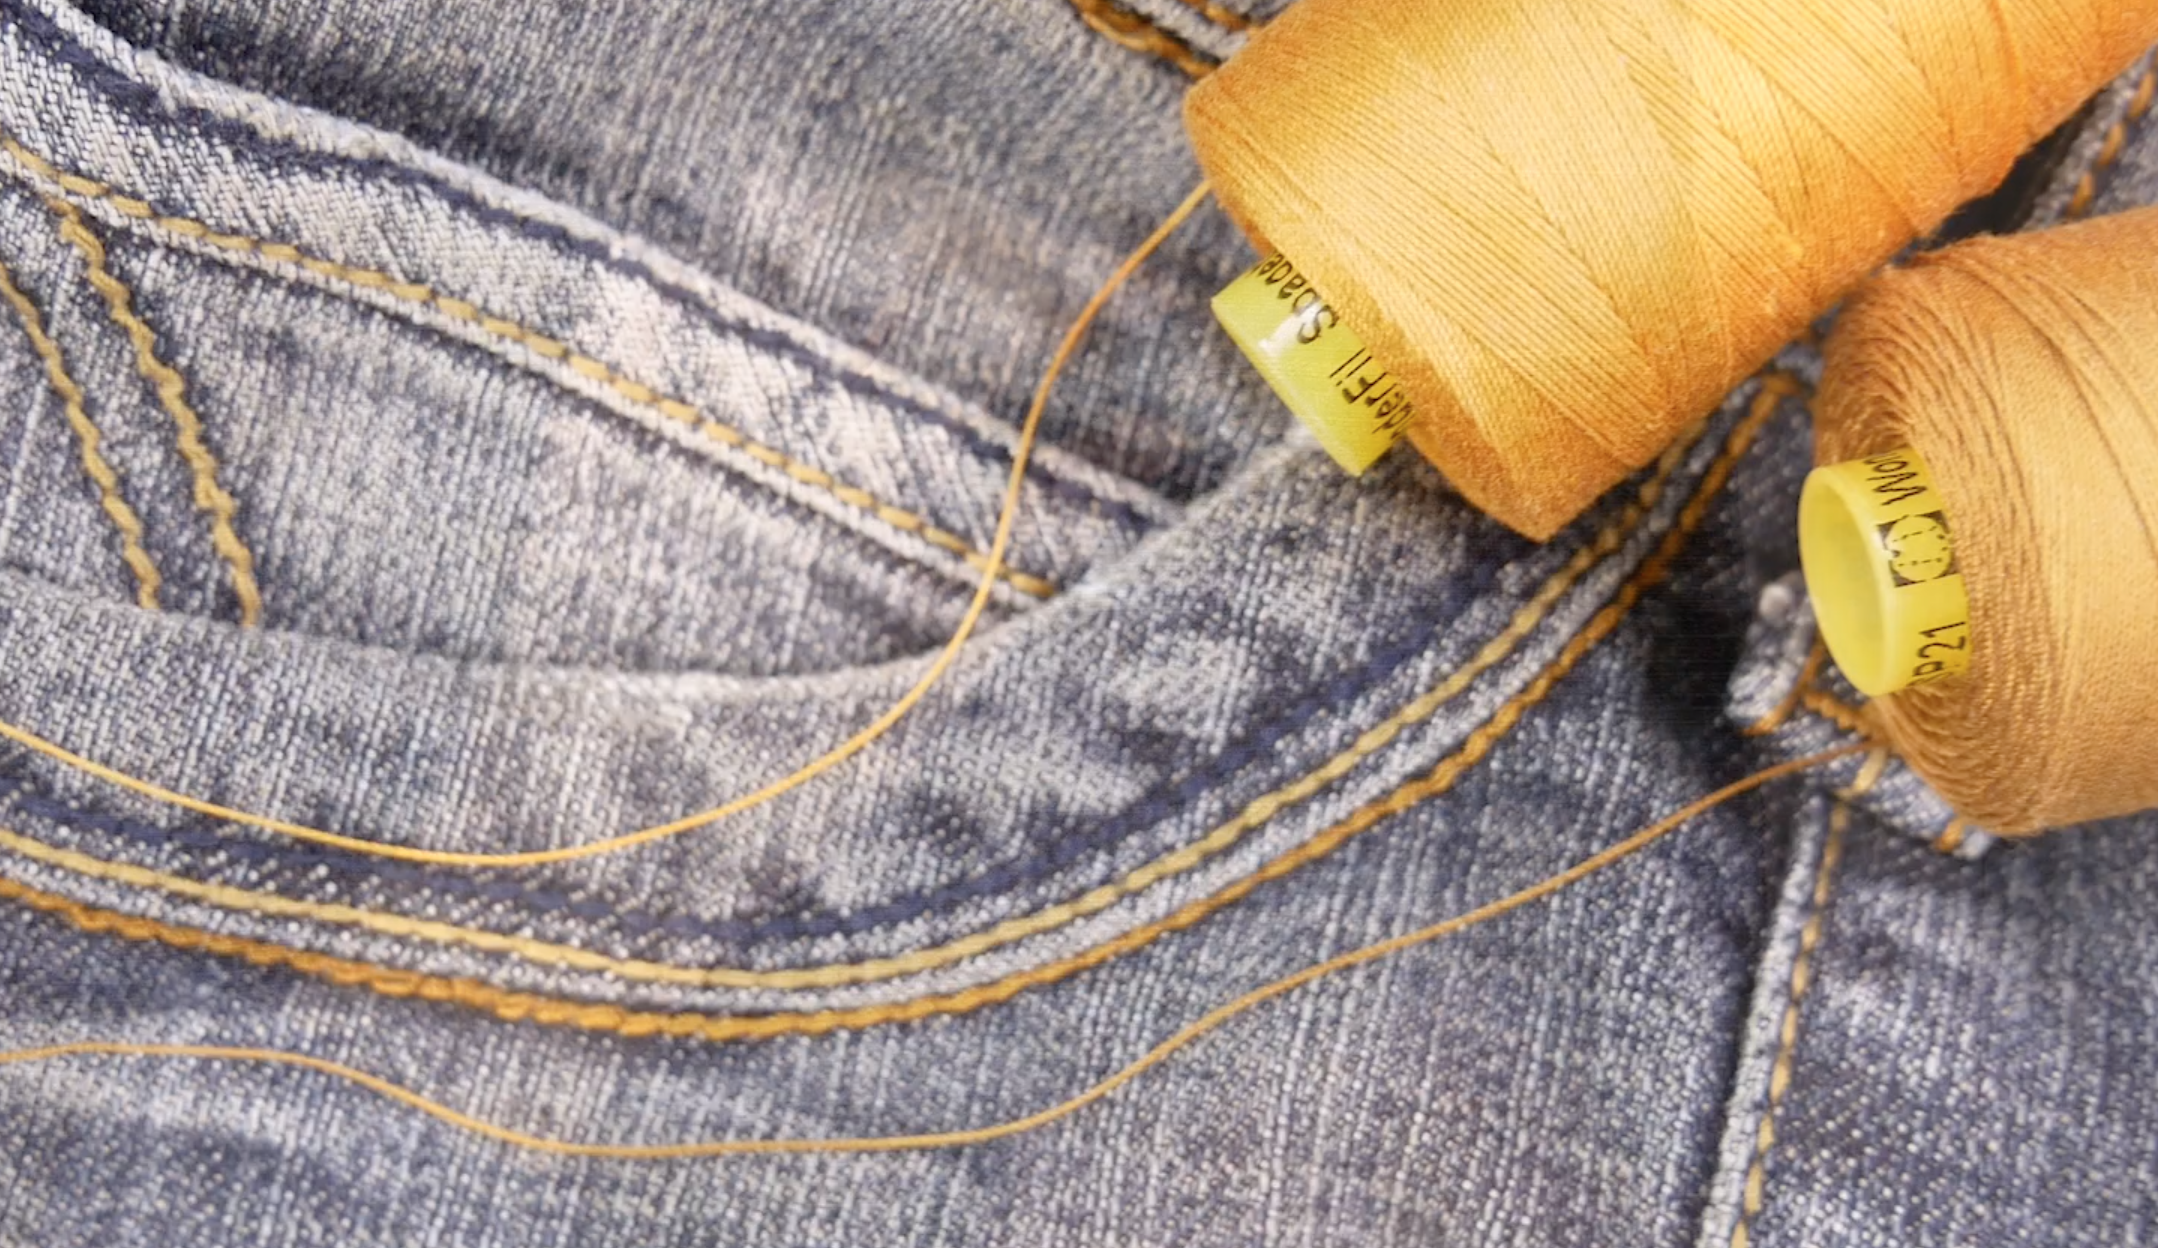
Most denim jeans will have a thick gold coloured thread, so it’s best to choose a thread that matches it to look consistent with the rest of the pants. We’ll be using this 12wt cotton thread called Spagetti in the bobbin. It’s a heavier than your usual 40 or 50wt thread, and closely resembles the decorative contrasting brown or golden thread used on jeans. The two Spagetti colours that tend to match most with this jean thread is SP11 or SP21. For this pair of jeans, I’ll be using colour SP21.

7.png

Because we’re using a thicker thread underneath, we want to use a finer thread in the needle. This will ensure the thread doesn’t struggle through the fabric, and it will give you a better stitch consistency and quality. But you don’t want just any finer thread up top, you want to make sure it is strong enough to hold your denim fabric together for a good long time.

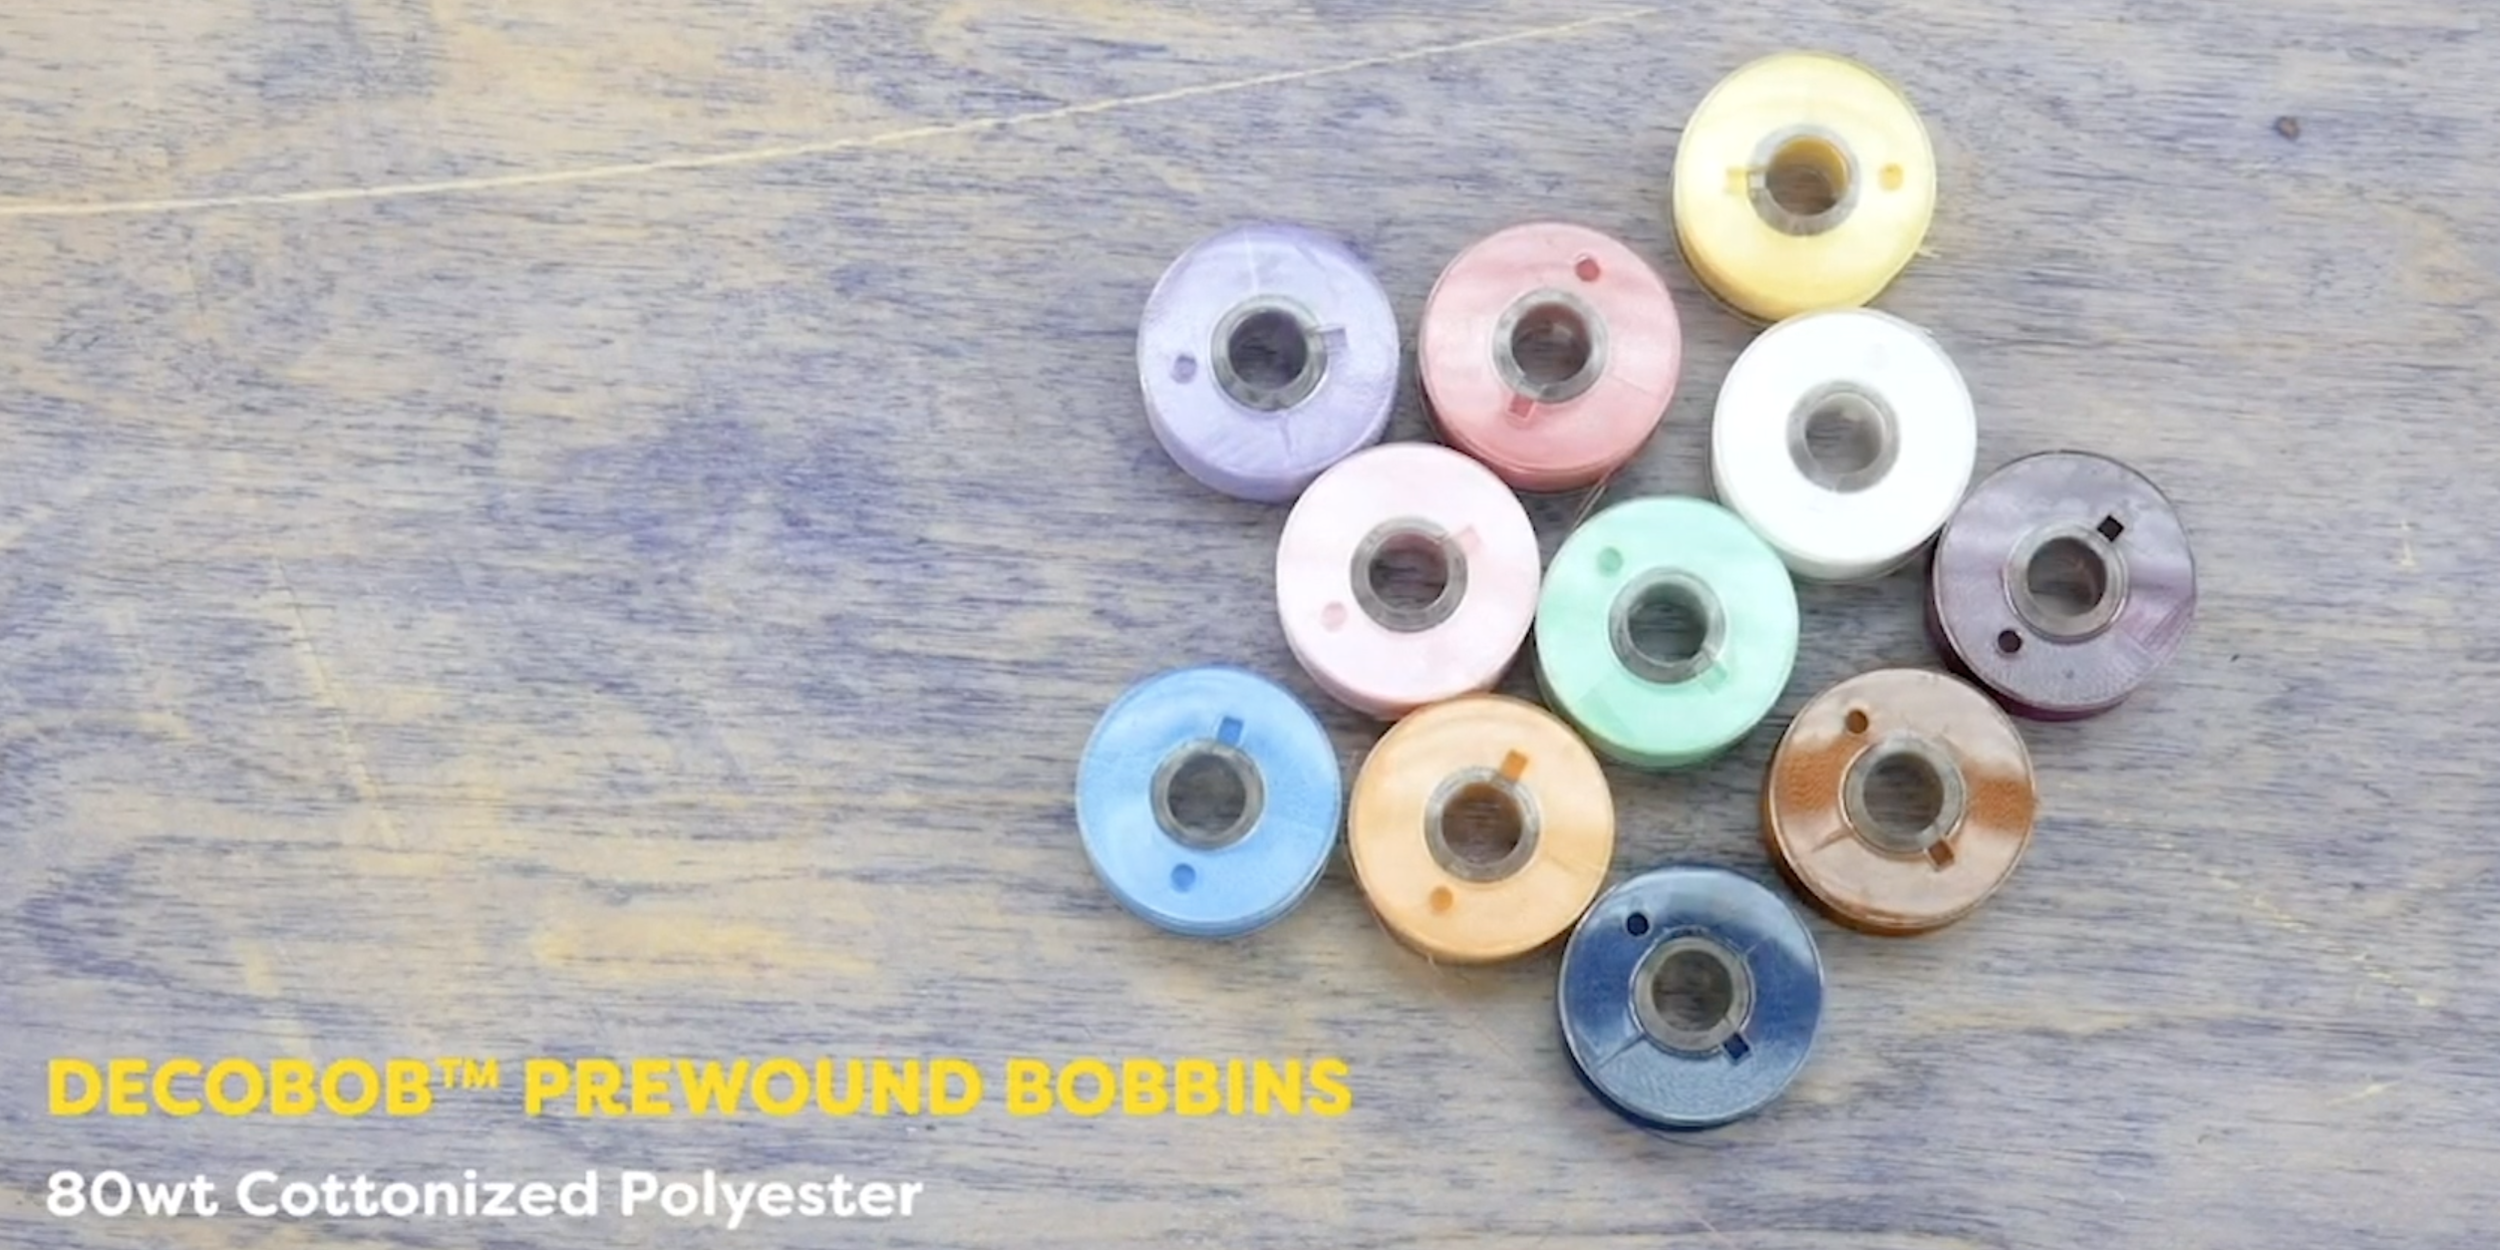
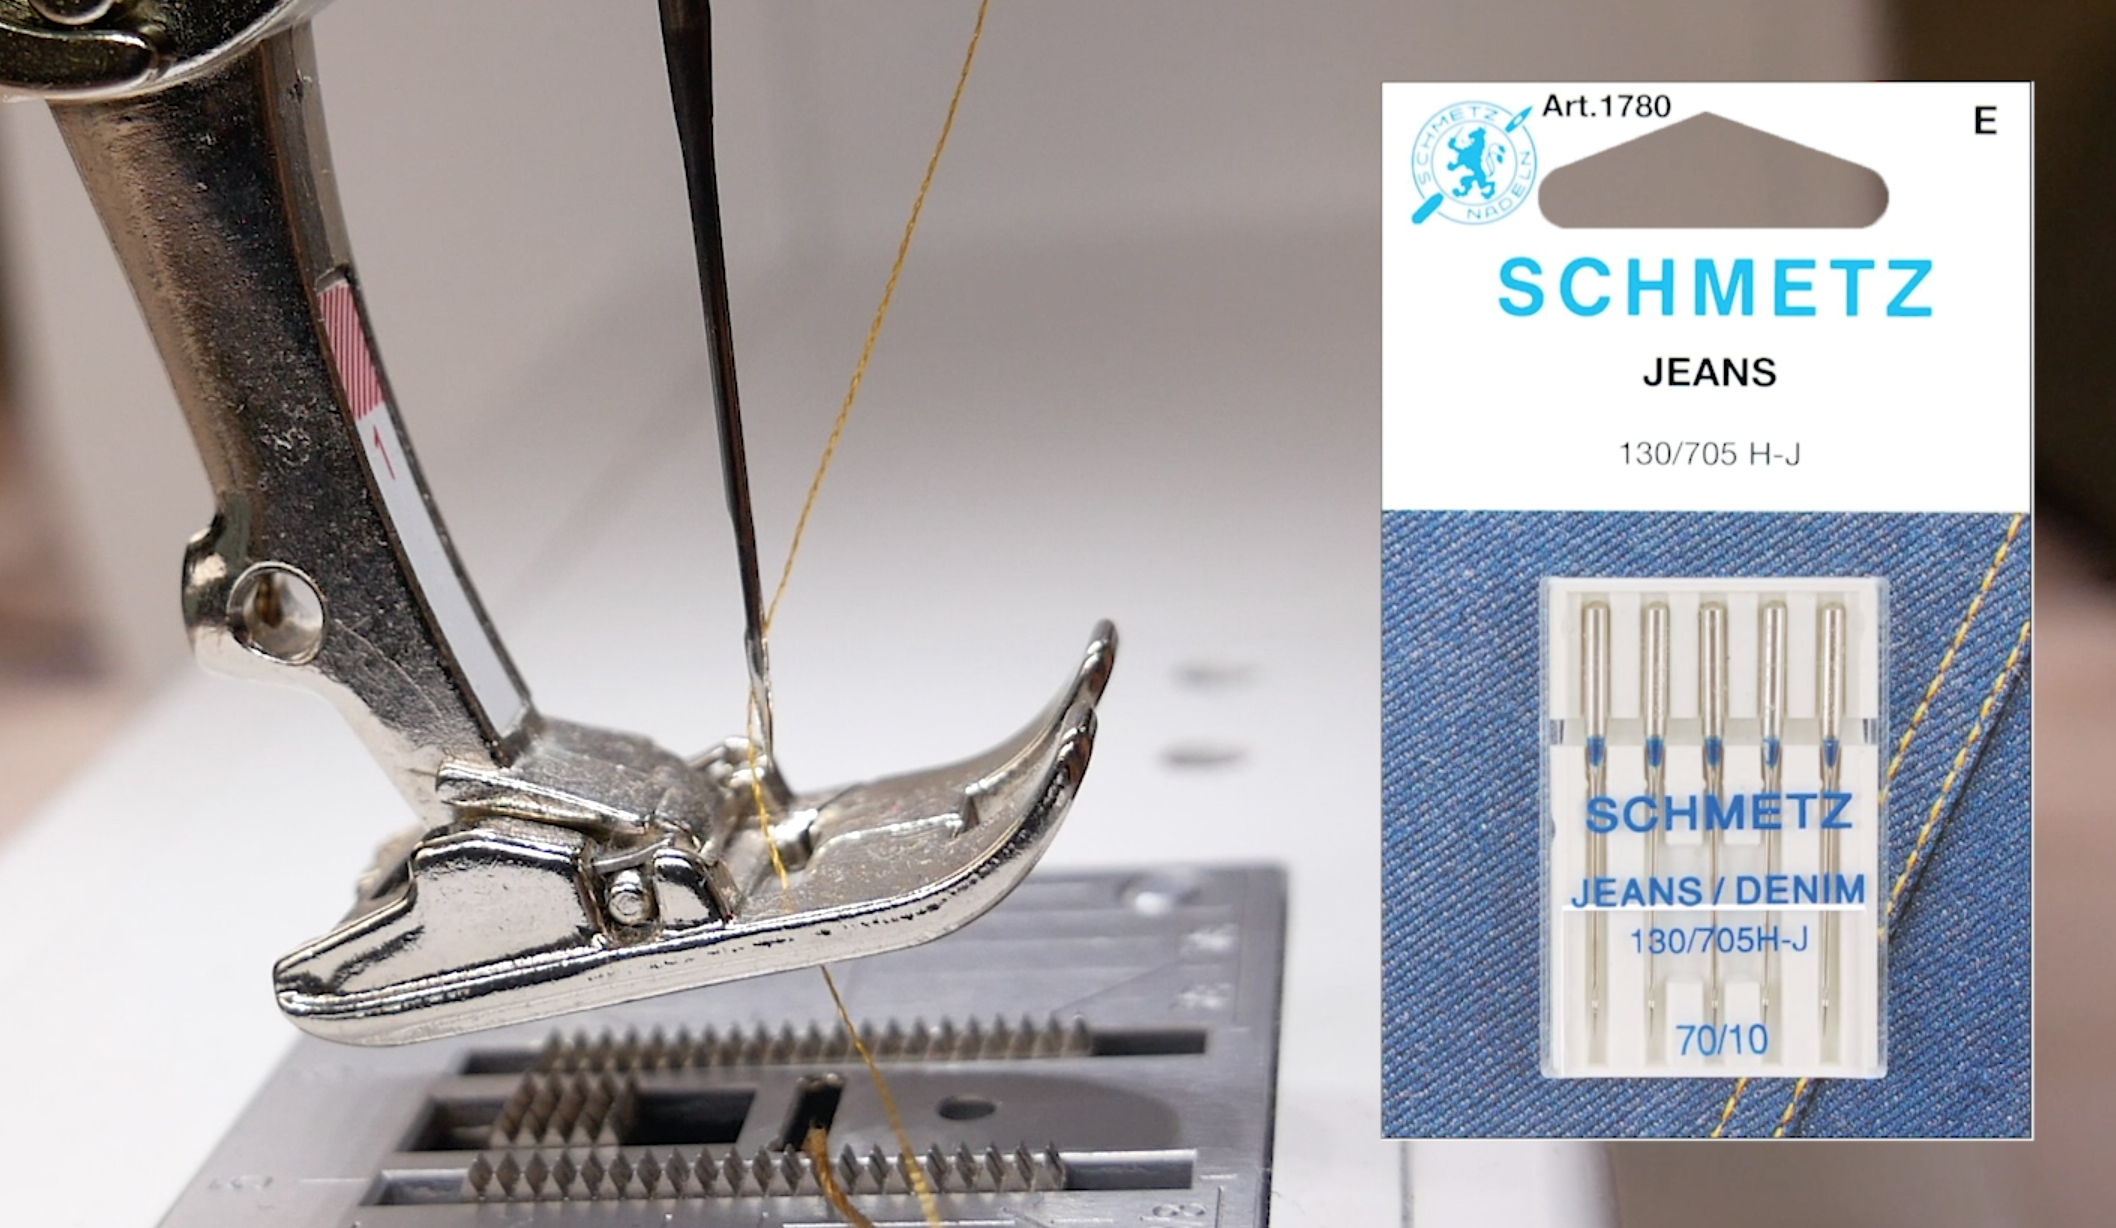
We’ll be using DecoBob 80wt thread in the needle. This is a strong but lightweight polyester thread that is ideal to pair with Spagetti in the bobbin. We used a regular 80/12 size needle, however if you find your machine is struggling with the thicker denim fabric, you can also use a denim needle.

8.png

Don’t forget to increase your machine’s stitch length to 3.1. This will help with the machine’s tension when using the thicker 12wt thread, and also match the stitch length showing on the jeans.

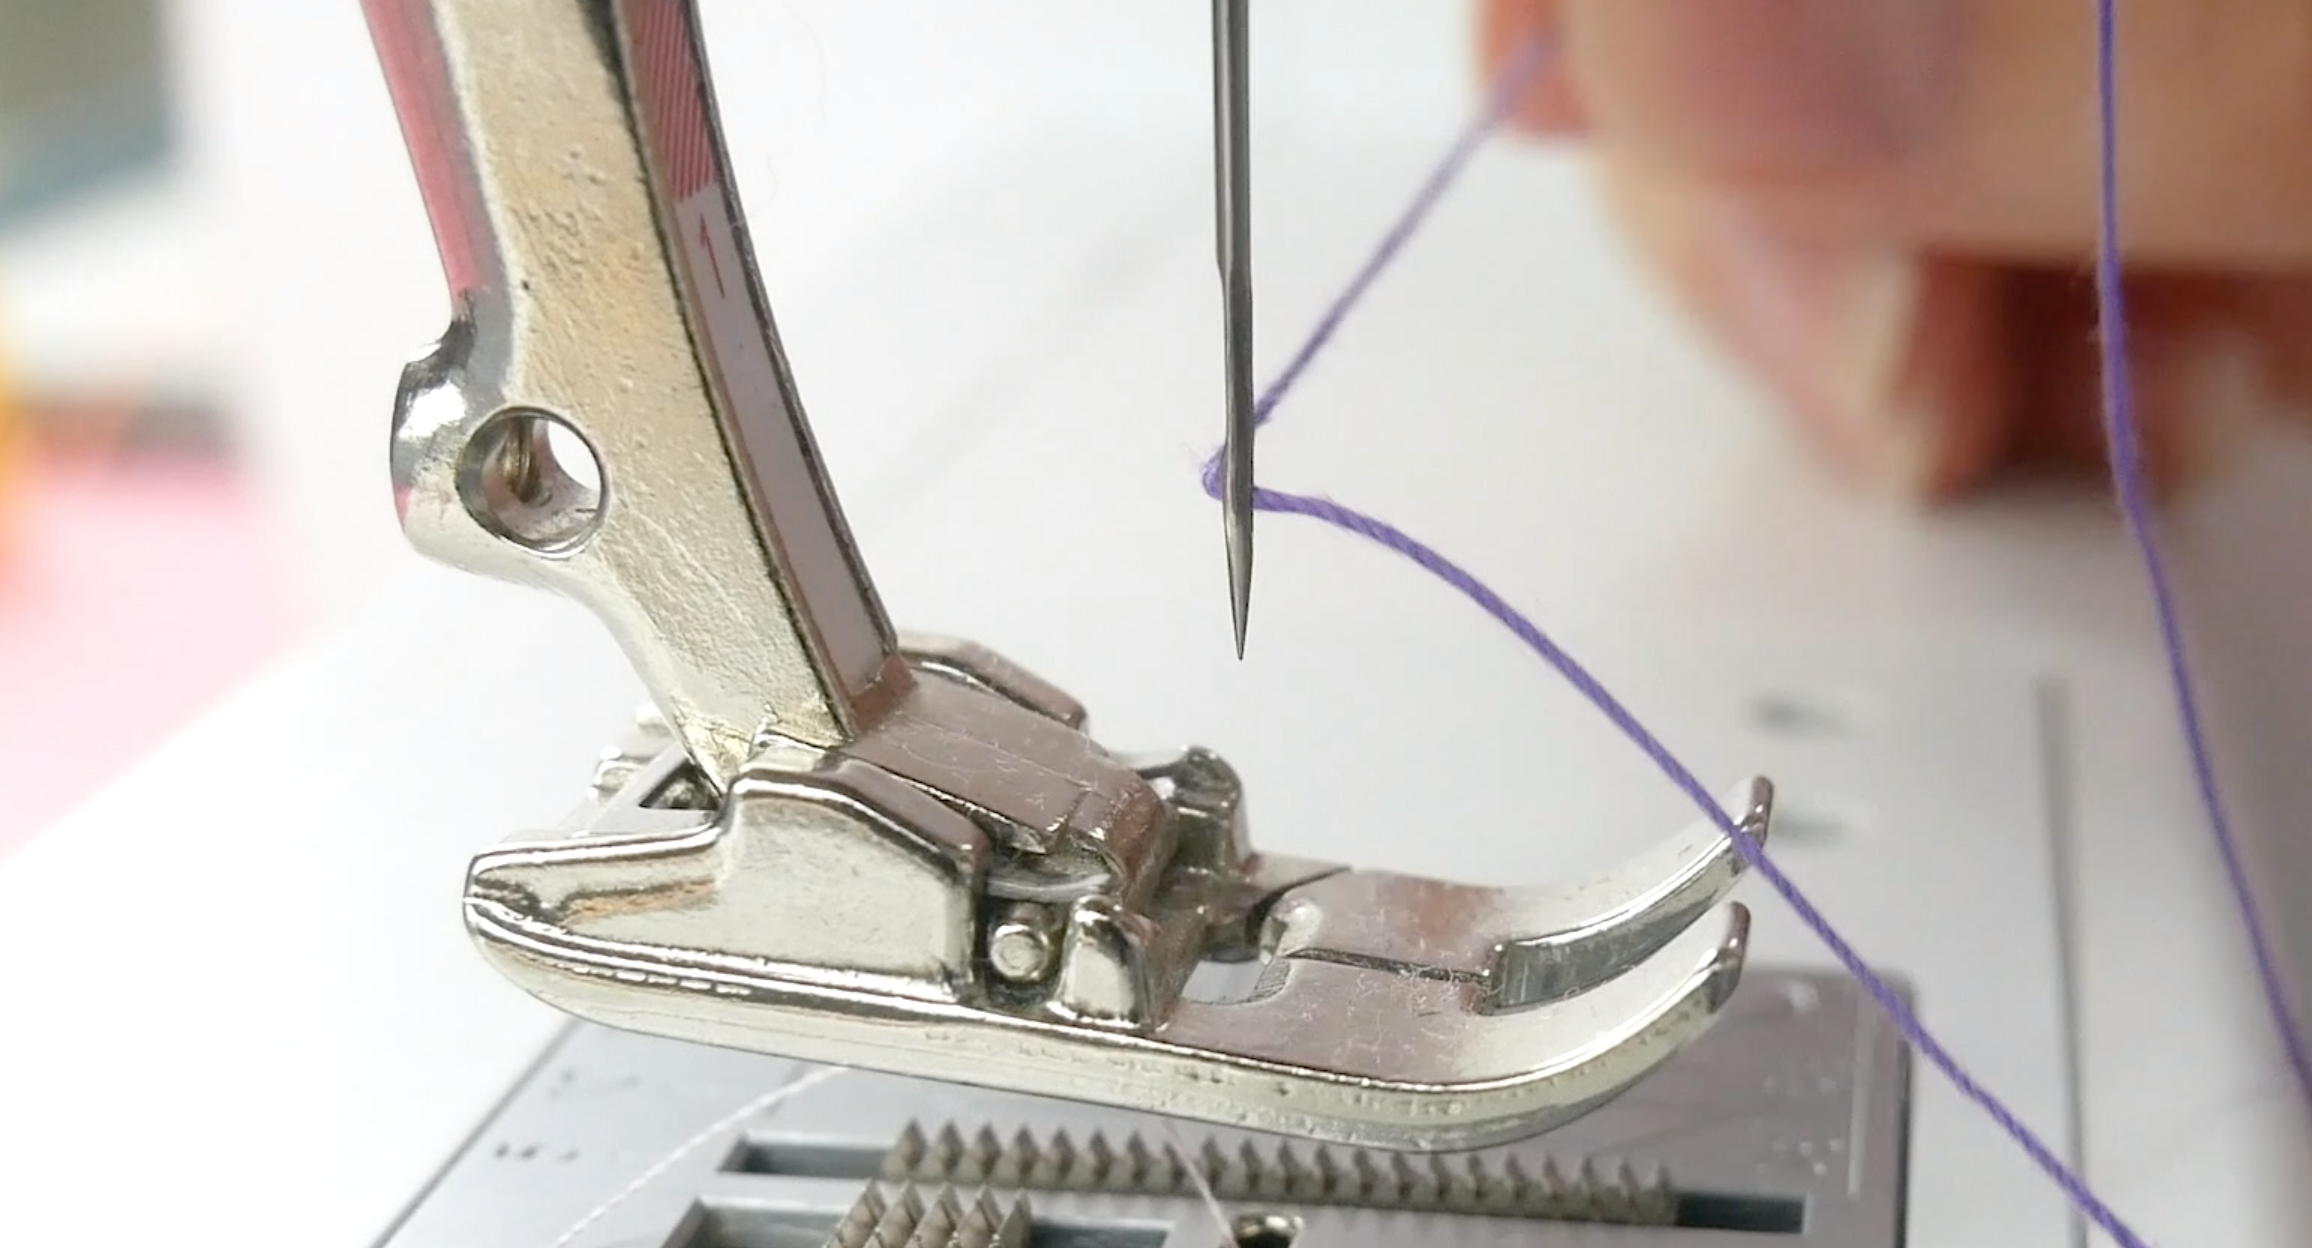
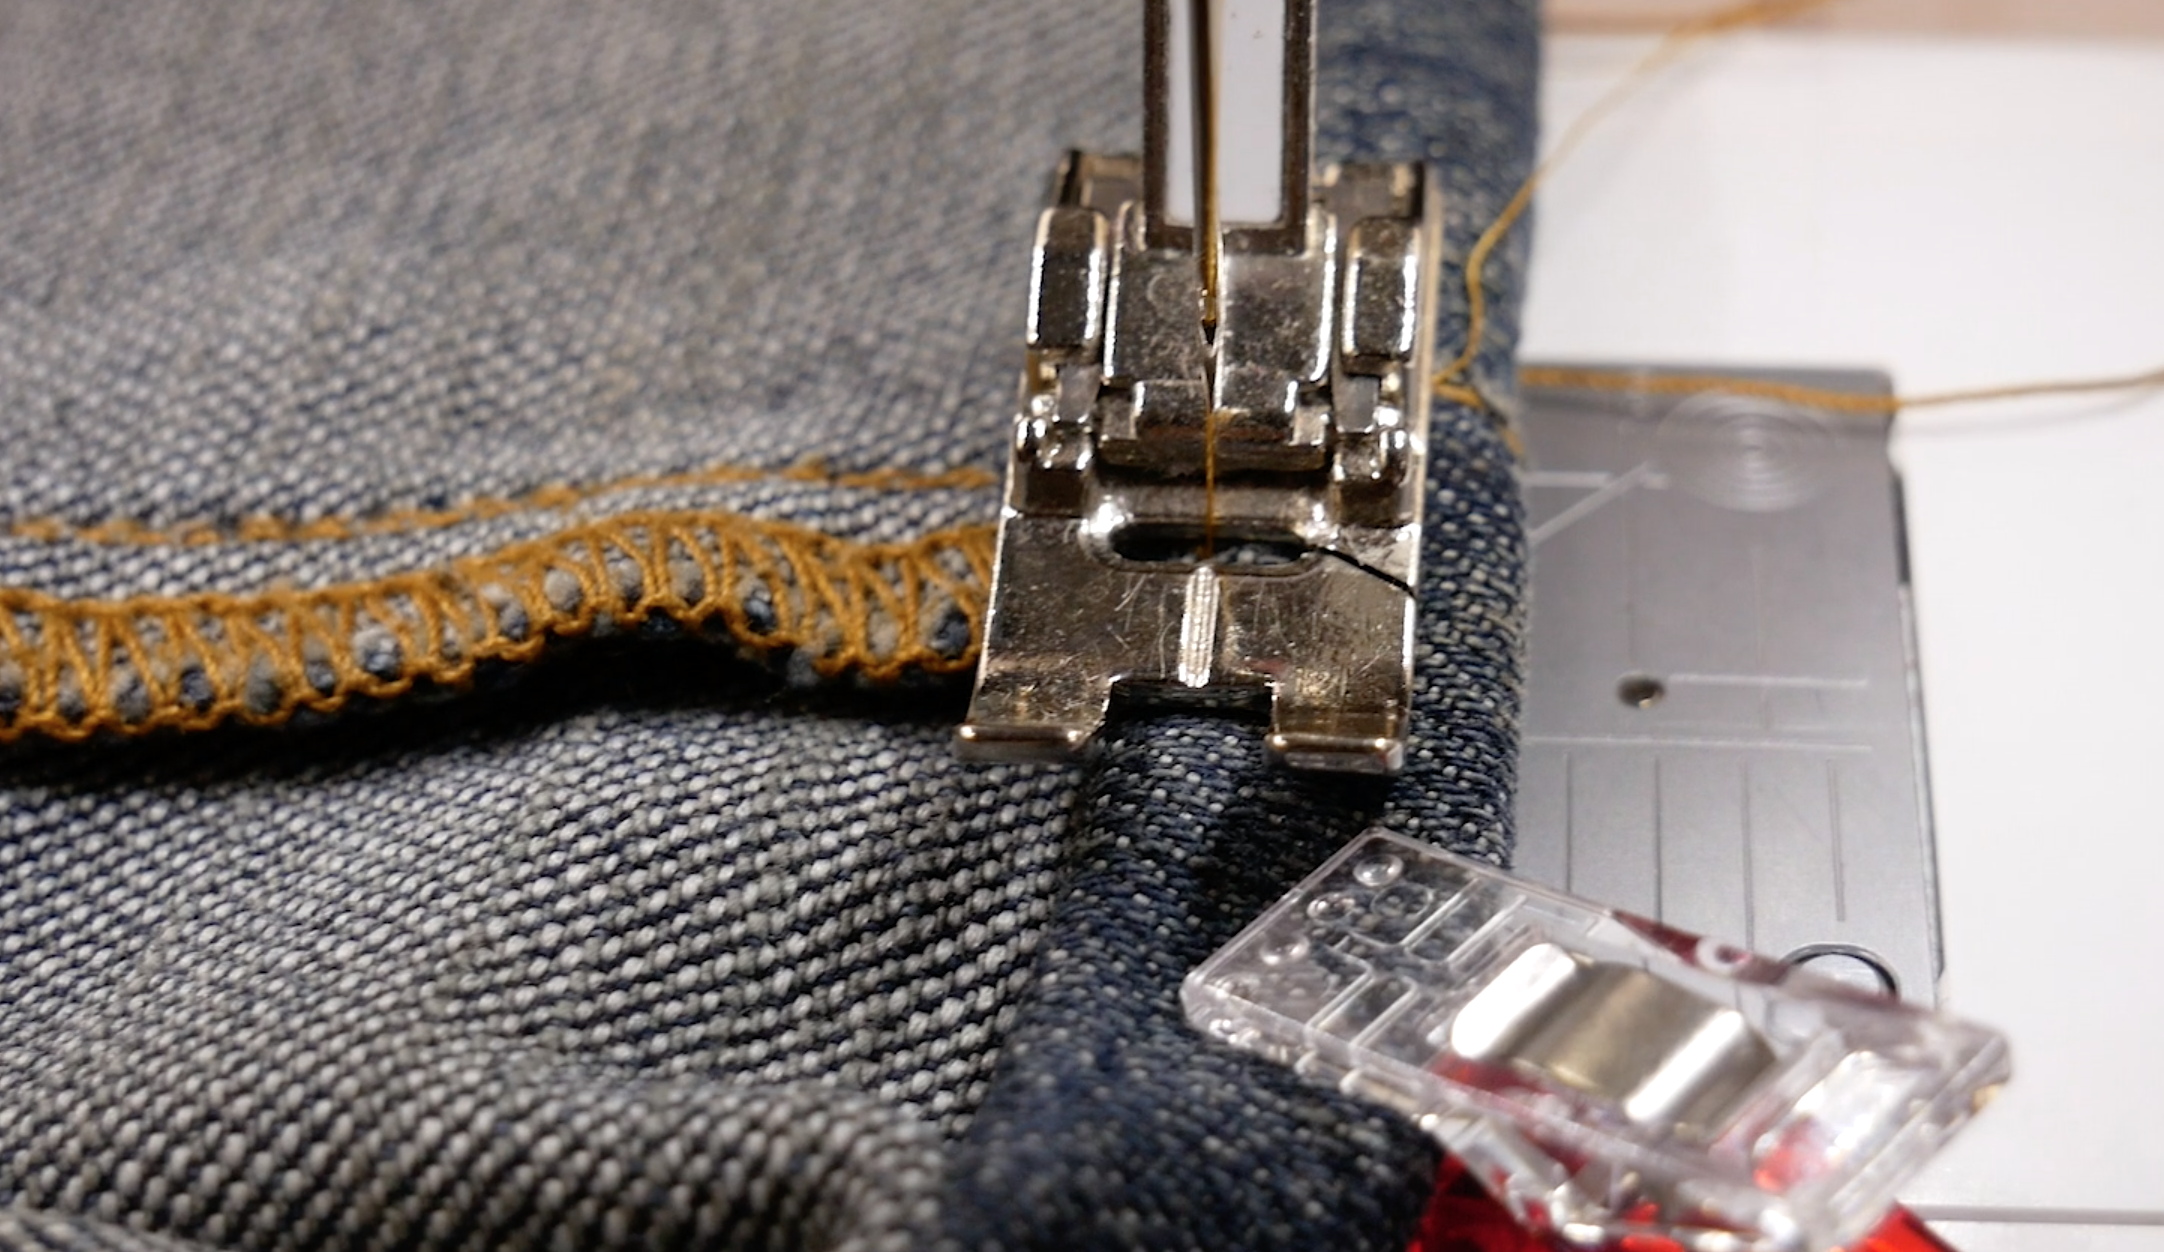
Once the machine is set up, you can begin sewing. Roll up the hem following the remaining two lines so that the raw edge is tucked away. If you feel confident with keeping it straight you can begin sewing right away. However, we recommend beginners clip their hems in place to prevent it from moving using sewing clips. We prefer sewing clips instead of using pins because the thick denim can be difficult to penetrate with pins, and it doesn’t cause any puckering.

9.png

You’ll want to sew on the inside of the pant leg so you can follow the edge of the new hem. This way, your heavy 12wt thread in the bobbin will show on the right side of the pant leg.

We recommend starting on the bump of one of the side seams to hide your backstitching. Because of the thickness of the fabric in this area, you may need to gently turn the handle on the side of your sewing machine to manually sew the first few stitches. Sew close to the edge of the hem, being careful to keep your stitching straight and consistent. When you return to your start point, sew over the original stitching and don’t forget to backstitch again.

10.png

Trim your threads and you’re finished! You’ll have a new perfectly fitting pair of jeans that you hemmed yourself.

11.png

Inspired to sew? Head on over to shopwonderfil.com/shop-local/ for a list of stores and retailers you can purchase WonderFil threads from. You can also sign up to receive weekly sewing tips, free patterns, and tutorials in our newsletter. Register by clicking here! You can unsubscribe at any time by clicking the unsubscribe button on the footer of every email you receive.

Hand Stitched Buttonholes Tutorial

Maura Kang

With all the beautiful machine buttonhole stitches out there right now, why bother making hand stitched buttonholes? Sometimes, you want to add a beautiful vintage look to your project. Or you might be working with a very heavy coat fabric and are struggling to get nice machine buttonholes. Or maybe you just want to add that extra special look to a project.

Handstitching your buttonholes can add a vintage look to your finished project, and choosing the right threads will give it a professional polish that will make it worth the extra effort. We’ll show you step by step how to mark, stitch, and cut your buttonholes for perfect results each time.

We are going to use this extra fine 100wt thread, InvisaFil, to stitch together the edges of our buttonhole. As the thread will be sitting under the decorative stitches, we don’t want it to show or add any bulk. Invisafil is a 100 wt polyester, so, while it is strong, the stitches will disappear in the fabric and won’t be seen.

1.png

We will also need a gimp thread to add extra strength and a bit of lift to our buttonhole. For this we will be using HomeDec. HomeDec is a very strong polyester thread that comes in three weights (30wt, 40wt, 60wt). We will be using the heaviest 40wt for this project, in a color to match the fabric.

2.png

For our decorative buttonhole stitch, we will use this 12wt double gassed cotton thread called Spagetti. The tight twist will make stitching easy, and the 12 weight thread gives a nice bold finish to the buttonhole.

3.png

We will need two hand stitching needles. For the fine InvisaFil thread, we’ll be using a #11 sharp needle. And for stitching with the heavier Spagetti, we will use a #7 embroidery needle which has a larger eye to accommodate the thicker thread.

4.png

Using a spacing tool and some tailors chalk, evenly mark the starting point of each of your buttonholes.

5.png

As buttons all have different depths, here is a trick to mark the length of your buttonhole. Wrap your chosen button with a piece of twill tape, going around the fullest part of the button. Pin the ends of the twill tape.

6.png

Now pull out the button and lay the tape flat. The distance from the pin to the folded edge will be the length of your buttonhole.

7.png

Measure this length and mark the end of each buttonhole. Use a straight edge and some chalk to mark the buttonhole line.

8.png
9.png

Using a buttonhole cutting tool like this one by Clover, cut along this line. Cut and finish only one buttonhole at a time.

10.png

Thread a #11 sharp needle with InvisiFil, tying an overhand knot right behind the eye of the needle to prevent it from unthreading. Now begin to do a close whipstitch all along the open edge of your buttonhole, to hold the layers together.

11.png

Next, thread a #7 embroidery needle with a length of the Spagetti. Now, cut a length of the HomeDec thread twice the length of the buttonhole plus another 1 inch. (We’re using a bright, contrasting color in this demonstration so you can see it, but if you do it yourself, you should choose a thread color that matches the fabric). Hold or tape the gimp thread along the cut edge of the buttonhole. Starting at the back end of the buttonhole begin working a buttonhole stitch along the edge, catching the gimp thread underneath your stitch.

12.png

Work the buttonhole stitches close together to for a nice pearl edge along the cut edge of the buttonhole. When you get to the front end of the buttonhole work 3 or four stitches around the curve, before going back down the other side of the buttonhole, making sure to still catch the gimp thread underneath.

13.png

When you are back at your starting point, work a tack stitch of 3 to 4 stitches across the width of the buttonhole.  Pull your thread to the underside and thread the end through the under side of your stitches before trimming it off. Thread the gimp thread through the large eye needle thread it to the underside, and cut it off. Repeat this for all of your buttonholes.

14.png

That is all there is to it. While this is a bit time consuming, it will definitely add a special touch to your project. Pictured below is a finished buttonhole with a gimp thread that matches the color of the fabric.

15.png

Inspired to sew with WonderFil threads? Head on over to shopwonderfil.com for a list of stores and retailers you can purchase from. You can also sign up for our free newsletter to receive more educational sewing tips, tutorials, and free patterns. Register by clicking here! We’ll see you again next time!

Sewing Raw Edge Appliqué Using Iron Fusible Thread (FREE Pattern Included!)

Maura Kang

Raw edge appliqué is a simple, fast, and easy way to appliqué your pieces together because it doesn’t require any extra steps. The most common way to sew raw edge appliqué is to use fusible stabilizer, however this can leave your appliqué looking and feeling stiff. In this video, we’ll show you how to sew raw edge appliqué using iron fusible thread, as well as some tips and tools to make it easier. Included is a free pattern to practice with or turn into your own unique project!

Trace your appliqué shapes onto the fabric using a temporary pen or piece of chalk and cut them out. We always recommend using batik fabric for raw edge appliqué because the fabric is less prone to fraying. If your shapes are more complex, or have a lot of angles in them, we suggest using a smaller, sharp pair of scissors to do your cutting with as it makes it much easier to do.

1.png

We’re going to load the machine with two different threads. In the top is a temporary regular sewing thread that will be pulled out later. However, in the bobbin we’ll be winding this thread called Iron ‘n Fuse. This is an iron fusible thread that will fuse the appliqué pieces to the fabric.

2.png

If you have appliqué pieces that have smaller shapes, you can add an optional layer of water soluble stabilizer underneath to make it easier to sew on the machine. You don’t need to cut it out to match the shape of your appliqué perfectly, just cut out a rough shape that your appliqué will easily fit over.

3.png

Increase your machine’s stitch length slightly to make it easier to pull the top thread out later. Sew all the way around your appliqué piece.

4.png

Position your appliqué on your project and press with high heat. The best part about using Iron ‘n Fuse thread is that it can still be lifted and repositioned as needed. It won’t fuse permanently to your project. Once your appliqué is in place, you can pull out the top thread.

5.png

To stitch your appliqué down permanently, you can use any variety of threads depending on the look you wish to achieve. The choice is yours, however for my appliqué I’ll be using this 50wt variegated cotton called Tutti. I love this thread because it’s been double gassed so it has a clean, ultra low lint finish, and the colour changes on the thread are quicker.

6.png

Sew around your appliqué about 1/8th of an inch away from the edge. If you want to make a bolder outline on your appliqué, you can go around again a second time. Raw edge appliqué tends to have a scrappy look, so don’t worry about making your lines perfectly aligned with each other.

7.png

Alternatively, you can hide the raw edge of the appliqué by selecting a satin stitch on your machine and sewing over the edge to cover it. We chose to stitch a bold outline around the appliqué pieces using this thicker 12wt thread called Spagetti. Like Tutti, it’s also a low lint cotton, but this thicker thread is a great way to add emphasis or an outline to a motif in your project.

8.jpeg

After you’re finished permanently stitching your pieces down, don’t forget to wash your project to remove the water soluble stabilizer, if you chose to use it. No matter which creative way you choose to finish your raw edge appliqué project, this method is a fool-proof way to reduce the stiffness of an iron-on stabilizer often used in this technique.

WhatsApp Image 2020-05-27 at 9.30.00 AM.jpeg

If you’ve tried this for yourself, tag us on Instagram @wonderfilspecialtythread or by the hashtag at #wonderfil. We would love to see your sewing projects and progress! Ready to start sewing? You can find a list of stores that carry WonderFil threads on www.shopwonderfil.com/shop-local/. You can also sign up to receive weekly sewing tips, free patterns, and tutorials in our newsletter. Register by clicking here! You can unsubscribe at any time by clicking the unsubscribe button on the footer of every email you receive.

Introducing Spagetti™ Heavy 12wt Thread

Maura Kang

When your goal is to stand out, Spagetti™ knows how to be seen. This thick and juicy 12wt thread is actually the thickest thread you can safely fit through the eye of your machine needle. Some sewers love how boldly this thread stands out, while others might be a little intimidated by it. But we’re here to show you how to use this thread effectively to create color and texture you can’t ordinarily achieve with a regular thread.

1.png

Spagetti™ and its neighbour Fruitti™ are both 3ply, 12wt long staple Egyptian cotton threads that have been double gassed for a super low lint finish. Gassing is a term you may have come across in the sewing industry. It refers to a technique thread manufacturers use to burn off 80% of the lint from the surface of a thread. WonderFil actually repeats this process a second time, removing another 80% of the remaining 20% of the lint, resulting in an incredibly smooth, ultra low lint finish. If you take a close look at the thread, you’ll find very few fuzzies sticking out. This greatly reduces the lint build up in your machine, so you can spend more time sewing and less time cleaning it out, or fewer trips to the machine maintenance shop.

2.png

You can see in this side-by-side comparison how much thicker Spagetti™ looks beside a regular 50wt thread. While you wouldn’t use this thread for something like piecing, it’s the perfect choice for anything decorative that will show on top. Machine quilting with this thread will really make your quilting pop. And because the thread is so thick, it will completely change the look of your quilt top.

3.png

Or you can consider something like thread painting. Most sewers will use a 40wt thread to do this technique, but a 12wt thread sits a little higher on the fabric. You’ll be able to create a beautiful, raised texture simply by switching to this thread that can’t be achieved with thinner threads.

4.png

This thread is beautiful for any decorative top stitching, appliqué, or even sewing thicker materials like leather or upholstery, but what about for hand sewing? Big stitch hand quilting never looked better. It also makes for a beautiful sashiko thread, needle punch, or even for hand embroidering smaller details and designs. This 12wt thread is comparable in size to a single strand of embroidery floss.

5.png

There’s a lot of great techniques Spagetti™ can shine in, but we don’t recommend using it with itself in the bobbin. A thread this bulky in both the top and the bottom will likely cause a host of tension issues that will decrease your stitch quality.

So what should you use in the bobbin? Meet DecoBob™, an 80wt cottonized polyester. This little thread is incredibly small, but also surprisingly strong. While it’s important to use a fine bobbin thread in every application, it’s especially important when using a 12wt thread in the needle. This fine thread will greatly reduce tension problems because it always knows to give way to the top thread instead of fighting for tension in the machine. These two know how to work together for perfect, smooth stitching.

6.png

Of course, you’ll also need to choose a larger needle to accommodate this bulky thread. We recommend a 90/14 or 100/16 topstitch needle whenever using Spagetti™ because this needle has a larger eye. This gives the thread more room to move around and reduces the chance for the thread to shred or break.

7.png

Don’t be afraid to go bold with Spagetti™ and see how this thread can change the look of your projects! Inspired to sew with Spagetti™ and Fruitti™? Head on over to shopwonderfil.com/shop-local/ for a list of stores and retailers you can purchase from.