Contact Us

Use the form on the right to contact us.

You can edit the text in this area, and change where the contact form on the right submits to, by entering edit mode using the modes on the bottom right. 

2915 19 St NE
Calgary, AB, T2E 7A2

18662506101

WonderFil Specialty Thread Blog

WonderFil brings you the latest news, events, upcoming thread lines and special tips and advice. Follow WonderFil Specialty Threads on our social media: Facebook, Instagram, Twitter, Pinterest, and Youtube.

Filtering by Tag: how to

How to Double Fold Machine Bind a Quilt

Maura Kang

We’re going to show you how to make a double fold quilt binding on a sewing machine. If you’re like us, we’re always eager to get our quilt finished at this point, so this is our favourite way to get this final step done quickly while making sure it still looks perfect.

Apart from the quilt itself, you’ll need a few basic things. We’re going to use this 80wt thread called DecoBob to stitch the binding. It’s a very fine thread with a matte finish, so it will hide in the fabric and make the stitching less obvious. It’s also a very strong thread despite its size, so this is a great option for piecing and stitching anything down securely.

1.png

You’ll also need a cutting mat with a rotary cutter and quilting ruler to cut your binding accurately. An iron is needed to give your binding strips a quick press. We’ll also need a disappearing marking pen or a piece of fabric chalk.

Most importantly, you’ll need the fabric you want to bind your quilt with. We’ll show you how to cut and sew it together. Most patterns will tell you how much fabric you need for a binding, however if you’re doing your own quilt, you’ll have to do some math to figure out how much you need. There is an excellent binding calculator provided by Quilter’s Paradise. Alternatively, you can use the following formula to calculate how much you’ll need.

2.png

Take the width of your quilt multiplied by two and add it with the length of your quilt multiplied by two to get the circumference of your quilt. Then add another ten inches to be on the safe side so you don’t run out of binding. Take this number and divide it by the width of your fabric to find out the number of strips you need to cut to complete your binding.

So for example, we might have a 20 inch by 30 inch quilt. The width of our binding fabric is 43 inches, and we want the binding to be 2 and a half inches wide.

3.png

20 inches times two, plus 30 inches times two, plus an extra 10 inches to be safe, equals 110 inches. We’ll take the 110 inches and divide that by the width of fabric, which is 43 inches, to get 2.6 strips of binding required. We can round this up to 3 strips to make it easier.

4.png

Knowing this, we want to cut 3 strips along my width of fabric that are 2 and a half inches wide each to have enough binding for the quilt.

5.png

Now that we know how much fabric we need, we’ve gone and cut the strips to the measurements required. Next we need to sew these strips together into one long binding. To do that, we need to trim both ends of the strip to a 45 degree angle, which can be measured on the quilting ruler. Make sure they’re both trimmed facing the same direction.

6.png
7.png

Take the ends of two different strips and place them right sides together, diagonal ends matched up, and pin them together. However, if you line up the corners perfectly and are using a quarter in seam allowance, you will notice that the pieces will end up a quarter inch off.

8.png

So you will need to offset the pieces by a quarter inch when you pin them together so that after it’s sewn, your pieces will line up perfectly.

9.png

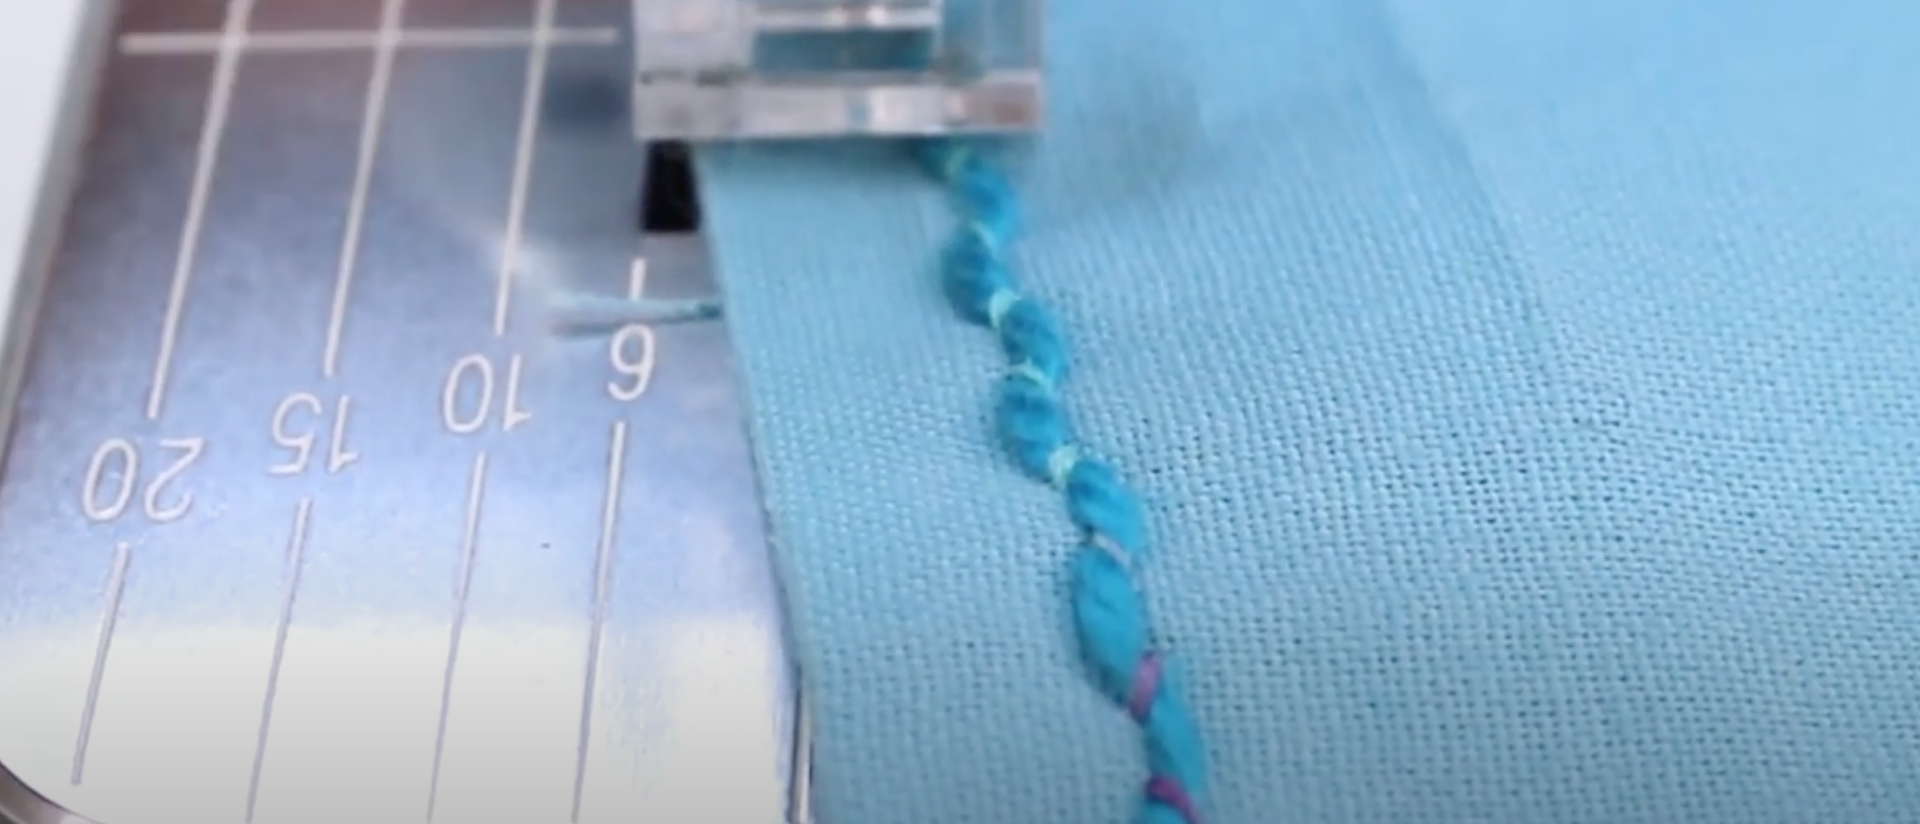
Because the thread we’re using is so fine, we’ll set the stitch length to 1.80. Using a ¼” seam allowance, sew the pieces together.

10.png

Do this for the rest of your strips until all the pieces are sewn into one long strip.

11.png

You can leave the end of the last strip squared off.

12.png

Turn the binding strips wrong sides together and press to crease it together, creating the double fold binding. However if you feel confident and don’t want to spend time pre-creasing your binding, you can fold it by hand as you sew along.

13.png

Now we’re going to open the binding up on one end and fold it over into a diagonal line so the touching edges are straight. Press the fold to create a crease. We’re now ready to start sewing it on!

14.png

We’re going to start by stitching down the end that has the diagonally folded edge. Lay the binding out completely open on the back side of the quilt, starting with the end you made the diagonal fold. We prefer to position it around the middle of the quilt on one of the long sides.

15.png

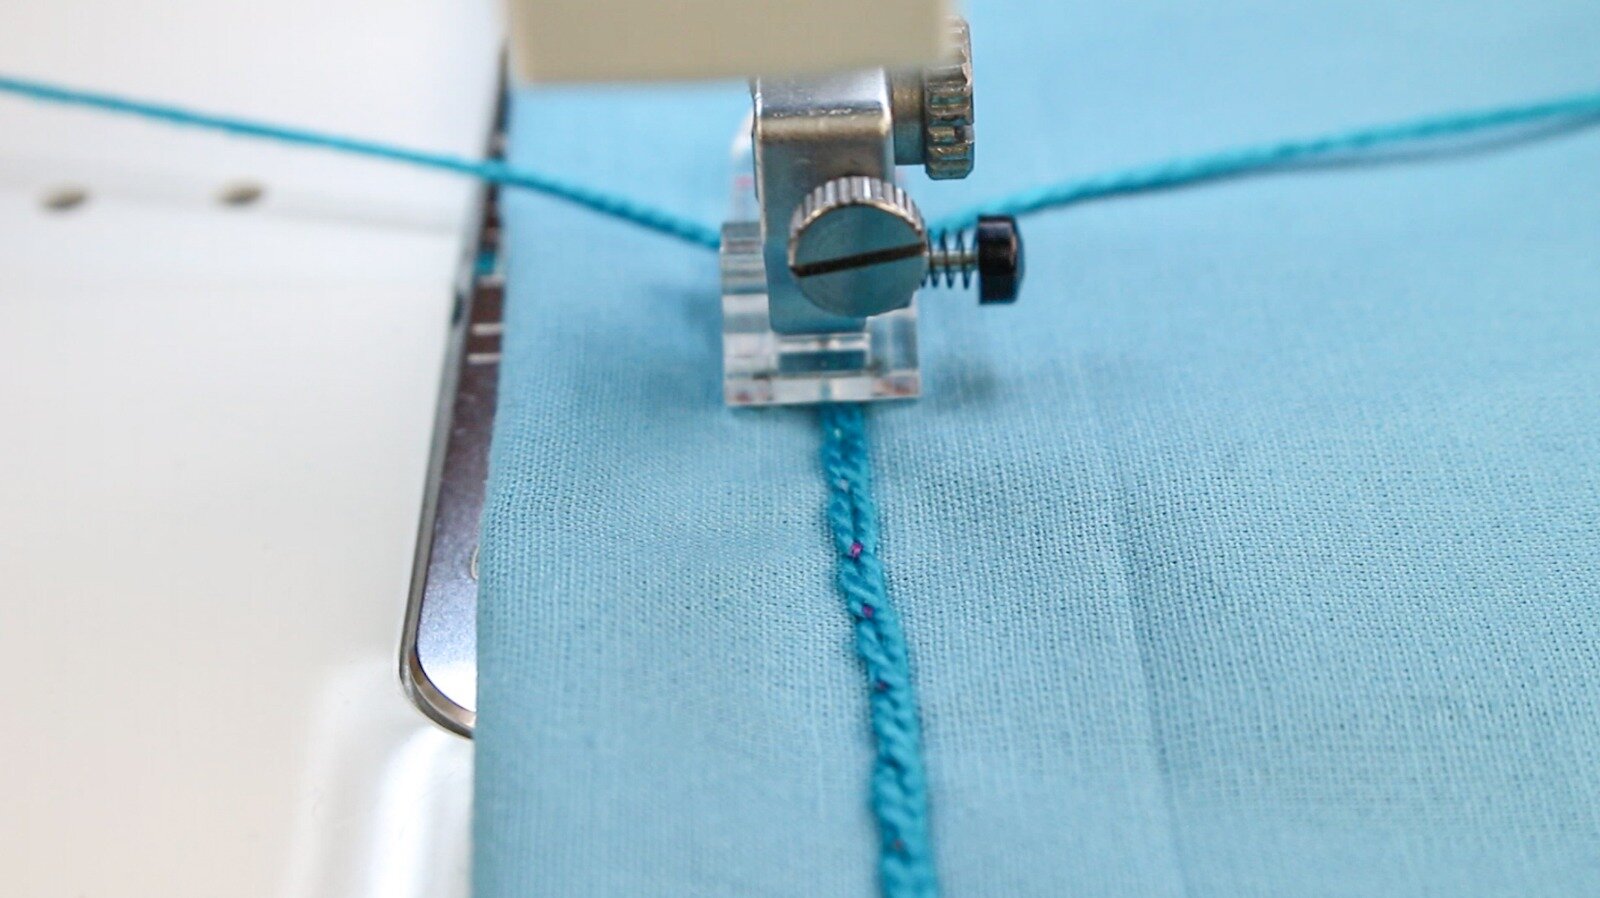
Match the edge of the binding with the edge of the quilt. Stitch it on a ¼” seam allowance using your walking foot and sew to a little bit after the raw edge of the fabric.

16.png

Snip your threads and take your quilt out of the machine. Now we’re going to fold over the binding back in half. Move your quilt about three to four inches down from where your stitching ended and start stitching your double fold binding down also with a ¼” seam allowance. That gap will create a nice pocket to tuck the tail into when you come back around.

17.png

At the corner of the quilt, we’re going to place a pin right where the quilt ends so we know where it is. Exactly ¼ of an inch away from the pin, we’re going to stop sewing. Back stitch to make sure your stitching doesn’t come out and take the quilt out of the machine.

18.png

Finger press the binding into a right angle. Then fold it back down over itself to form a tidy corner like so. Make sure the edge of the binding is lined up with the edge of the quilt. We’ll use a pin to keep it from shifting.

19.png
20.png

Put the quilt back in the machine and continue sewing at a ¼” seam allowance down the next edge. Continue doing this for the rest of the quilt.

21.png

Now we’ve come back around to where we first started. We can now join the strips together. Since we have a lot of extra binding, we’ll need to trim some off, making sure that there’s still enough to completely fit inside the pocket we made, otherwise there will be a hole in the binding.

22.png

Tuck the trimmed end into the open pocket we made earlier with the diagonal piece folded around on top. Holding it place with your fingers, continue sewing down until you reach the starting stitches. Trim your threads and now you can see the binding is completely stitched to the back side of the quilt.

23.png

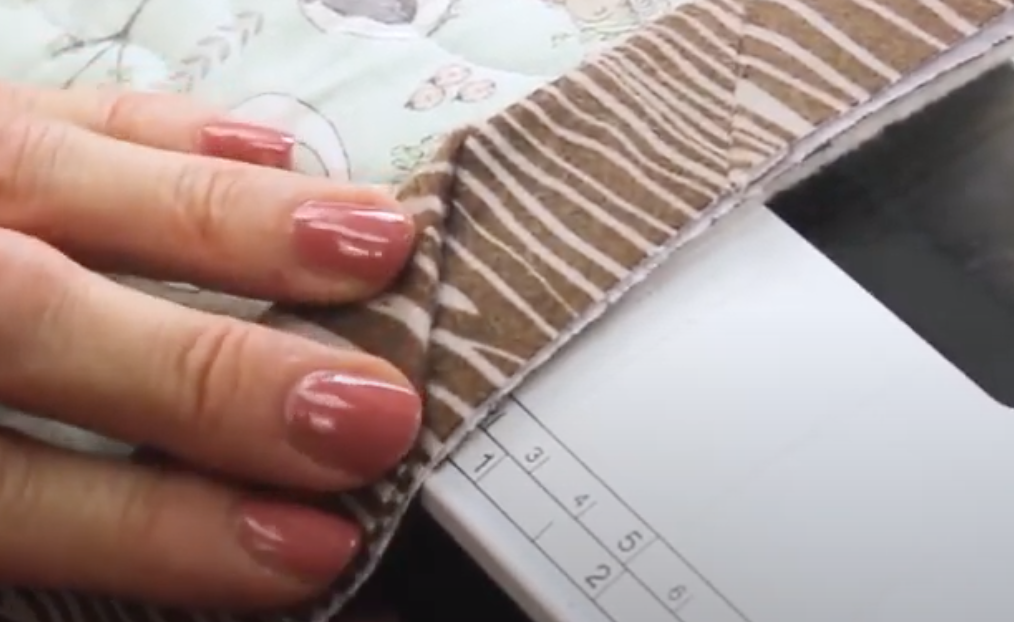
We can now focus on sewing the binding to the front of the quilt. Fold the binding around to the front and use the quilting clips to hold them in place.

24.png

Just like on the other side, sew down with a ¼” seam allowance. You can start closer to the corner this time to hide your backstitch.

25.png

When you reach a corner, fold the next edge over to make a crisp diagonal mitered line and sew over it. Keep the needle down and pivot the quilt to the next edge, keeping in mind to stay at a ¼” seam allowance.

26.png

Continue sewing all around the quilt until you finish stitching it all down. There will be a small gap left where you started and ended your binding. If you wish, you can hand sew this down, however it’s up to you as we find that it doesn’t cause a problem to leave it like this.

And there we have it! One beautifully bound quilt.

27.png

We hope this tutorial made it easier for you to bind your next quilt! Let us know in the comments if you learned something new.

Ready to start sewing? You can find a list of stores that carry WonderFil threads on www.shopwonderfil.com/shop-local/. You can also sign up to receive weekly sewing tips, free patterns, and tutorials in our newsletter. Register by clicking here! You can unsubscribe at any time by clicking the unsubscribe button on the footer of every email you receive.

Sewing Raw Edge Appliqué Using Iron Fusible Thread (FREE Pattern Included!)

Maura Kang

Raw edge appliqué is a simple, fast, and easy way to appliqué your pieces together because it doesn’t require any extra steps. The most common way to sew raw edge appliqué is to use fusible stabilizer, however this can leave your appliqué looking and feeling stiff. In this video, we’ll show you how to sew raw edge appliqué using iron fusible thread, as well as some tips and tools to make it easier. Included is a free pattern to practice with or turn into your own unique project!

Trace your appliqué shapes onto the fabric using a temporary pen or piece of chalk and cut them out. We always recommend using batik fabric for raw edge appliqué because the fabric is less prone to fraying. If your shapes are more complex, or have a lot of angles in them, we suggest using a smaller, sharp pair of scissors to do your cutting with as it makes it much easier to do.

1.png

We’re going to load the machine with two different threads. In the top is a temporary regular sewing thread that will be pulled out later. However, in the bobbin we’ll be winding this thread called Iron ‘n Fuse. This is an iron fusible thread that will fuse the appliqué pieces to the fabric.

2.png

If you have appliqué pieces that have smaller shapes, you can add an optional layer of water soluble stabilizer underneath to make it easier to sew on the machine. You don’t need to cut it out to match the shape of your appliqué perfectly, just cut out a rough shape that your appliqué will easily fit over.

3.png

Increase your machine’s stitch length slightly to make it easier to pull the top thread out later. Sew all the way around your appliqué piece.

4.png

Position your appliqué on your project and press with high heat. The best part about using Iron ‘n Fuse thread is that it can still be lifted and repositioned as needed. It won’t fuse permanently to your project. Once your appliqué is in place, you can pull out the top thread.

5.png

To stitch your appliqué down permanently, you can use any variety of threads depending on the look you wish to achieve. The choice is yours, however for my appliqué I’ll be using this 50wt variegated cotton called Tutti. I love this thread because it’s been double gassed so it has a clean, ultra low lint finish, and the colour changes on the thread are quicker.

6.png

Sew around your appliqué about 1/8th of an inch away from the edge. If you want to make a bolder outline on your appliqué, you can go around again a second time. Raw edge appliqué tends to have a scrappy look, so don’t worry about making your lines perfectly aligned with each other.

7.png

Alternatively, you can hide the raw edge of the appliqué by selecting a satin stitch on your machine and sewing over the edge to cover it. We chose to stitch a bold outline around the appliqué pieces using this thicker 12wt thread called Spagetti. Like Tutti, it’s also a low lint cotton, but this thicker thread is a great way to add emphasis or an outline to a motif in your project.

8.jpeg

After you’re finished permanently stitching your pieces down, don’t forget to wash your project to remove the water soluble stabilizer, if you chose to use it. No matter which creative way you choose to finish your raw edge appliqué project, this method is a fool-proof way to reduce the stiffness of an iron-on stabilizer often used in this technique.

WhatsApp Image 2020-05-27 at 9.30.00 AM.jpeg

If you’ve tried this for yourself, tag us on Instagram @wonderfilspecialtythread or by the hashtag at #wonderfil. We would love to see your sewing projects and progress! Ready to start sewing? You can find a list of stores that carry WonderFil threads on www.shopwonderfil.com/shop-local/. You can also sign up to receive weekly sewing tips, free patterns, and tutorials in our newsletter. Register by clicking here! You can unsubscribe at any time by clicking the unsubscribe button on the footer of every email you receive.

7 Ways to Use a Sashiko Machine

Maura Kang

Sashiko is a hand technique originating from Japan that uses a simple running stitch, however this machine replicates the look of a running stitch done by hand. This amazing machine can do all sorts of things with this one simple stitch, however they can be a little pricey to buy. We’ve compiled 8 techniques you can easily do yourself on the sashiko machine so you know how to use every advantage it brings.

The sashiko machine ensures stitches are uniform and consistent, making it easier and faster to accomplish your project. It only has one kind of stitch and threads differently from a regular sewing machine because it only uses the bobbin thread and no top thread.

1.png

Traditionally sashiko is done with white cotton thread on indigo dyed fabric, however you can choose any colour of thread and fabric you want. With a sashiko machine, you can even do more than just decorative stitching!

2.png

You’ll want to choose a medium weight thread as the sashiko machine will double up the stitches. So if you have too heavy a thread, you’ll end up with shredding and stitch consistency problems. I’ll be demoing with two threads. The first is a 35wt thread called Silco. This is a synthetic cotton thread that’s completely lint free. The second is Konfetti, a 50wt Egyptian cotton thread.

1. Quilting:
If you love the look of hand quilting but don’t have the time or patience to quilt an entire quilt by hand, you can do it with the sashiko machine instead. This is also a great solution for anyone with arthritis in their hands. The sashiko machine gives you the look of hand quilting, but at ten times the speed!

3.png

2. Appliqué:
You can use the sashiko machine for raw edge appliqué. This is a simple but beautiful way to appliqué your pieces down with a simple running stitch and combines the traditional look of sashiko with your appliqué project.

4.png

3. Adding trims:
The sashiko machine is perfect for quickly adding trims to clothing or home décor items, with the advantage of giving it the hand stitched look. I like to add it to sleeve cuffs, collars, bags, or pillows.

5.png

4.Couching:
It’s really easy to do couching without the need for a couching foot like a regular sewing machine requires, however it will look a little different. Place the ribbon or yarn you want to couch down horizontally across the needle and take one or two stitches, then pull it over to the other side of the needle and take another stitch or two. Continue this process to finish couching it down!

6.png
7.png

5. Braiding:
Another method of couching with the sashiko machine that creates a different look is by braiding two threads back and forth in front of the needle. Take your yarn or ribbon and place the center of it in front of the needle so you’re holding both of the ends in your fingers. Take one or two stitches to secure it, then weave both ends opposite across the front of the needle and take another one or two stitches. Continue doing this and you’ll end up with a woven couched thread.

8.jpeg

6. Fabric flower:
Using organza or another similar lightweight fabric, you can create a flower by scrunching up the fabric and stitching over it so that the edges flare up. Take a piece of fabric, about 5 inches wide and 25 inches long, depending on how large you want the flower to be. Position it along the centre of the fabric and push it up against the needle before taking a few stitches. Continue doing this while slowly turning the fabric clockwise. You’ll end up with a beautiful fabric flower that’s perfect for decorating a birthday party, or upcoming baby or wedding shower!

9.png
10.png

7. Pleats:
You can easily add a decorative pleat on a piece of clothing or home décor item using the sashiko machine. Position your fabric where you want the pleat to fall from and push the fabric up against the needle. Take a few stitches to secure it and continue to press and stitch as you sew straight down. The result is a beautiful gathered pleat.

11.png

There’s so many creative ways to use the sashiko machine, so please tell us what you’ve made in the comments below! Ready to start sewing? You can find a list of stores that carry WonderFil threads on www.shopwonderfil.com/shop-local/. You can also sign up to receive weekly sewing tips, free patterns, and tutorials in our newsletter. Register by clicking here! You can unsubscribe at any time by clicking the unsubscribe button on the footer of every email you receive.